A Beginner's Guide to making voice overs

You have come this far and now you are all set to learn how to make your voice over. Whatever mood you are trying to create – powerful, inspiring, moving, or maybe just informative, AI voice overs can deliver them effectively.
Why use a voice over maker?
A text to speech voiceover is the easiest and the most cost-effective way to build voice overs, especially if you are a frequent content creator. This process gives you extensive control to manage the tone and emphasis so that you can iterate on a simple text editor until you have what you want.
An ideal way to go about making voice overs that speak to your audience would be to start the process at the level of the script. A clear idea of your audience, the intent of your voice over and a good sense of the visuals that will accompany the audio will make the already-easy process seamless. If you would like to read more about writing voice over scripts, check out this article.
If you would like to know why using voiceovers to your videos actually helps, check out this video
What is Murf Studio?
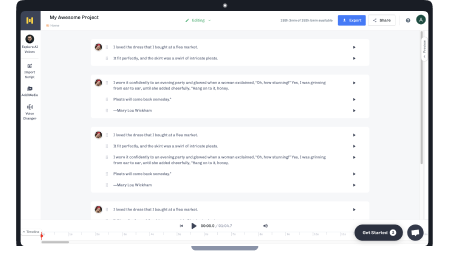
Murf Studio is a web-based studio that provides you with customisable features to make voice overs from scratch and adapt your narration to the intent of your script. The Studio also functions as a multimedia editor so that you can build your voice over videos, presentations, etc from end to end without ever recording voices in studios. You can find an extensive library of hyper-realistic AI voices in 35+ languages and a spectrum of accents.
Along with the text editor, Murf studio’s multimedia editor makes it simple for you to match the timing of voices over with visuals, apply emphasis on particular junctures of the narration, and customise speed and pauses.
How to make voice overs in Murf Studio?
Working on Murf Studio can be intuitive for even the first time users. The interface is simple and allows you to edit your creatives so that you can build your entire content on a single platform.
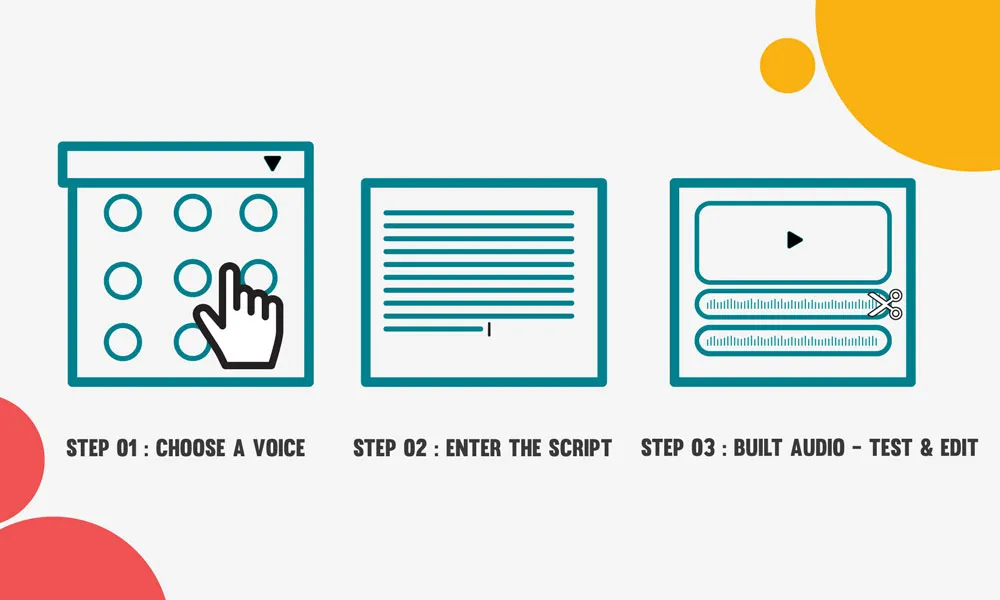
So let’s dive into the three simple steps to make that quality voice over in minutes.
STEP 01: Choose a Voice
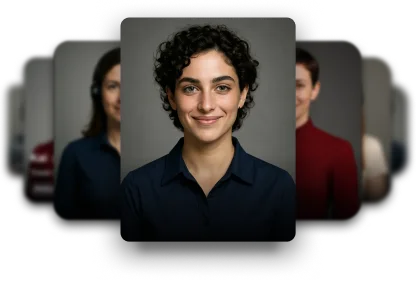
Depending on your script and your audience, the first quick decision is to choose the right voice for your audio. Murf’s entire library of voices is available on a drop-down menu in the studio, where you can play each of these until you are sure of your selection. You can also select a particular voice and play a few sentences from your script in the voice before you finalize the choice.
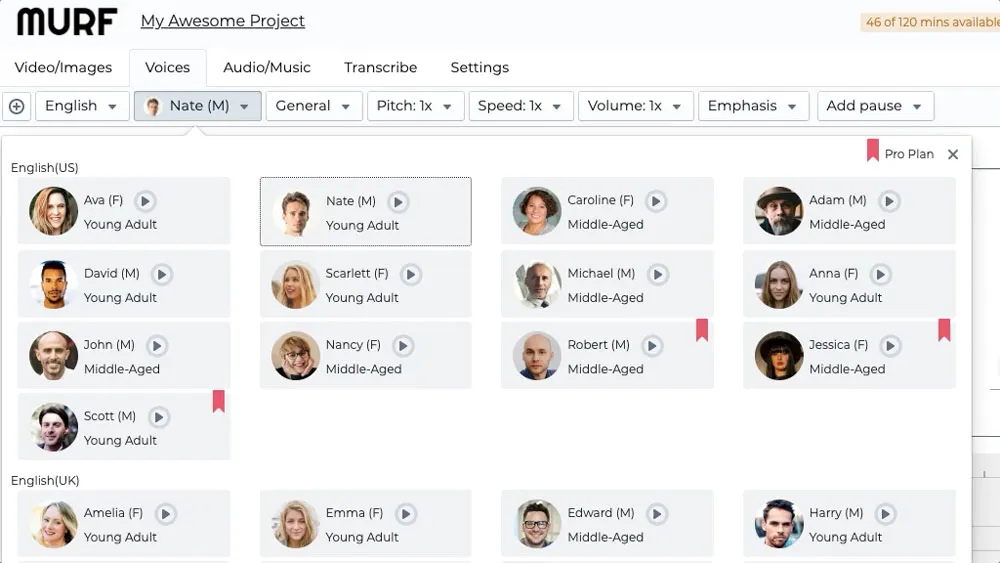
The library includes over 200 voices in 35+ languages, and the catalogue keeps growing!
STEP 02: Enter the voice over script
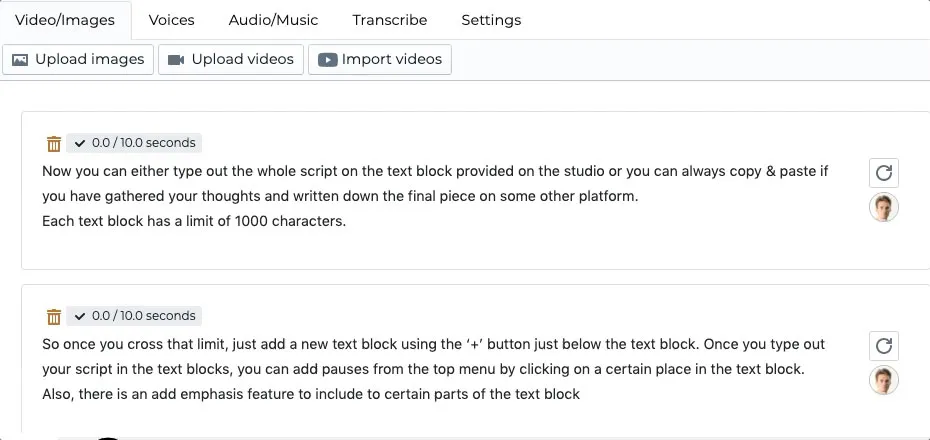
The best part of a text to speech-based voice maker is that you can start your entire process in the Studio. You can start writing your scripts and get a sense of how your script sounds. If you have your script ready, you could simply copy and paste it into the text editor. The editor also is powered with an AI grammar assistant to make your spelling and grammar checks seamless.
Each text block has a limit of 1000 characters. Once you cross that limit, just add a new text block using the ‘+’ button just below the text block. After you have added your script in the text blocks, place the cursor at places where you would like to add pauses and from the top menu, select the ‘Add Pause’ option to choose the appropriate length of your pauses. You can also customise the length of the pauses as per your choice.
Now you can move on to one of the most customisable and fun parts of the voice over maker, to add emphasis to the delivery of your script. Adding emphasis is as easy as moving your cursor along a graph. From the top menu, choose the ‘Add Emphasis’ option and you will see a graph with your selected sentence right above it. Move around the graph to add emphasis to the specific parts of the sentence and play it in your text editor, and your sentence is ready!
Follow through the process for each of your sentences and change the speed and pitch of the voice according to the content of your script.
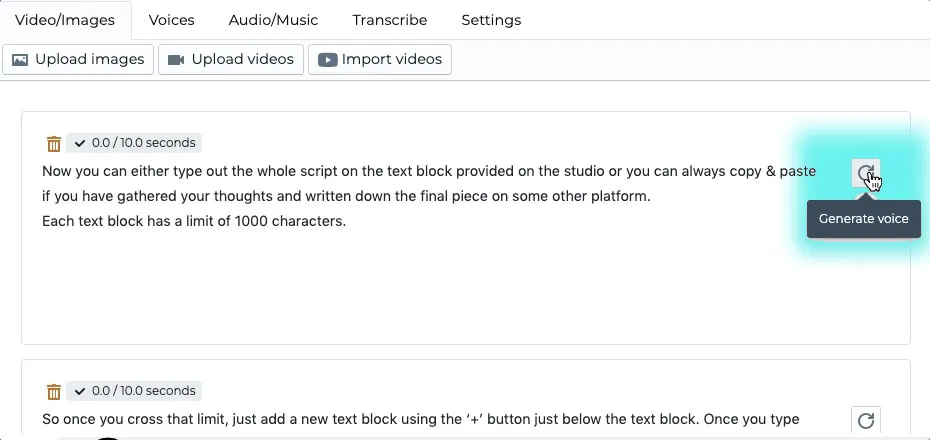
STEP 03 : Build Audio - Test - Edit - Download & Share
Once you are done editing your script you can simply go to the ‘Build Audio’ button, which will render your voice over instantly!
Now you can click on the play button, see how your visuals sound with the audio. This is an essential step for voice over videos, as the quality of your audio or visuals is wasted if they are not synced properly. But, you can always go back and make more changes and render it again until you are completely satisfied with the audio.
Once everything is set in place, download the file in HD directly if you are already on a paid subscription plan or you can upgrade to a subscription plan. You can share access by creating a shareable link for either a specific period or for a lifetime.
In case you want to work with your team on a project, you should check out our Pro and Enterprise plans which will enable you to collaborate with others in real-time.
The icons in Murf Studio and what they are for!
‘+’Button for Adding Paragraphs
AI-powered voice over makers come with a promise of flexibility in how you manage your script and create audio. In Murf Studio, you can extend your scripts or take sections out easily but using the delete and ‘+’ buttons. The plus button on top adds a paragraph so that you can break down the text into smaller chunks, and every time you render, it does not consume the render time of the whole script. So it is highly recommended to break down your text into smaller chunks.
Language & Voice
The studio is equipped to recognize and create voices in over 35+ languages and has a vast library of over 200 voices. Just go to the section which displays the name of the voice, play each of them and find the right fit for your voiceover.
Pitch, Speed & Volume Buttons
While editing the audio of your voiceover, there are elements such as pitch, speed and volume of the narration that you would like to adjust to sync with your visuals.
Emphasis & Pauses
These two are the most versatile and crucial aspects of creating the mood in your voiceovers. As mentioned before, you can use the ‘Emphasis’ button on top and a chart will allow you to change the degree of emphasis on each word in a sentence. It is quite intuitive and would add finesse to your narration, especially when used with proper pauses.
This brings us to the ‘Pause’ button which gives 5 ready options of varying lengths of pauses. You can either add one of these to your script or you can always add a time frame for your pause separately using the section right next to the ready-to-use options.
The whole toolbar is designed to give you access to editing the minute details of your voiceover to the entire narration.

How to make AI voice overs : A few pro tips
- In case you are not happy with the pronunciation of certain words by the Ai voice, you can spell out the pronunciation of each of those words using the ‘Pronunciation’ button.
- You can add background audio/ music separately in the voice maker and edit it on the timeline. The studio has a collection of royalty-free music that you can directly add to your voiceover. You can access this collection by going to the ‘Audio/Music’ section and clicking on the ‘gallery’ button. And if you don’t find what you are looking for, you can upload your own audio files or even import from youtube, Vimeo and other video websites.
- You can add emphasis effectively if you use that specific point as a short separate line.
Now you are all set to create your stunning voice overs. So head to Murf Studio and create a project here - https://murf.ai/studio