Building a Discord Voice Bot using MURF AI API: A Step-by-Step Guide
According to estimates, Discord currently has over 200 million active users across its communities served by bots that go into the millions. This ecosystem of Discord bots is a great playground for developers to test their creations out quickly, identify gaps and even make some money!
In this tutorial, we will discuss how you can create a quick and easy Discord bot that can provide voice output with a single prompt. With Murf AI’s text-to-speech APIs, you will be able to create a bot that is as humanlike as ever.
Before we dive into the how-to, let’s explore why you might want to build a bot like this. Combining Discord bots with text-to-speech (TTS) APIs opens up a world of fun, creative, and practical applications. Here are some examples:
Voice Roleplay Bots
- AI Dungeon Narrator – A bot that reads out text-based RPG game events in a dramatic narrator voice, immersing players in the story.
- Character Voice Chat – Users type messages, and the bot speaks them in voices like Darth Vader, GLaDOS, or anime protagonists for epic roleplay vibes.
Meme & Chaos Bots
- Soundboard Bot – Synthesizes speech in meme-worthy voices (imagine Snoop Dogg reading Shakespeare) instead of just playing static clips.
- Translation Telephone – Runs messages through multiple language translations, then reads the garbled result aloud for absurdity.
Community & Accessibility
- Text-to-Speech for Muted Users – Lets muted users "speak" in voice channels via TTS, keeping them in the conversation.
- Language Learning Bot – Reads sentences in various languages to help users practice pronunciation.
These examples show just how versatile and entertaining a Discord bot with TTS can be . Ready to build your own? Let’s get started!
What You Will Learn
By the end of this tutorial, you will:
- Understand how to set up a Discord bot using discord.py
- Learn how to integrate OpenAI's GPT for summarizing text
- Use Murf AI's API to convert text to speech
- Create interactive buttons for users to trigger narration on demand
Prerequisites
Before we start, ensure you have the following:
- A Discord account and a server where you can test the bot
- Python 3.11 or later installed on your machine
- Basic knowledge of Python programming
- API keys for OpenAI and MURF AI
Setting Up Your Environment
1. Install Required Libraries: Open your terminal and run the following command to install the necessary libraries:
{{qq-border-start}}
pip install discord.py[voice] openai python-dotenv requests PyNaCl{{qq-border-end}}
This command installs the discord.py library, which allows us to interact with the Discord API, as well as other libraries for handling requests and environment variables.
Note: Here PyNaCl is typically bundled with discord.py[voice], to ensure voice data is encrypted and transmitted securely
For the alternative Murf Python SDK approach (covered later), install the SDK with:
{{qq-border-start}}
pip install murf{{qq-border-end}}
2. Install FFmpeg: This is required for audio processing. You can install it using:
- Windows: choco install ffmpeg
- MacOS: brew install ffmpeg
- Linux: sudo apt-get install ffmpeg
3. Create a New Discord Bot: Go to the Discord Developer Portal, create a new application, and add a bot user. Make sure to copy the bot token.
4. Get API Keys: Sign up for OpenAI and MURF AI to get your API keys. These keys will allow our bot to access their services for summarization and text-to-speech.
5. Set Up Environment Variables: Create a .env file in your project directory and add your API keys:
{{qq-border-start}}
DISCORD_TOKEN=your-discord-token
OPENAI_API_KEY=your-openai-key
MURF_API_KEY=your-murf-key
{{qq-border-end}}
This file will store sensitive information securely, preventing it from being hard-coded in our script.
The Bot Code
Now, let's dive into the code. We will break it down into sections for better understanding.
1. Importing Libraries
First, we need to import the necessary libraries. This includes Discord's API, OpenAI for summarization, and requests for making HTTP calls.
{{qq-border-start}}
import discord
from discord.ext import commands
from discord import app_commands
from discord.ui import Button, View
import openai
import requests
import json
import os
from pathlib import Path
import asyncio
{{qq-border-end}}
In this section, we import:
- discord: The main library for interacting with Discord.
- commands: A module from discord.ext that helps us create commands for our bot.
- app_commands: For handling slash commands.
- Button and View: For creating interactive UI elements in Discord.
- openai: To access OpenAI's API for text summarization.
- requests: To make HTTP requests to the MURF AI API.
- os, json, Path, and asyncio: Standard libraries for file handling, JSON parsing, and asynchronous programming.
2. Creating the Narration Button
Next, we define a class for the button that users will click to hear the announcement narrated. This class handles the button's behavior when clicked.
{{qq-border-start}}
class NarrationButton(Button):
    def __init__(self, original_message, summary, bot):
        super().__init__(label="🔊 Narrate Announcement", style=discord.ButtonStyle.primary)
        self.original_message = original_message
        self.summary = summary
        self.bot = bot

    async def callback(self, interaction):
        # Defer the response since audio generation might take time
        await interaction.response.defer(thinking=True)

        try:
            # Get the voice channel of the user who clicked the button
            voice_channel = interaction.user.voice.channel
            if not voice_channel:
                await interaction.followup.send("❌ You must be in a voice channel to use this feature!")
                return

            # Connect to the voice channel
            voice_client = await voice_channel.connect()

            # Generate and play audio
            audio_path = await self.bot.generate_speech(self.summary)
            if audio_path:
                # Play the audio
                voice_client.play(discord.FFmpegPCMAudio(audio_path))

                # Wait until audio finishes playing
                while voice_client.is_playing():
                    await asyncio.sleep(1)

                # Cleanup
                await voice_client.disconnect()
                os.remove(audio_path)
                await interaction.followup.send("✅ Announcement narrated!")
            else:
                await interaction.followup.send("❌ Failed to generate audio narration.")
        except AttributeError:
            await interaction.followup.send("❌ You must be in a voice channel to use this feature!")
        except Exception as e:
            await interaction.followup.send(f"❌ An error occurred: {str(e)}")
{{qq-border-end}}
In this section:
- We create a NarrationButton class that inherits from Button.
- The __init__ method initializes the button with a label and stores the original message, summary, and bot reference.
- The callback method is triggered when the button is clicked. It checks if the user is in a voice channel, connects to it, generates the speech audio, and plays it.
3. Setting Up the Bot Class
Now, we create the main bot class, which will handle commands and events. This class initializes the bot and sets up the necessary API keys.
{{qq-border-start}}
class AnnouncementNarrator(commands.Bot):
    def __init__(self):
        intents = discord.Intents.default()
        intents.message_content = True
        intents.guilds = True
        super().__init__(command_prefix='!', intents=intents)

        # Configure API keys
        self.OPENAI_API_KEY = 'your-openai-key'
        self.MURF_API_KEY = 'your-murf-key'

        # Dictionary to store announcement channel IDs for each server
        self.announcement_channels = {}
{{qq-border-end}}
In this section:
- We define the AnnouncementNarrator class, which inherits from commands.Bot.
- The __init__ method sets up the bot's intents, which determine what events the bot can listen to. We enable message content and guild intents.
- We store the OpenAI and MURF API keys and initialize a dictionary to keep track of announcement channels for each server.
4. Setting Up Slash Commands
In this section, we define a method to set up slash commands. This allows users to designate a channel for announcements.
{{qq-border-start}}
async def setup_hook(self):
    """Setup function for the bot"""
    print("Starting to sync commands...")
    try:
        # Add the command to the tree
        self.tree.command(name="set_announcement_channel", description="Set the current channel as the announcement channel")(self.set_announcement_channel)

        print("Syncing slash commands...")
        synced = await self.tree.sync()
        print(f"Synced {len(synced)} command(s)")
    except Exception as e:
        print(f"Error syncing commands: {e}")
{{qq-border-end}}
Here:
- The setup_hook method is called when the bot is ready. It syncs the slash commands with Discord.
- We define a command called /set_announcement_channel, which allows users to set the current channel as the announcement channel.
5. Summarizing Text with OpenAI
This method uses OpenAI's API to generate a concise summary of the announcement text.
{{qq-border-start}}
async def summarize_text(self, text):
    """Summarize the announcement using GPT"""
    try:
        print("Attempting to summarize text:", text)
        print("Using OpenAI key:", self.OPENAI_API_KEY[:10] + "...")

        # Create OpenAI client
        client = openai.OpenAI(api_key=self.OPENAI_API_KEY)

        # Make the API call without await
        response = client.chat.completions.create(
            model="gpt-4o-mini",
            messages=[
                {"role": "system", "content": "Create a clear, concise one-line summary of the following announcement."},
                {"role": "user", "content": text}
            ]
        )
        print("OpenAI response:", response)
        return response.choices[0].message.content
    except Exception as e:
        print(f"Error in summarization: {e}")
        return None
{{qq-border-end}}
In this section:
- The summarize_text method takes the announcement text as input and uses OpenAI's API to generate a summary.
- It constructs a prompt for the model and returns the summarized text.
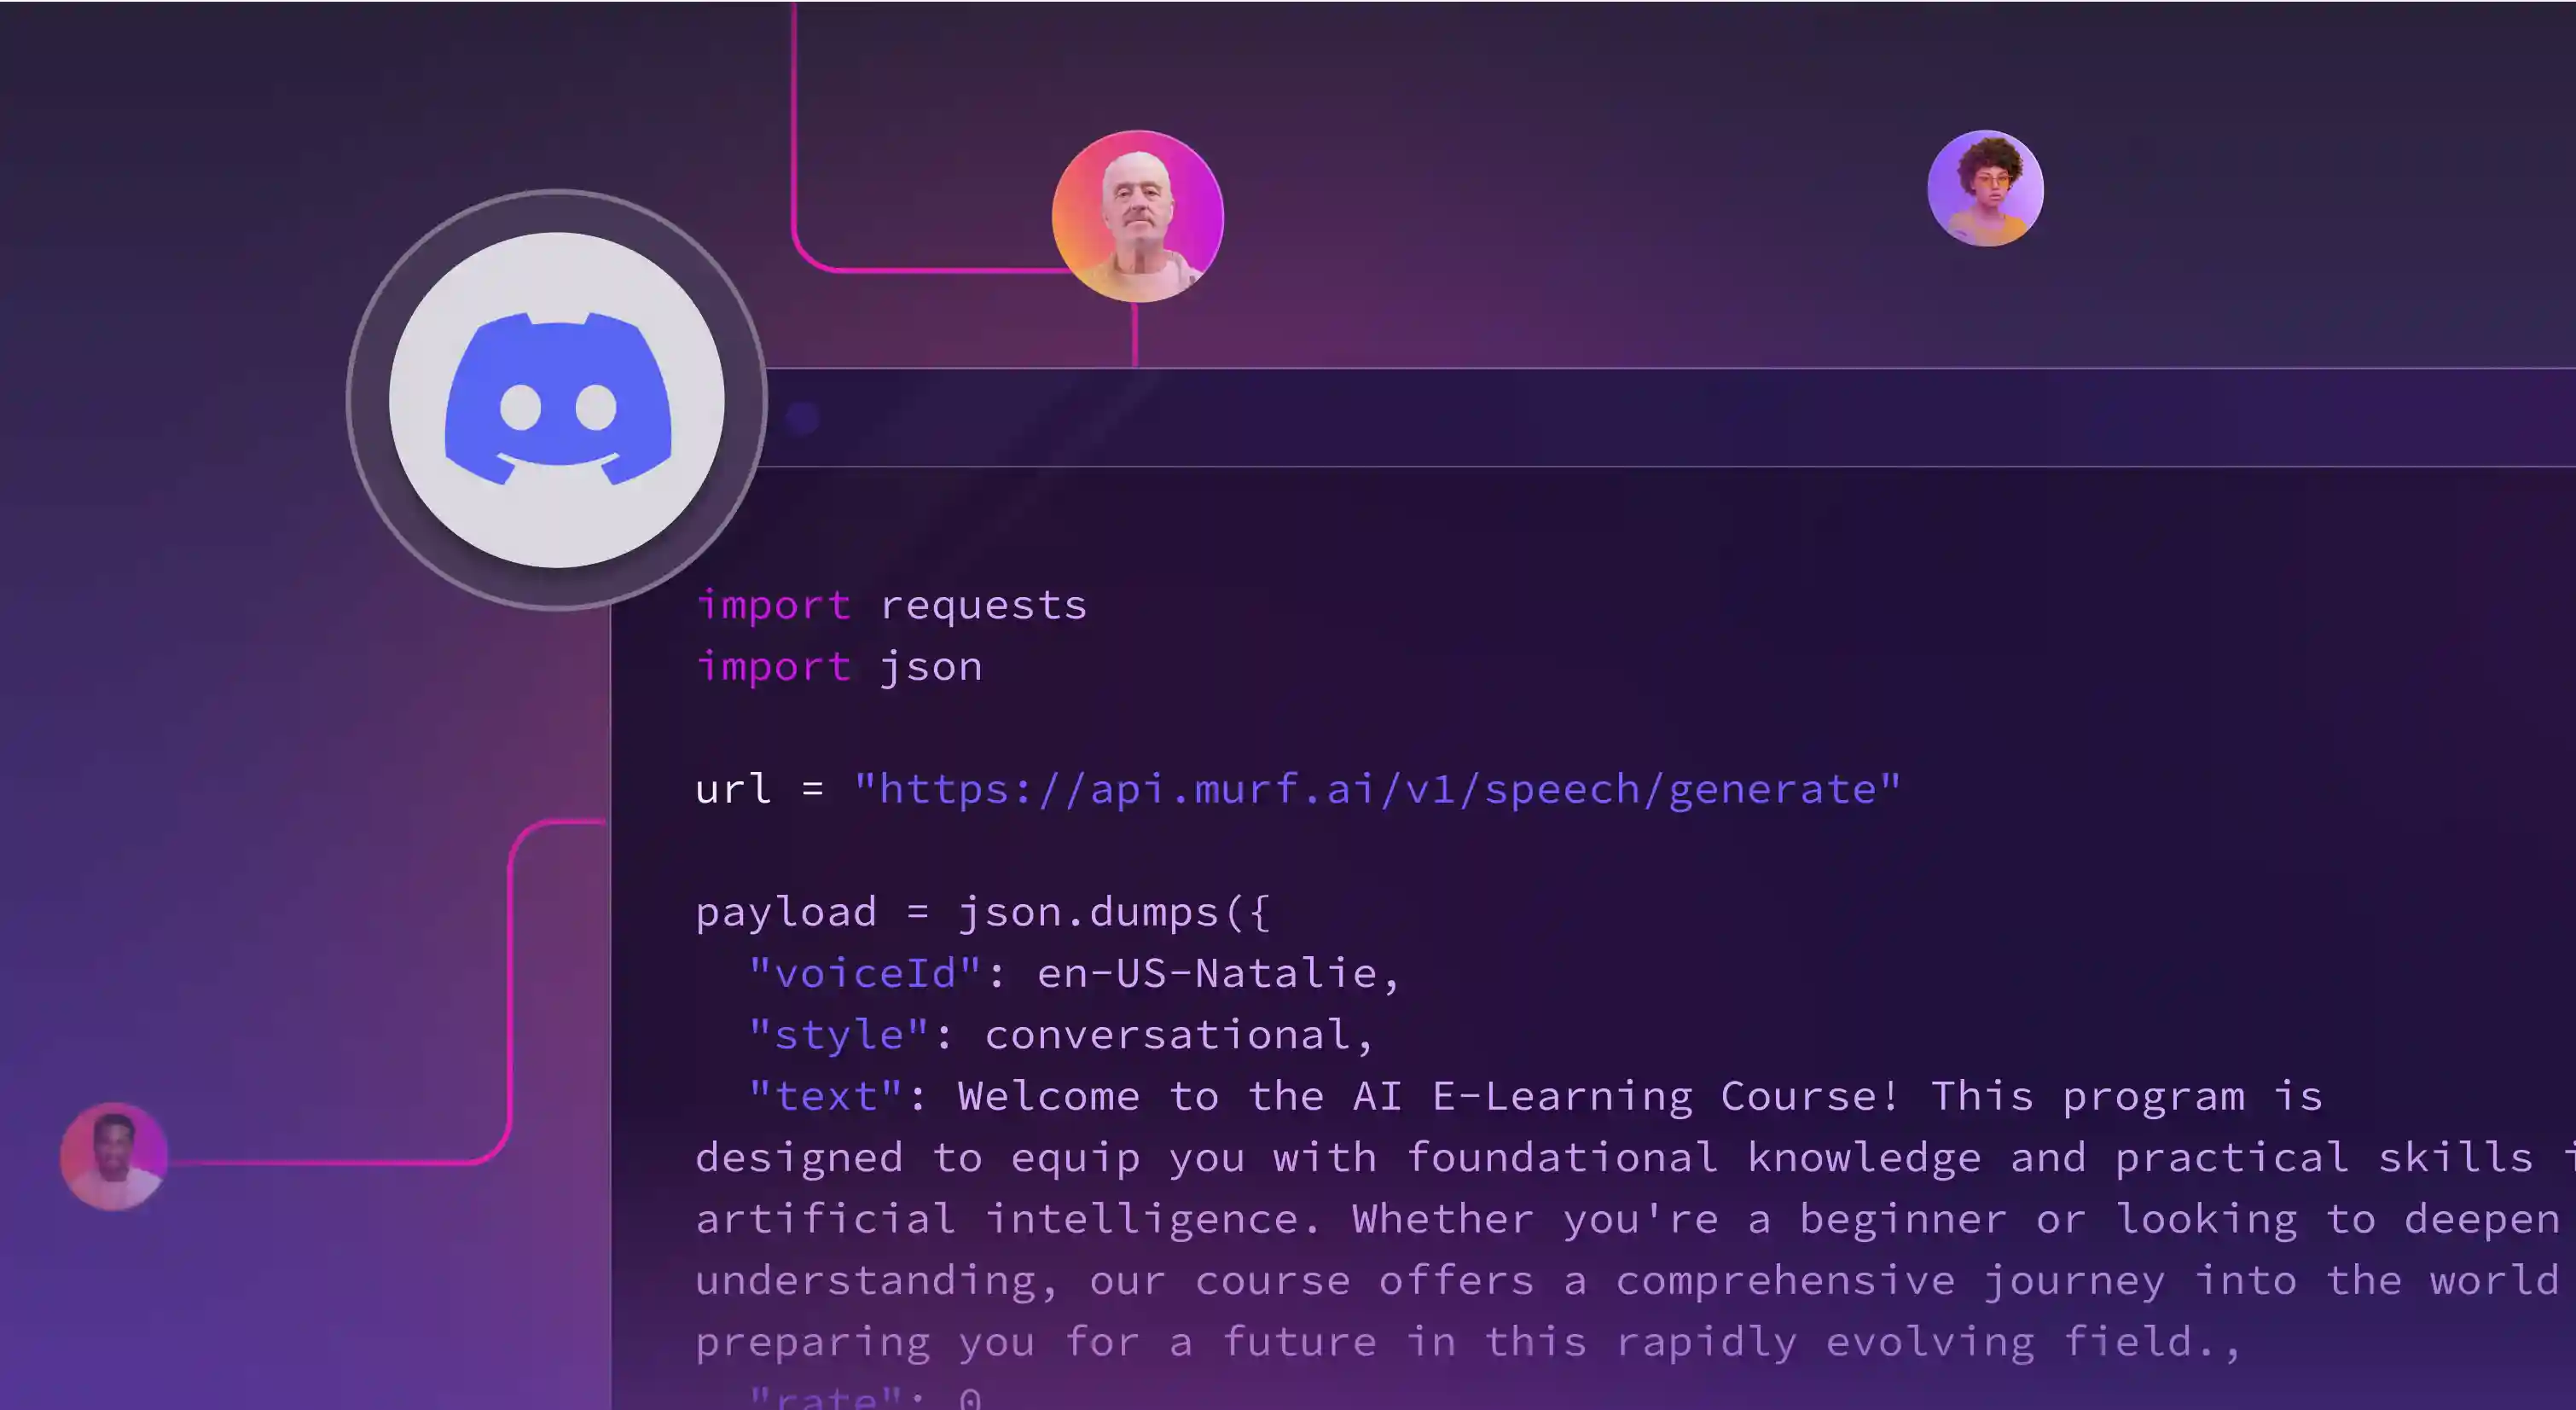
6. Generating Speech with MURF AI
This method sends a POST request to the MURF AI API to convert the summarized text into speech.
{{qq-border-start}}
async def generate_speech(self, text):
    """Generate speech using MURF AI API"""
    try:
        url = "https://api.murf.ai/v1/speech/generate"

        headers = {
            "Content-Type": "application/json",
            "api-key": self.MURF_API_KEY
        }

        payload = {
            "text": text,
            "voiceId": "en-US-natalie",
            "format": "WAV",
            "sampleRate": 24000,
            "modelVersion": "GEN2"
        }

        # Make the API call to generate speech
        response = requests.post(url, headers=headers, json=payload)

        if response.status_code == 200:
            audio_data = response.json()

            if 'audioFile' in audio_data:
                # Download the audio file
                audio_response = requests.get(audio_data['audioFile'])
                if audio_response.status_code == 200:
                    audio_path = Path(f"announcement_{int(asyncio.get_event_loop().time())}.wav")
                    with open(audio_path, "wb") as f:
                        f.write(audio_response.content)
                    return audio_path

            print(f"Error from MURF AI: {response.text}")
            return None

    except Exception as e:
        print(f"Error in speech generation: {e}")
        return None
{{qq-border-end}}
Here:
- The generate_speech method constructs a request to the MURF AI API to convert the text into speech.
- It specifies the voice, format, and sample rate, and handles the response to download the generated audio file.
Alternative: Using the Murf Python SDK
If you prefer a simpler approach, you can use the Murf Python SDK instead of direct REST calls. First, ensure you’ve installed it with `pip install murf-ai`. Here’s an alternate version of the `generate_speech` method:
{{qq-border-start}}
async def generate_speech(self, text):
    """Generate speech using Murf Python SDK"""
    try:
        from murf import Murf
        client = Murf(api_key=self.MURF_API_KEY)

        # Generate speech and get the audio file URL
        res = client.text_to_speech.generate(
            text=text,
            voice_id="en-US-natalie",
            format="WAV",
            sample_rate=24000
        )

        # Download the audio file from the returned URL
        audio_response = requests.get(res.audio_file)
        if audio_response.status_code == 200:
            audio_path = Path(f"announcement_{int(asyncio.get_event_loop().time())}.wav")
            with open(audio_path, "wb") as f:
                f.write(audio_response.content)
            return audio_path

        print(f"Error from Murf SDK: {res}")
        return None
    except Exception as e:
        print(f"Error in speech generation with SDK: {e}")
        return None
{{qq-border-end}}
In this version:
- We import the Murf SDK and initialize it with your API key.
- The `text_to_speech.generate()` method handles the speech synthesis, returning a response object with an `audio_file` URL.
- We download the file similarly to the REST approach, maintaining compatibility with the bot’s audio playback logic.
- Advanced options like pitch, pauses, or styles (e.g., "Angry") are available—check the Murf API docs for details!
7. Handling Messages
The on_message method processes incoming messages, checking if they are in the designated announcement channel and handling narration.
{{qq-border-start}}
async def on_message(self, message):
    """Event handler for new messages"""
    if message.author.bot:
        return

    # Debug prints
    print(f"Message received in channel: {message.channel.id}")
    print(f"Announcement channels: {self.announcement_channels}")
    print(f"Guild ID: {message.guild.id}")

    # Check if this is an announcement channel
    if message.guild.id in self.announcement_channels and \
       message.channel.id == self.announcement_channels[message.guild.id]:

        print(f"New announcement detected in {message.guild.name}: {message.content}")

        # Get summary
        summary = await self.summarize_text(message.content)
        if not summary:
            await message.channel.send("❌ Failed to generate summary.")
            return

        # Auto-narrate if the announcement author is in a voice channel
        if message.author.voice and message.author.voice.channel:
            voice_channel = message.author.voice.channel
            try:
                voice_client = await voice_channel.connect()
                audio_path = await self.generate_speech(summary)

                if audio_path:
                    voice_client.play(discord.FFmpegPCMAudio(audio_path))

                    # Wait until audio finishes playing
                    while voice_client.is_playing():
                        await asyncio.sleep(1)

                    # Cleanup
                    await voice_client.disconnect()
                    os.remove(audio_path)
            except Exception as e:
                print(f"Error in auto-narration: {e}")

        # Create button view with bot reference
        view = View(timeout=None)
        button = NarrationButton(message, summary, self)
        view.add_item(button)

        # Send summary with button
        await message.channel.send(
            f"📢 **Announcement Summary:**\n{summary}",
            view=view
        )
{{qq-border-end}}
In this section:
- The on_message method listens for new messages on the server.
- It checks if the message is from a designated announcement channel and generates a summary.
- If the author is in a voice channel, it auto-narrates the announcement and provides a button for manual narration.
8. Running the Bot
Finally, we create an instance of the bot and run it using the provided token.
{{qq-border-start}}
# Create and run the bot
bot = AnnouncementNarrator()

# Replace with your Discord bot token
TOKEN = 'your-discord-token'
bot.run(TOKEN)
{{qq-border-end}}
In this section:
- We instantiate the AnnouncementNarrator class and run the bot using the Discord token.
Time to build your first Discord bot!
Or second? Whether you have created one before or are looking to build your first, if you have come this far, you now have the knowledge required to create a solid Discord voicebot for any use case you think you can serve.
Feel free to customize the bot further by adding more features or improving the summarization and narration capabilities. Happy coding!

.webp)