


Get in touch
Discover how we can improve your content production and help you save costs. A member of our team will reach out soon
.webp)
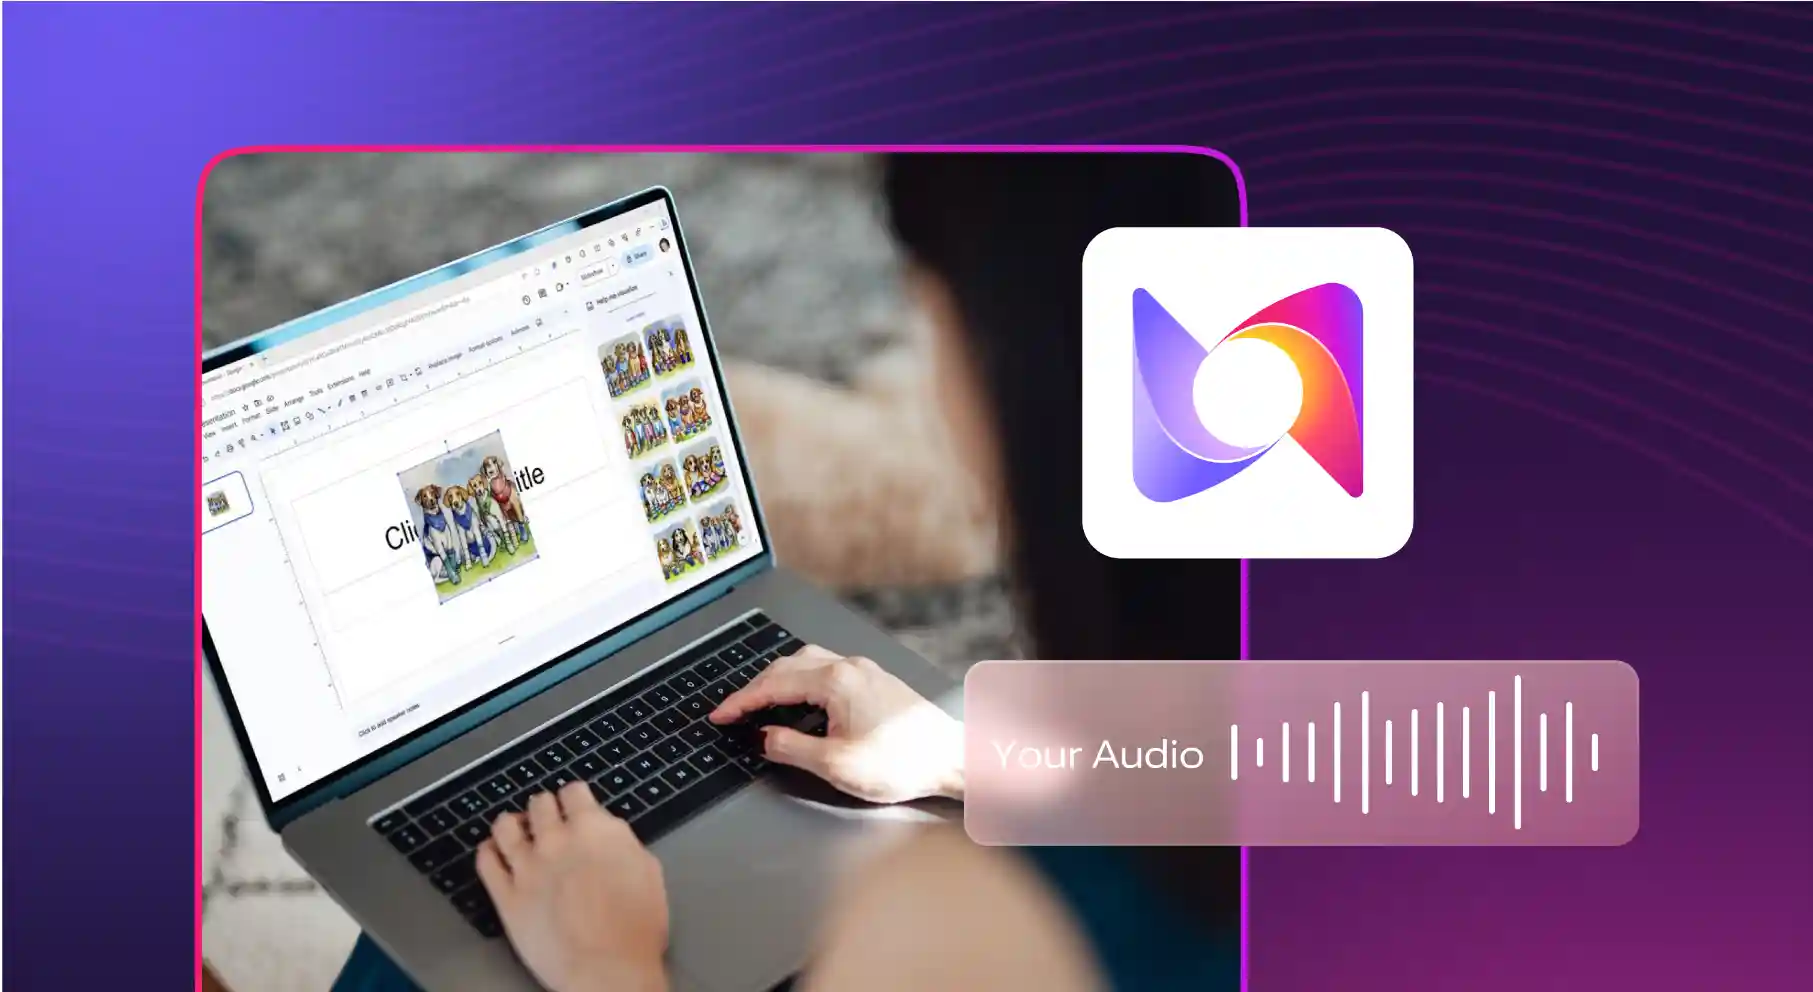
Summarize the Blog using ChatGPT
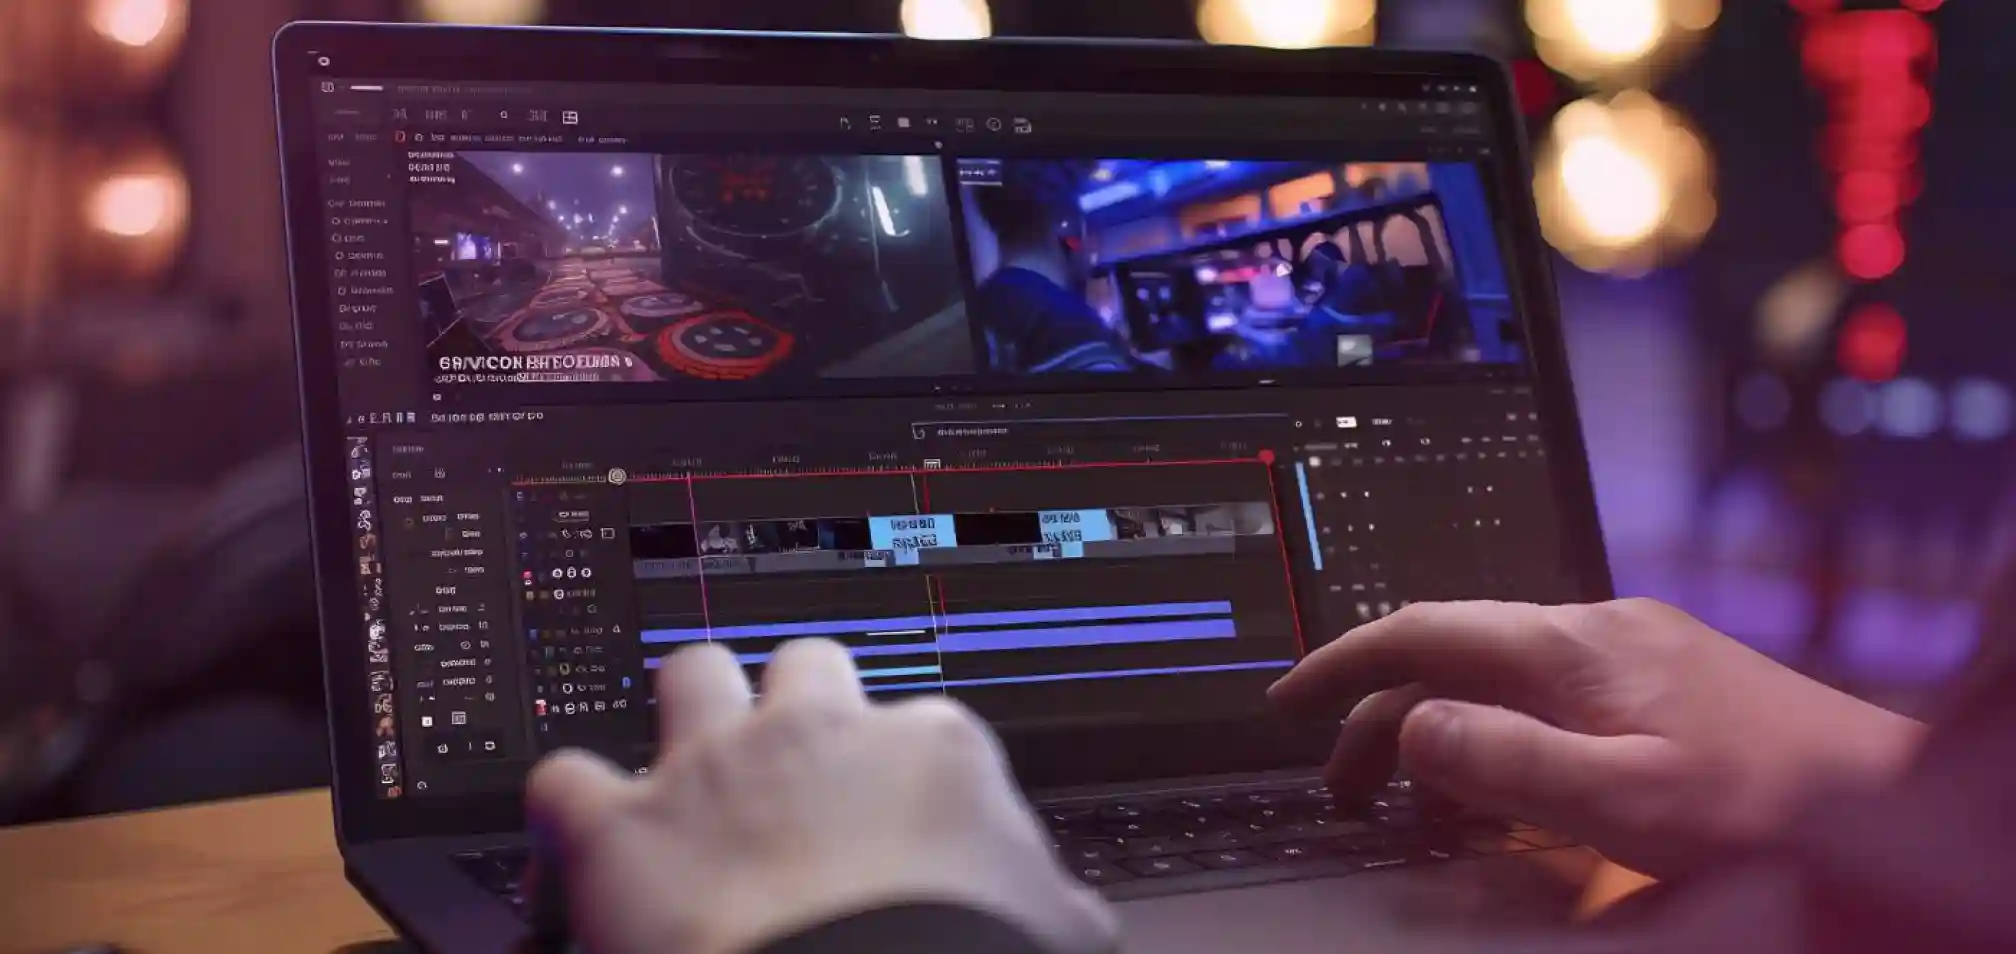
Adobe Premiere Rush stands out as a full-suite video editing platform designed for friendly use by both beginners and professionals. The platform allows users to import a variety of video and audio clips, soundtracks, audio files, and images to work with while creating and editing videos. Especially if you wish to add voiceovers to your video clips, Adobe Premiere Rush provides features like recording or uploading pre-recorded audio to the video.
In this post, we’ll discuss how to add voiceovers to your videos using Adobe Premiere Rush. Read on!
Adobe Premiere Rush provides users with several key handy features that make video and audio editing as well as voiceover generation simpler. Below are the major features that complement the process of adding voiceovers in Adobe Premiere Rush:
The platform provides features for adding pre-recorded audio clip, recording audio on the interface, audio ducking, and simple voiceover creation. Users can duplicate, split, and delete voice clips from this interface.
The platform has built-in templates that users can leverage to provide engaging and polished titles to videos. The capability to share files anywhere makes it easier to publish the content faster.
Adobe Premiere Rush provides countless filters and color enhancements to make your videos look vibrant. Additionally, you can adjust the aspect ratio to make the dimensions suitable for any social channels you want to publish it to.
Adobe Premiere Rush provides access to cloud-based features in Adobe Cloud, like 100 GB of storage, project synchronization across mobile and desktop, and much more.
You can also upgrade your storage for large-scale projects if required on a paid basis.
Users can make their videos perfectly seamless by using the transitions feature on the platform. The animations are smooth and highly aesthetic. You also get to control the speed of the video playback.
Follow the steps mentioned below to add voiceovers to your video using Adobe Premiere Rush:
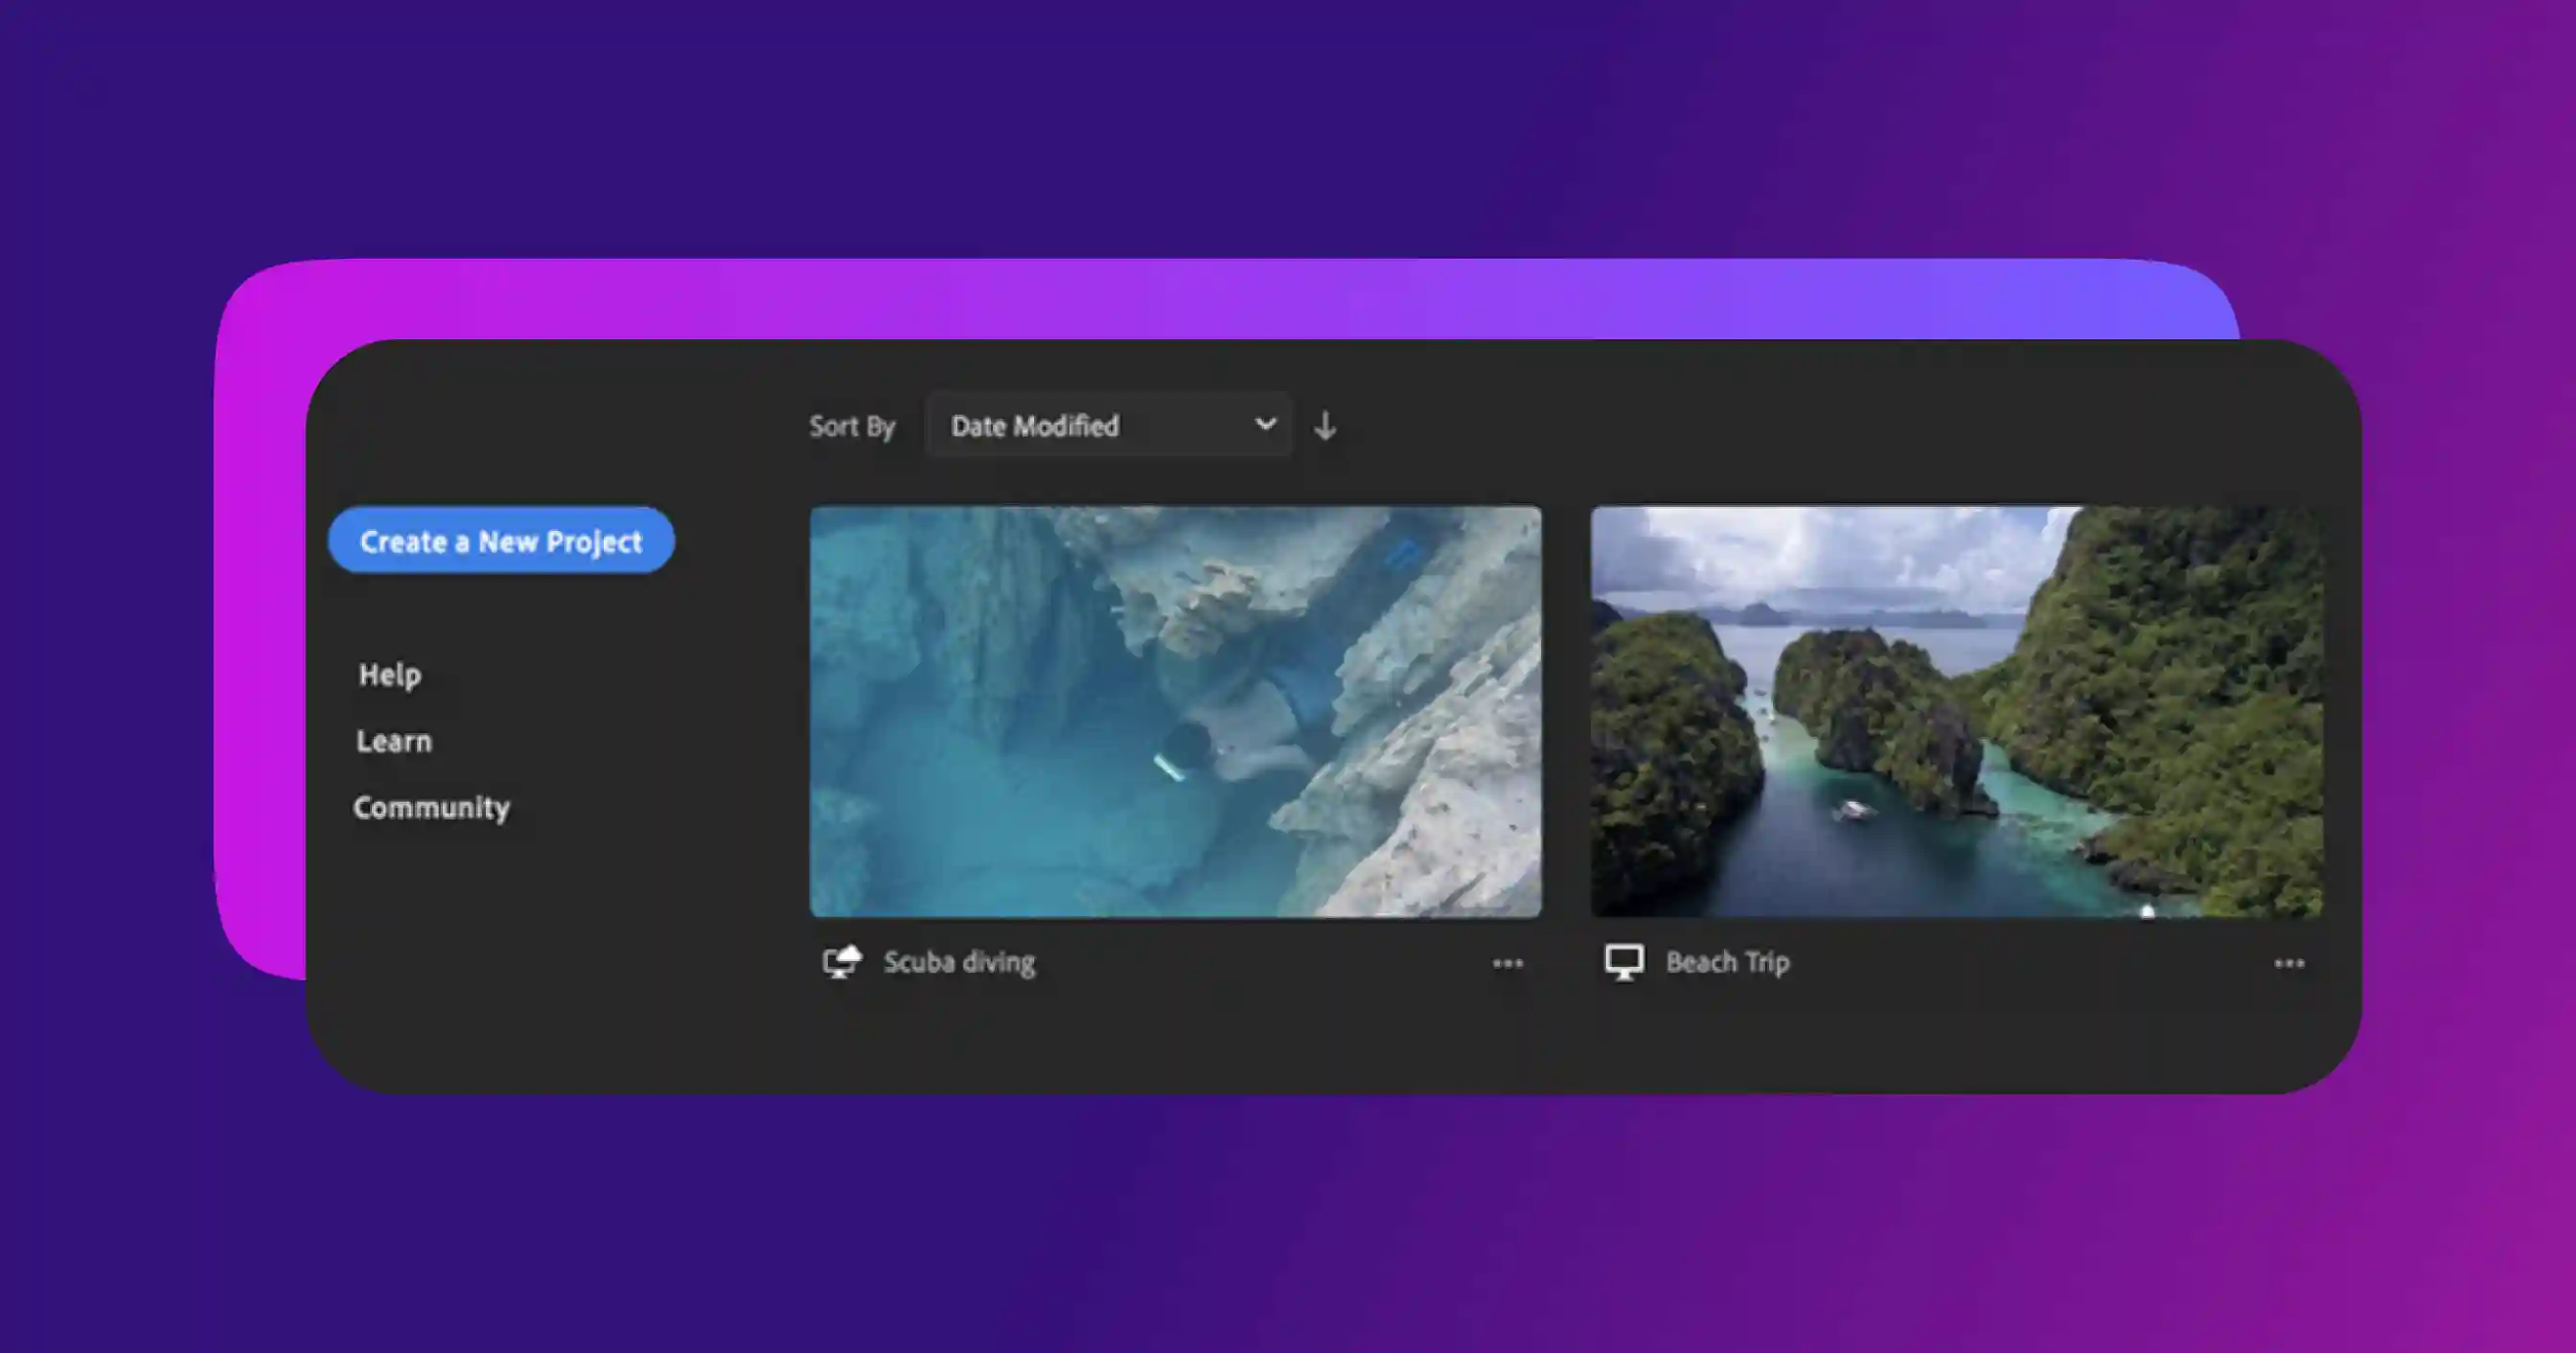
Launch the Adobe Premiere Rush interface on your desktop. You will now see the home screen interface, which contains options to create a new video project.
Click on the blue button “Create a New Project," and the interface will open up the browser for you to upload a new file. Upload your file to get started.
When the interface shows you the uploaded video, you will see it spread frame by frame on the slider at the base.
Drag the playhead to the position where you want to insert the audio or your voiceover file.
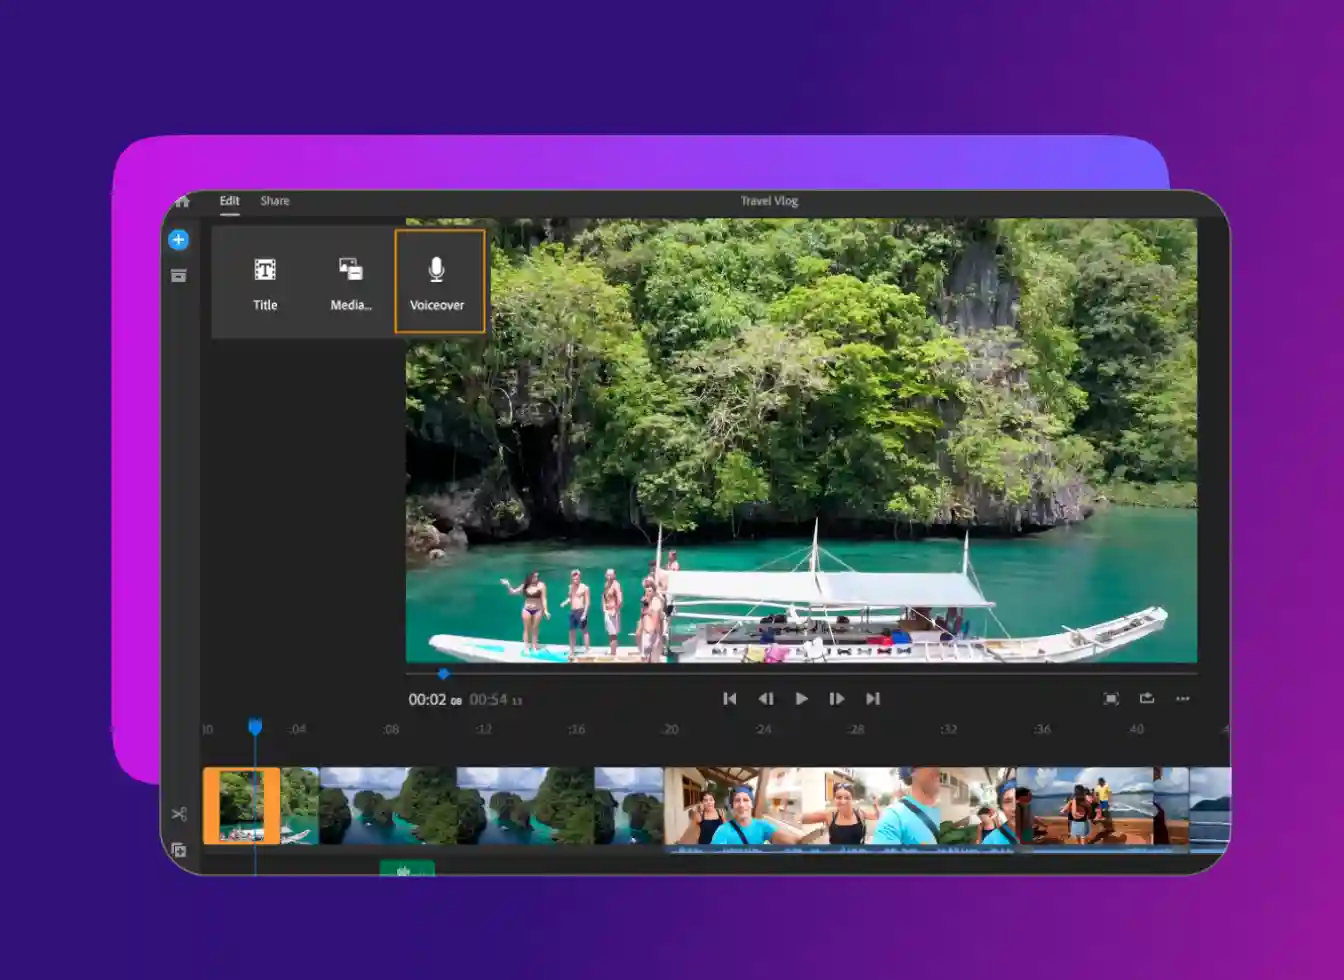
On the left sidebar menu, you will see a media button with a “+” icon in blue. This button lets you select the audio files you wish to add to the video.
Click on this button, and then click on the “Voiceover” option in the context menu that appears. (If you wish to upload other types of files, you can do that using the other options shown—Title or Media.)
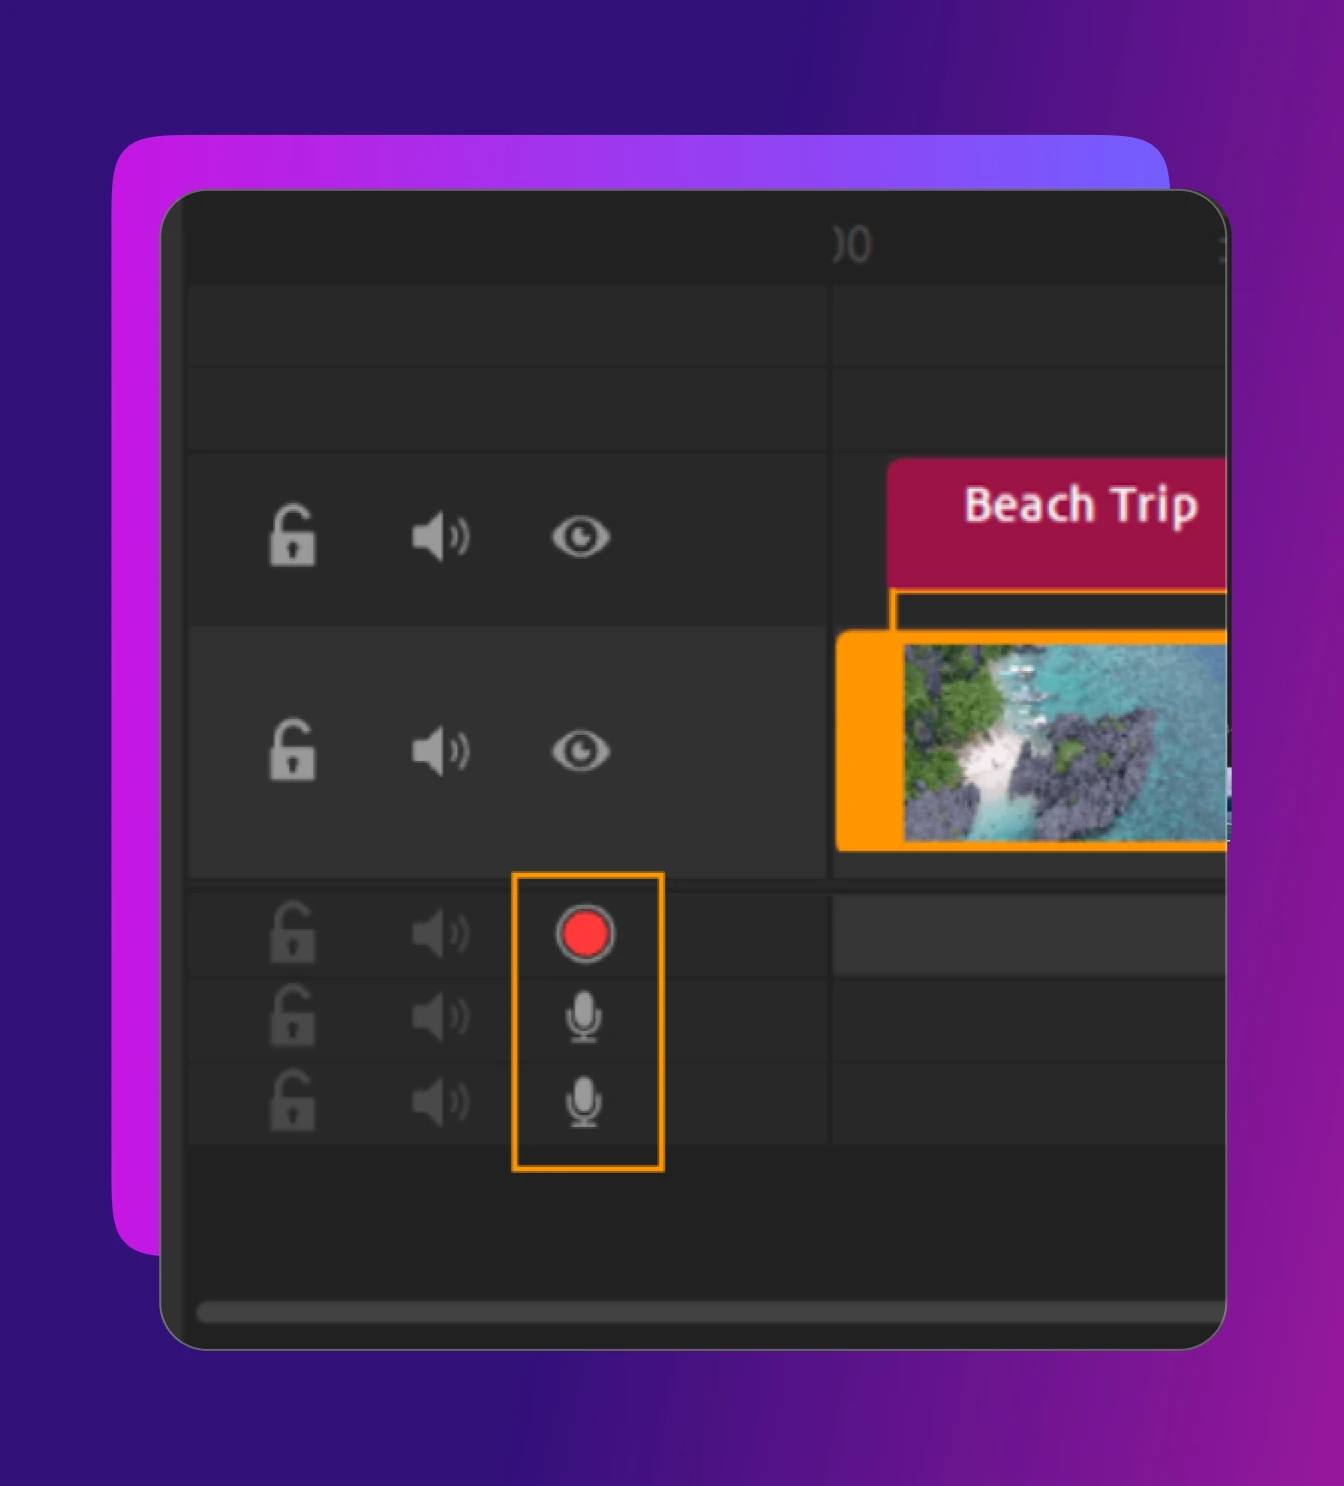
If you want to add an improvised voiceover to the above video clip, you will notice a microphone icon in the audio track.
Click on this icon to start recording your voiceover (the microphone button will turn into a red dot to show the recording process is on.) The interface conveniently gives you a 3-2-1 countdown to help you prepare yourself for the recording.
Once you stop the recording, you will notice that the voiceover you recorded begins at the point where you had originally positioned the playhead on the track. It continues until it reaches the position where the recording was stopped.
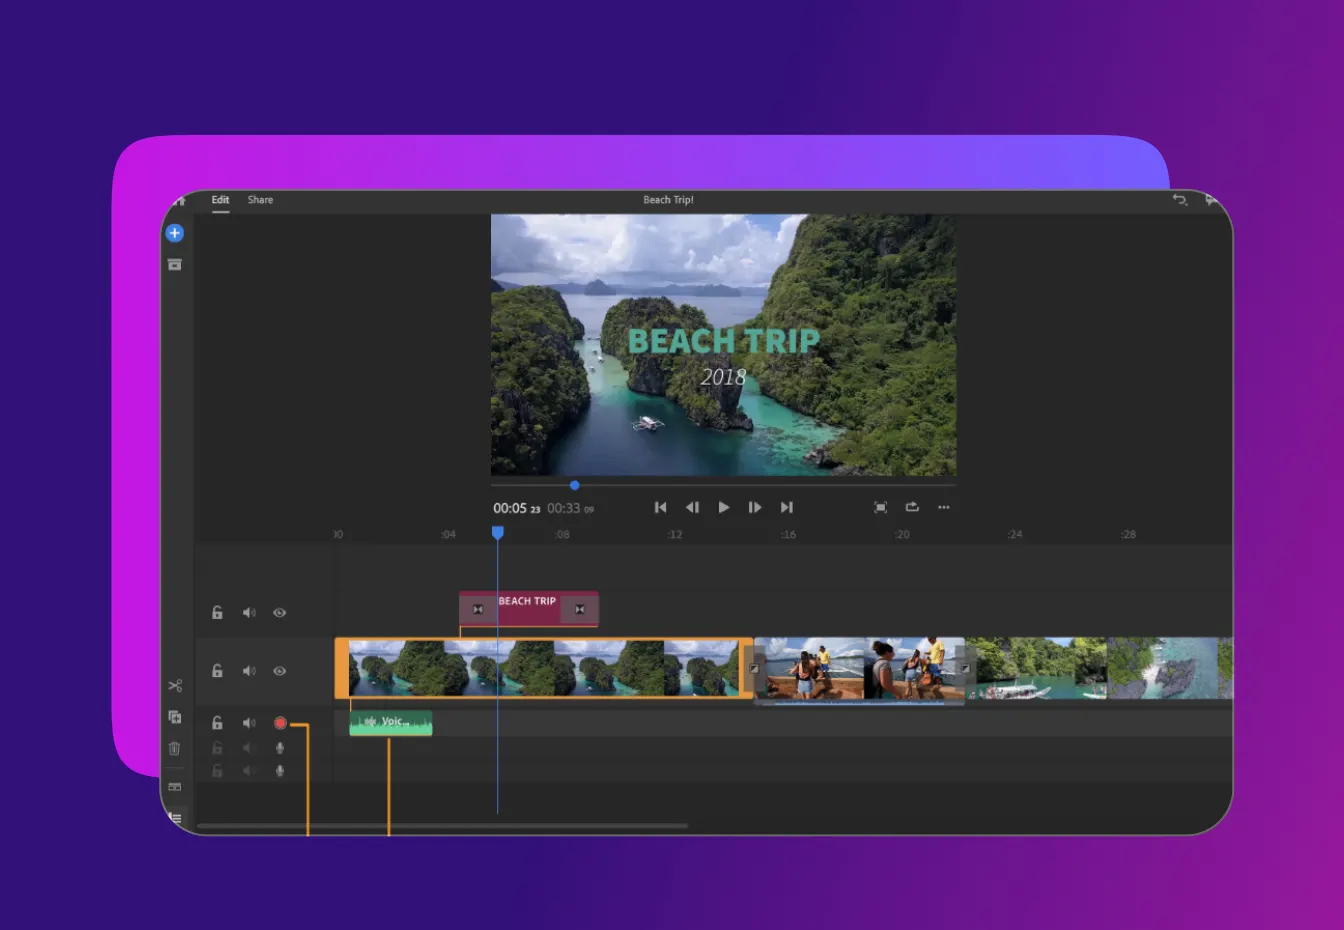
The recorded voiceover is now appended to the main video track as a clip at specific positions on the playback. Any movements that you apply to the V1 track will also move the corresponding voiceover. The best part is that this voiceover clip can be freely edited in the same manner as any other clip on the interface. You can apply tools like snipping, trimming, and splitting to the voiceover as well.
Adobe Premiere Rush provides you with audio refinement tools that allow you to refine audio clips and add features like transitions to your voiceovers. You can also finetune the audio using the tools provided on the interface in the Audio panel.
If you have already pre-recorded a voiceover and would like to upload it to your videos, you can do that in the following way:
Voiceovers are the quickest way to add more zing to your videos whether you want your audience to gain more insight through commentary, narration, or even sound effects.
Adobe Premiere Rush is a handy tool for appending voiceovers to videos while editing video projects. However, creating professional quality voiceovers before you add them to the videos is what takes the longest time. This is where Murf steps in, dramatically reducing production times with its advanced voiceover features.
When it comes to voiceovers, the sound quality of the voice used makes all the difference. Especially if you are a brand aiming for realistic, hyper-customizable, branded voices generated using advanced AI for high scalability, it becomes extremely important to streamline the voiceover process.
Murf Studio equips brands with a collection of over 120 humanlike AI voices to pick from in order to generate the perfectly branded voiceover. The customization options include complex voice modulation tools like emphasis, emotion, pause, and tone.
Club the capabilities of both platforms in your workflows to streamline the production of the best quality videos on the internet
.svg)
Adobe Premiere Rush is free to use for users who already have the Adobe Creative Cloud Membership. You can also download it to your mobile in the form of an app for free. To add Audio Premiere Rush, you can download the free trial of Adobe Premiere Pro separately to your desktop to use without Creative Cloud.
Adobe Premiere Rush is primarily a video editing platform that provides users with features like snipping and trimming video. Users can also see how to add audio to Premiere Rush, add filters to videos, and add voiceovers.
Adobe Premiere Rush can work on laptops, desktops, and mobile devices. You can download it from Google Play, Galaxy Store, and App Store for using the app on your mobile phones. Using this app from a phone gives users more flexibility for capturing video.
Although Adobe Premiere Rush is a capable tool, it does lack some advanced features like proper transitioning controls. Users also find it lacking in tools like green screen and freeze frame.
To get Adobe Premiere Rush for free, you can download it from the App Store, Galaxy Store, or Google Play to your mobile phones. If you already have a Creative Cloud membership, you can use Adobe Premiere Rush for free.
Adobe Premiere Rush provides users with the capability to effortlessly adjust the aspect ratio of their videos during the editing process. This feature positions the software as an outstanding tool for crafting videos destined for Instagram.
The platform’s versatility allows creators to seamlessly create engaging reels, leveraging the flexibility offered by Adobe Premiere Rush to optimize content for the specific requirements of Instagram’s visual format.

Keeping your data safe


Learn how we help enterprises expand globally at scale


