Add voice over Google Slides with Murf add-on
While nothing can replace your personal style of communication, voice over slide presentations are the closest way to create presentations that are easily shareable and can be played on-demand. If you are using Google Slides for your presentation, or collaborating with others to put your slides together, Murf is the perfect partner to add audio files to your Google Slides presentation. Perfect because Murf is now available as an add-on for Google Slides! This exciting development means that creating, editing and developing voice overs for your presentations will become seamless in the truest sense.
The basics of adding audio file to your slide presentation
If you are a user familiar with Google Slide, you are probably familiar with the Insert Audio feature, which allows you to upload audio files from Google drive and display it as a speaker icon on every slide. The drawback of this process is that you need to create a separate audio file for every slide change using a separate voice recorder, save each audio file in Google drive and then use the Insert Audio feature to upload audio clips one by one. If you wish to add background music within Slides, the same process needs to be repeated for that. Once you have inserted an audio file, there are some default settings in terms of playing the audio. You can choose to play automatically or play on clicking the speaker icon displayed on the slide. If you choose the on-click play option, the speaker icon would need to be clicked after every slide change.
Add-ons for Google Slides presentation
If you have never used add-ons in Google Slides before, here’s a brief primer on the topic.
What are Google Add ons?
Add-ons are customized applications that integrate with Google Workspace applications.
Google Workspace is the place where you can find all the Google productivity apps - Gmail, Drive, Slides, Numbers, Docs, Calendar, meet, and many more. App features can be further enhanced by add-ons, which are third party applications. Add-ons have many things going for them:
- They are super easy to install
- They are integrated with Google Docs, Google Slides file and Google Drive so you can use them on your documents directly.
- You can turn them on and off any time.
Looking to add audio files with voice narration?
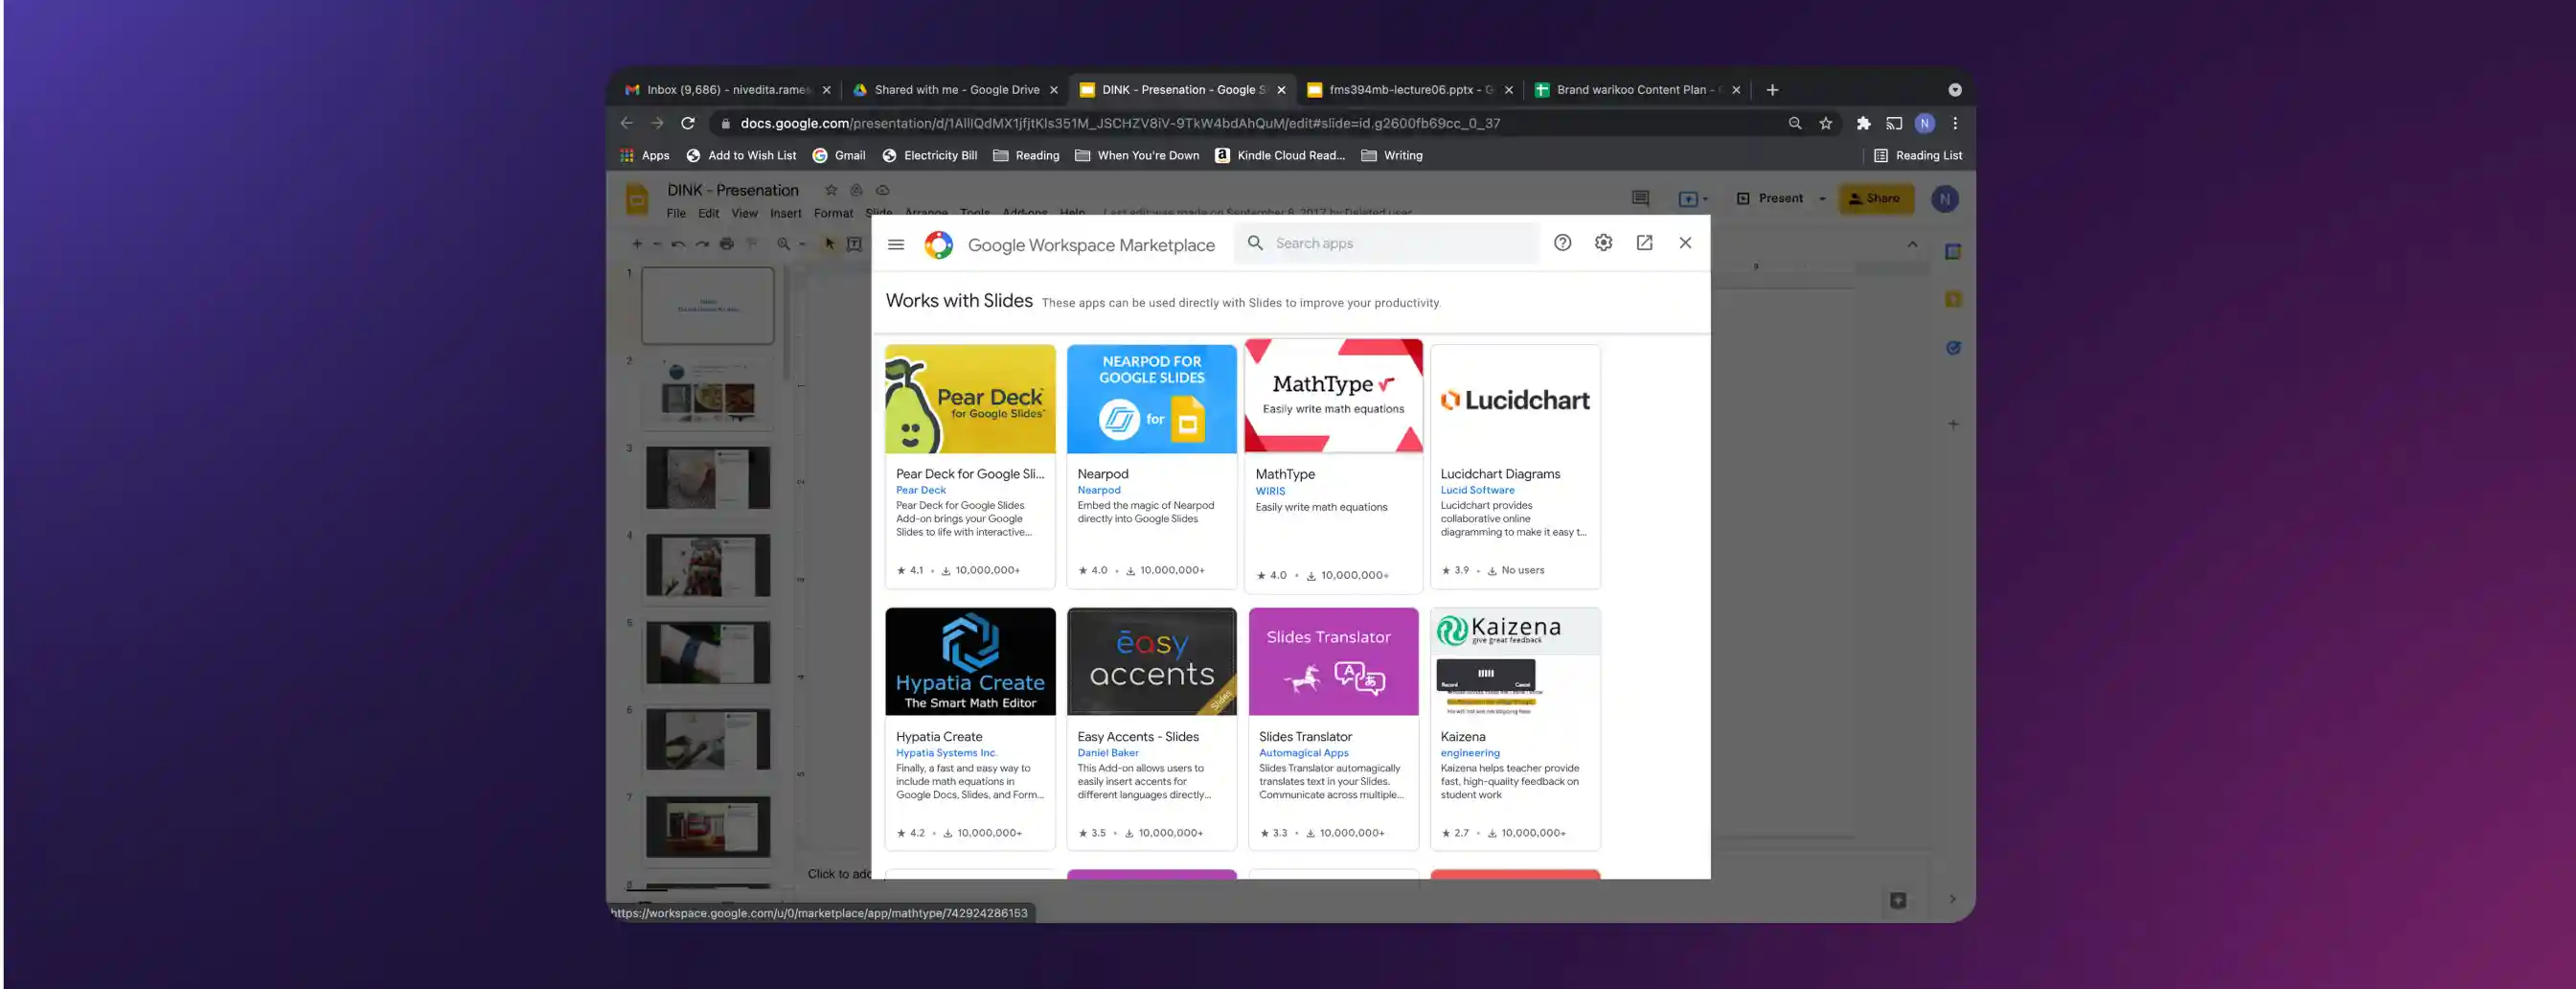
Install the Murf add-on to add audio files to your Google Slides presentation
The Google Workspace interface looks like this:
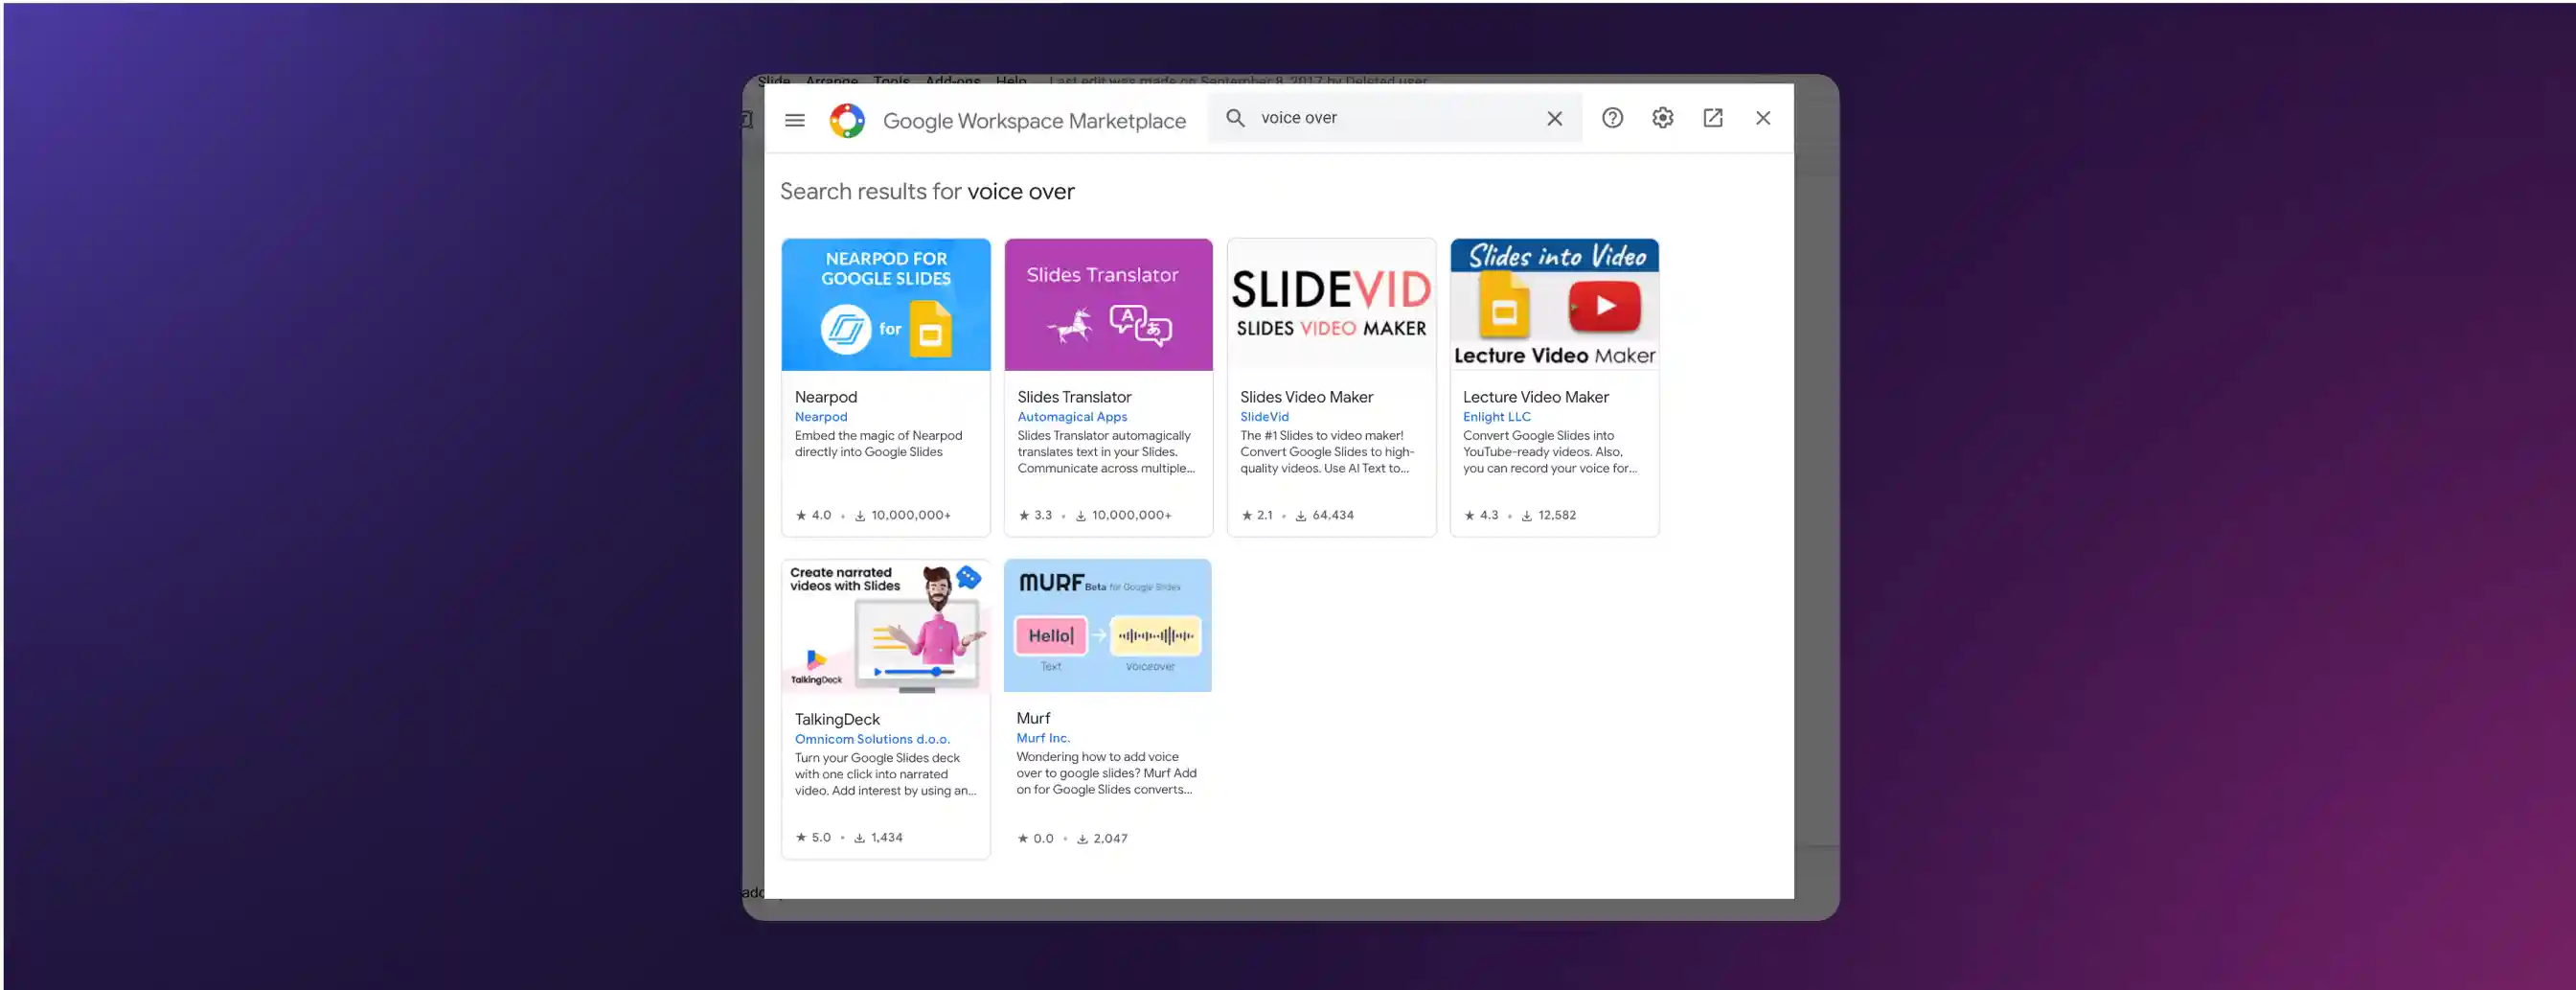
Click on the Murf search result to begin the installation process.
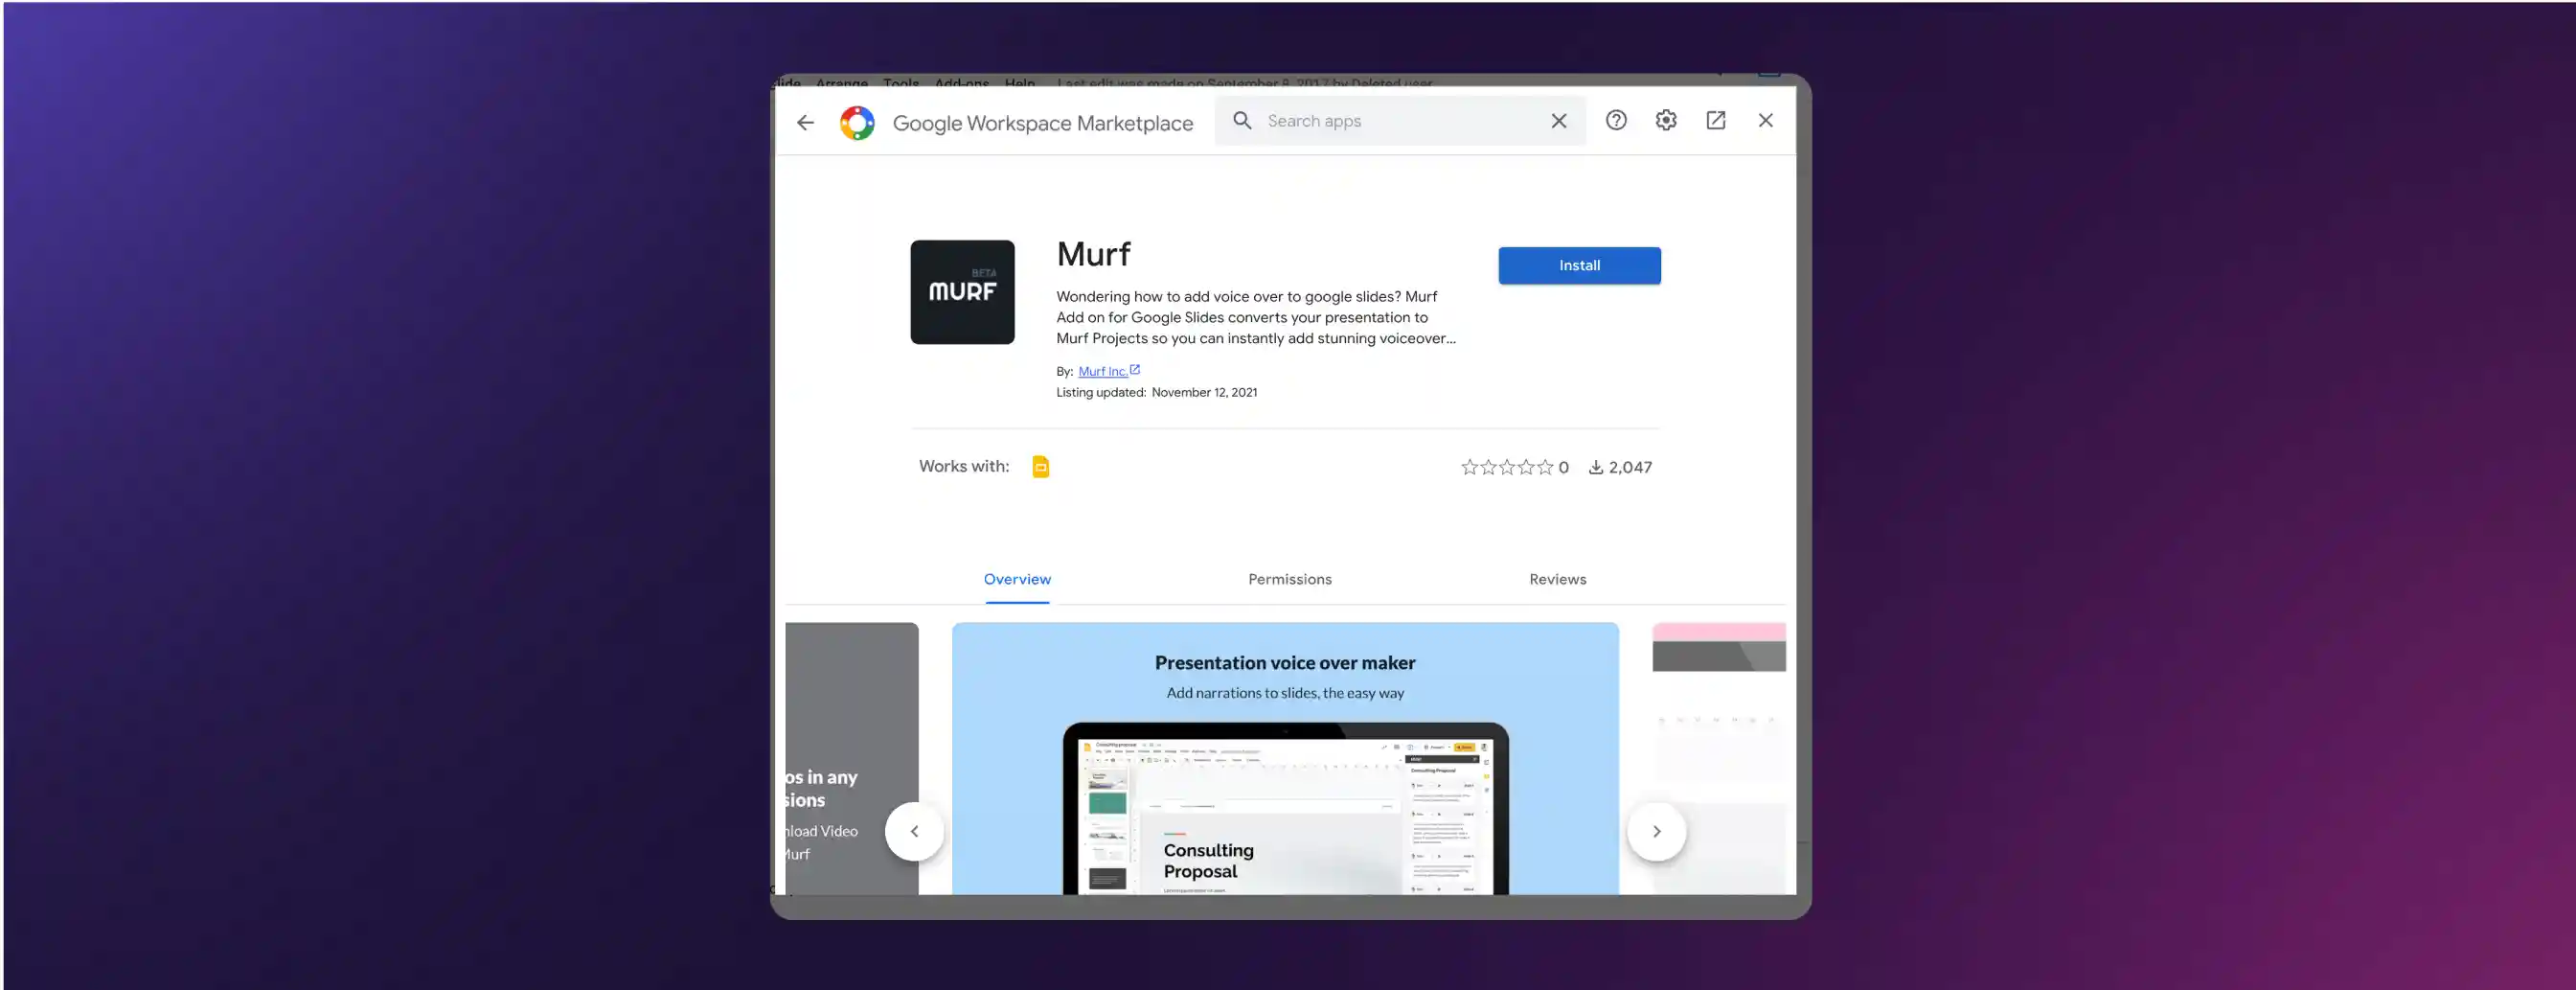
Follow the instructions to add Murf to your Google slides account.
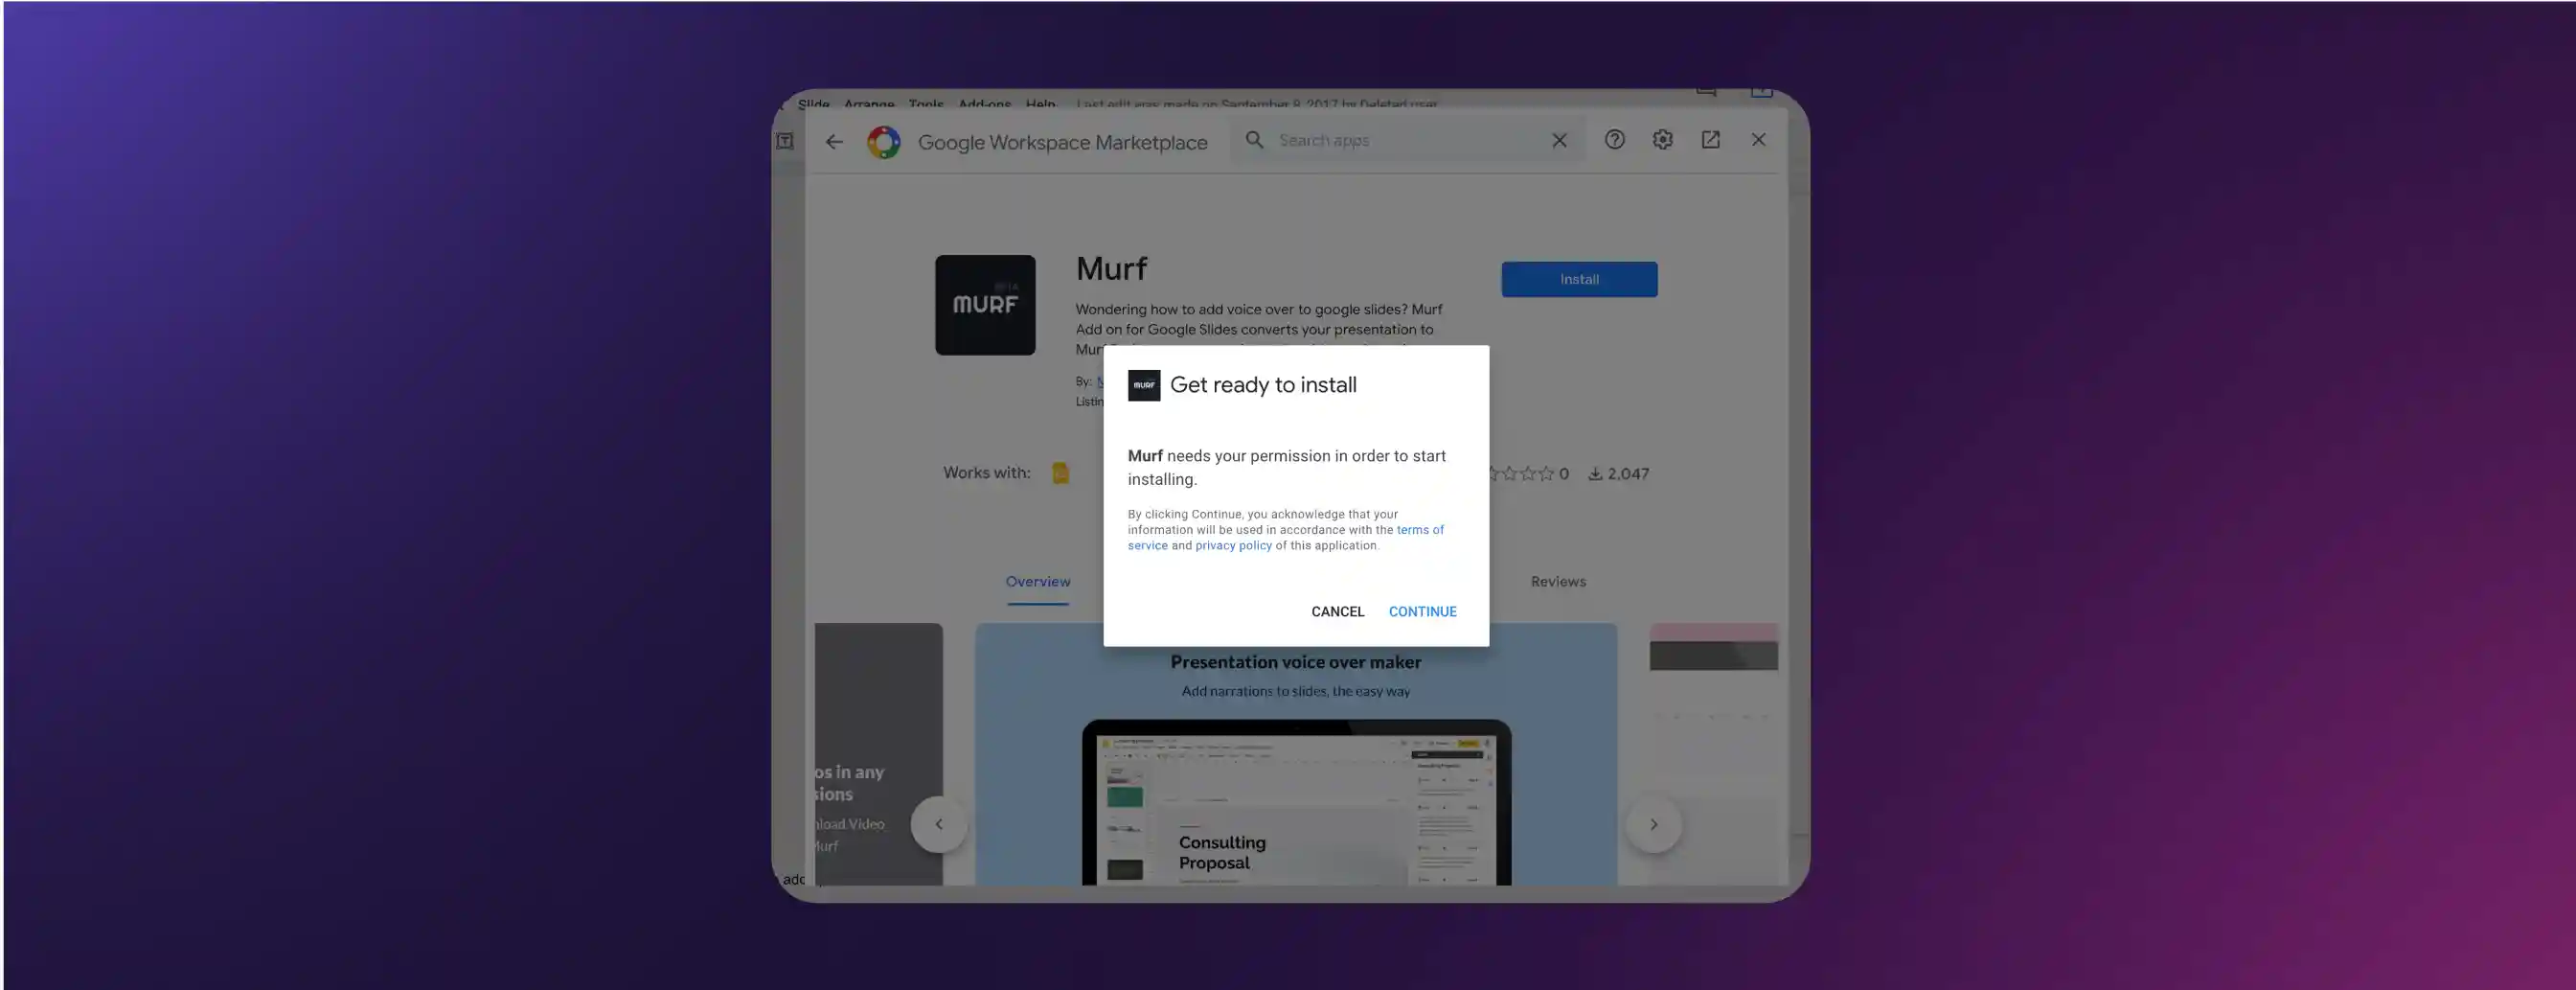
Lastly, a word of caution. All add ons are third party apps, so be sure to go through the list of permissions and accesses before installing an add-on. You will be prompted with a list of access requirements before installing the Murf add-on, too.
What does the Murf add-on do?
If you want to make a Google Slides presentation, the Murf add-on is an efficient way to build your audio recording alongside the slides themselves. The traditional way to upload audio files to Google drive is cumbersome, as you'd need to create a separate audio file for every slide change and upload them to Google Drive. In order to add audio, the audio files then need to be imported from Google Drive using the "Insert Audio" feature in Google Slides. The audio format options are also limited while using this method of uploading audio files to every slide.
Here’s why using this add-on for voice over Google Slides is easier:
- It enables you to build your google slide presentation while working on your presentation in Google Slides, all in the same screen. This way, you only need to export once, when the video is done.
- The Murf voice over google slides add-on will automate the transition between slides depending on the voice over audio file.
- In addition to choosing a voice over in the same window, you can change the voice for specific slides within Google Slides and listen to voice over previews, without renders or downloads.
- Murf Enterprise customers can collaborate with their teams on Google Slides and create a workflow, before moving to Murf Studio for advanced features.
In effect, the Murf add-on for Google Slides is double the goodness, in one place.
Also read : Launching Murf Voice Over Google Slides
Step by step instruction for using the Murf add-on for Google Slides
- Open the Murf add-on
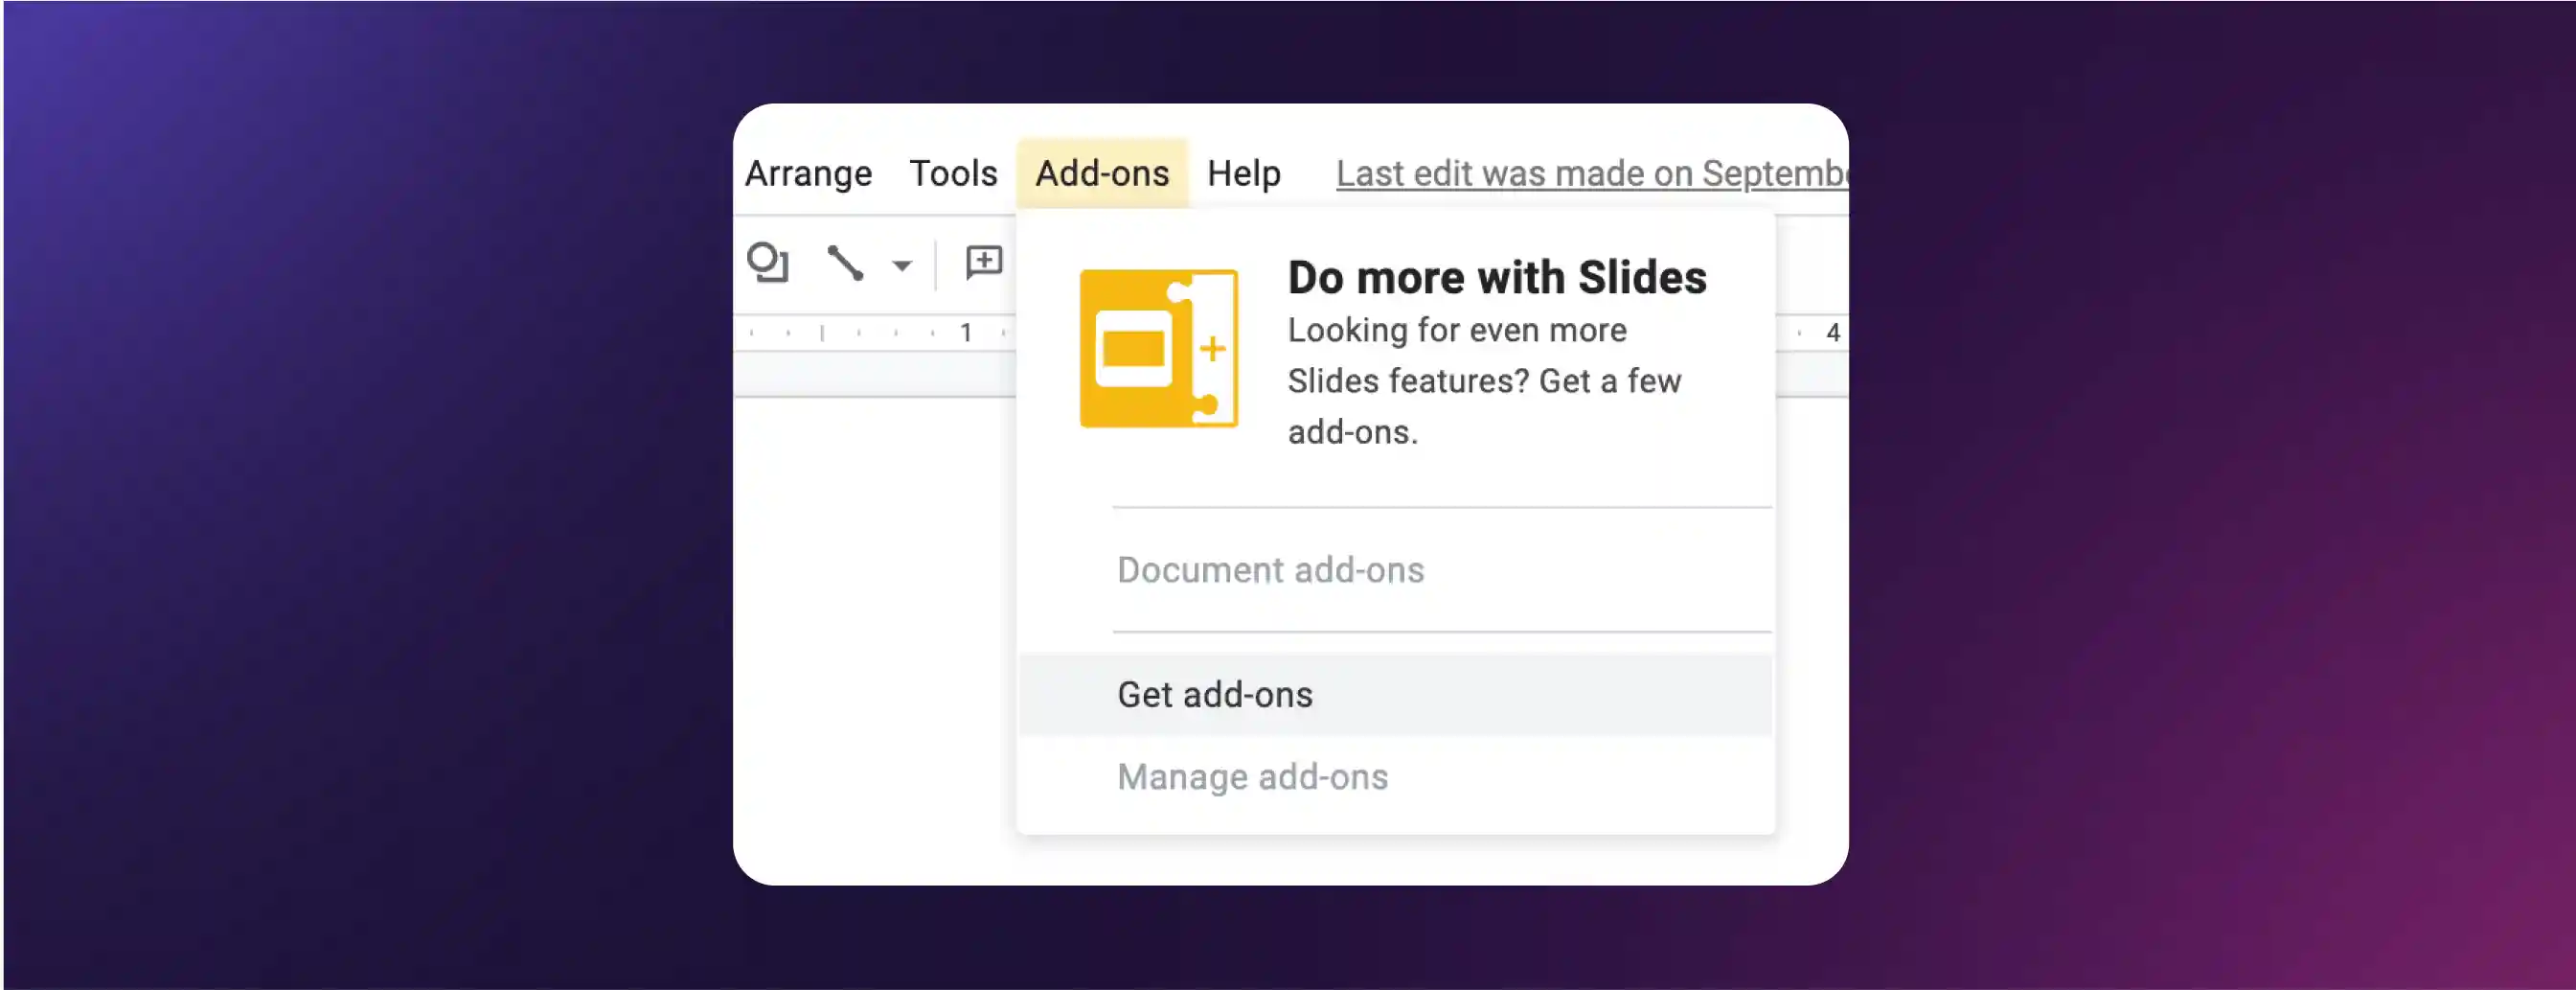
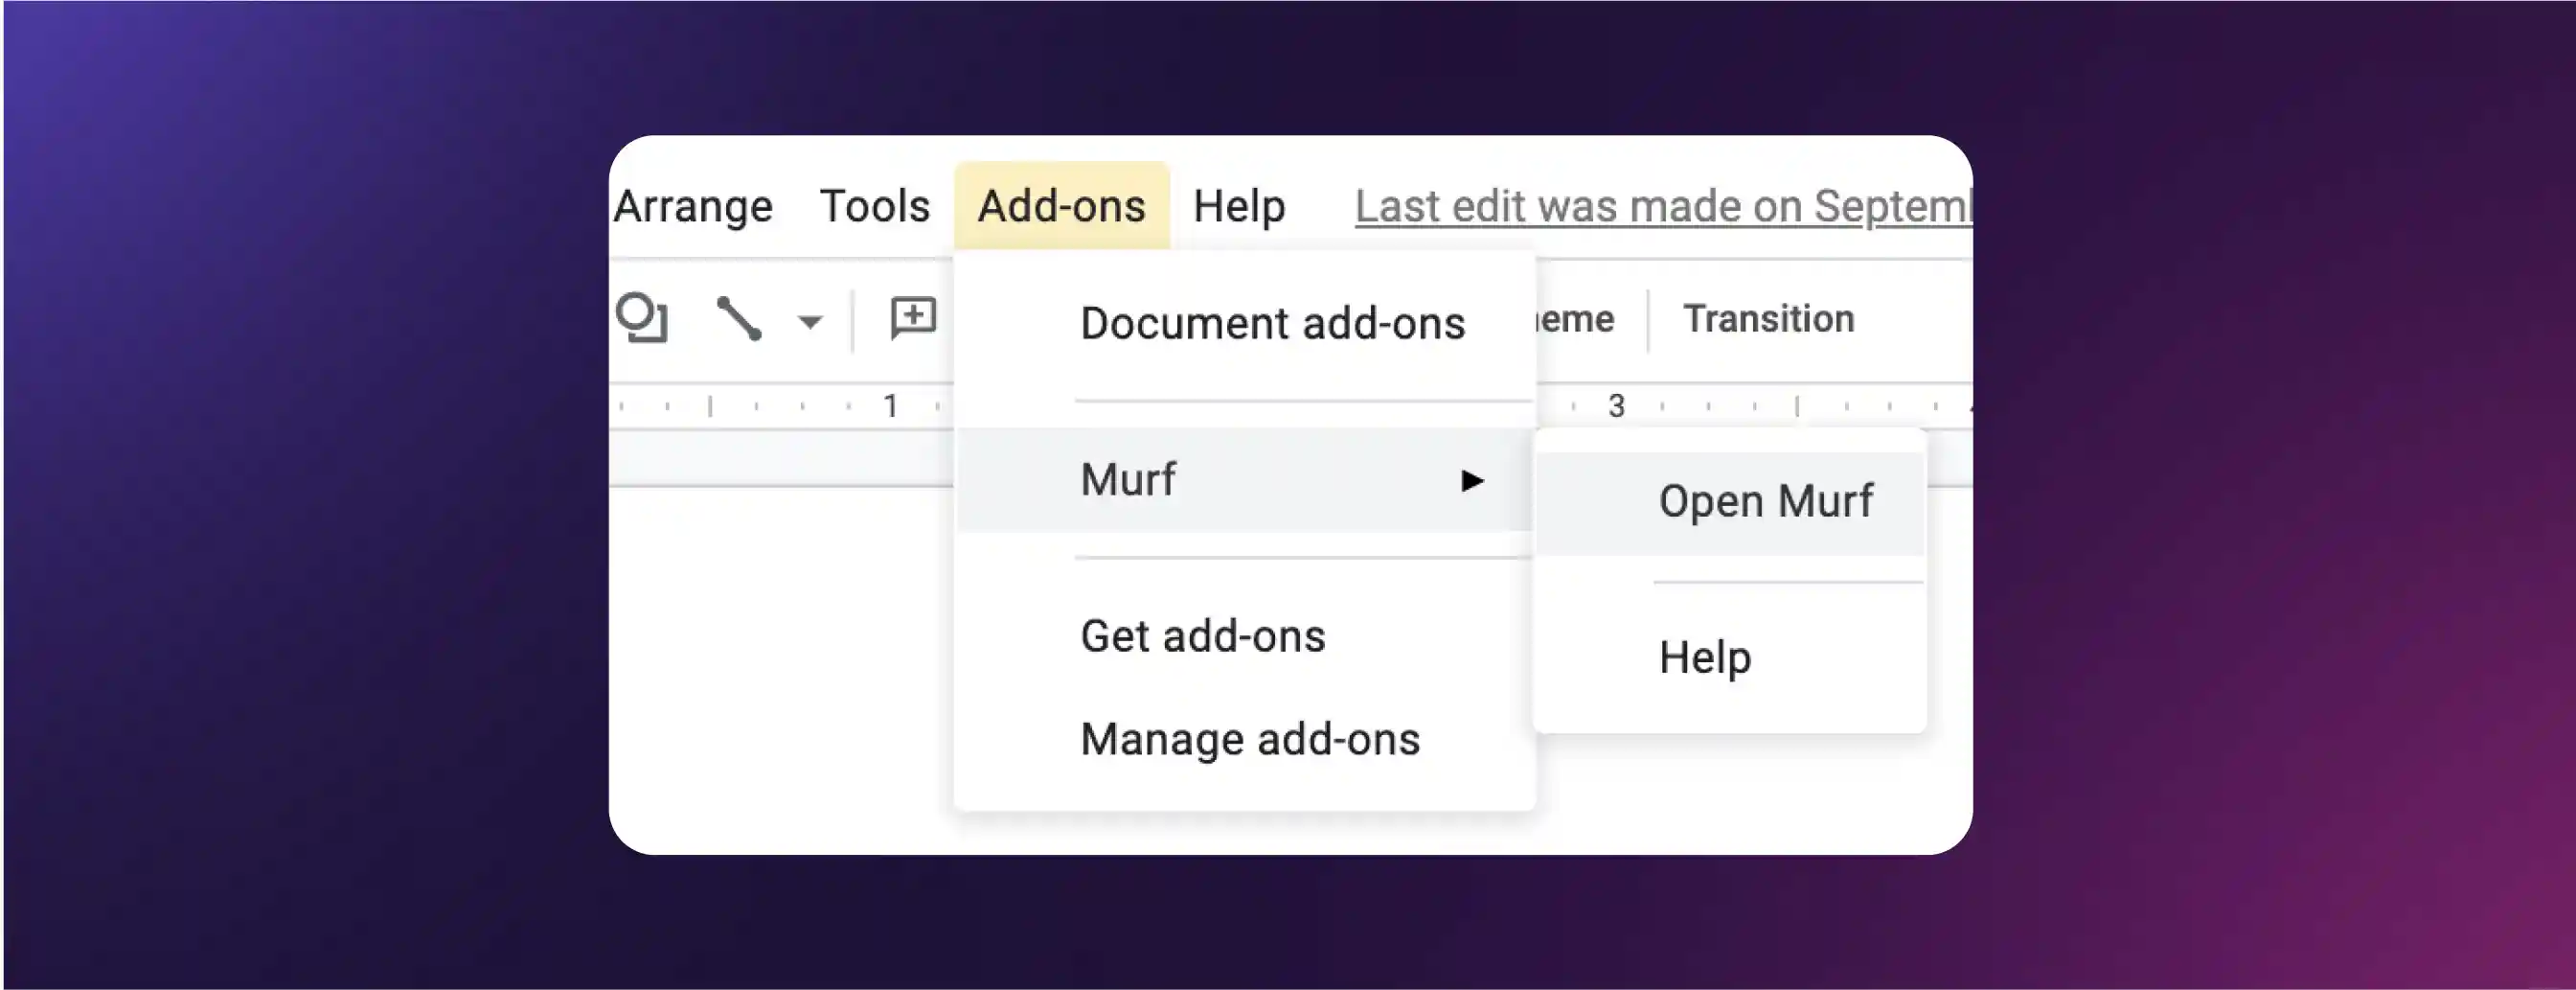
Once the installation is complete, you can open Murf within Google Slides. To do this, go to the Add-ons menu, and click on ‘Murf’.
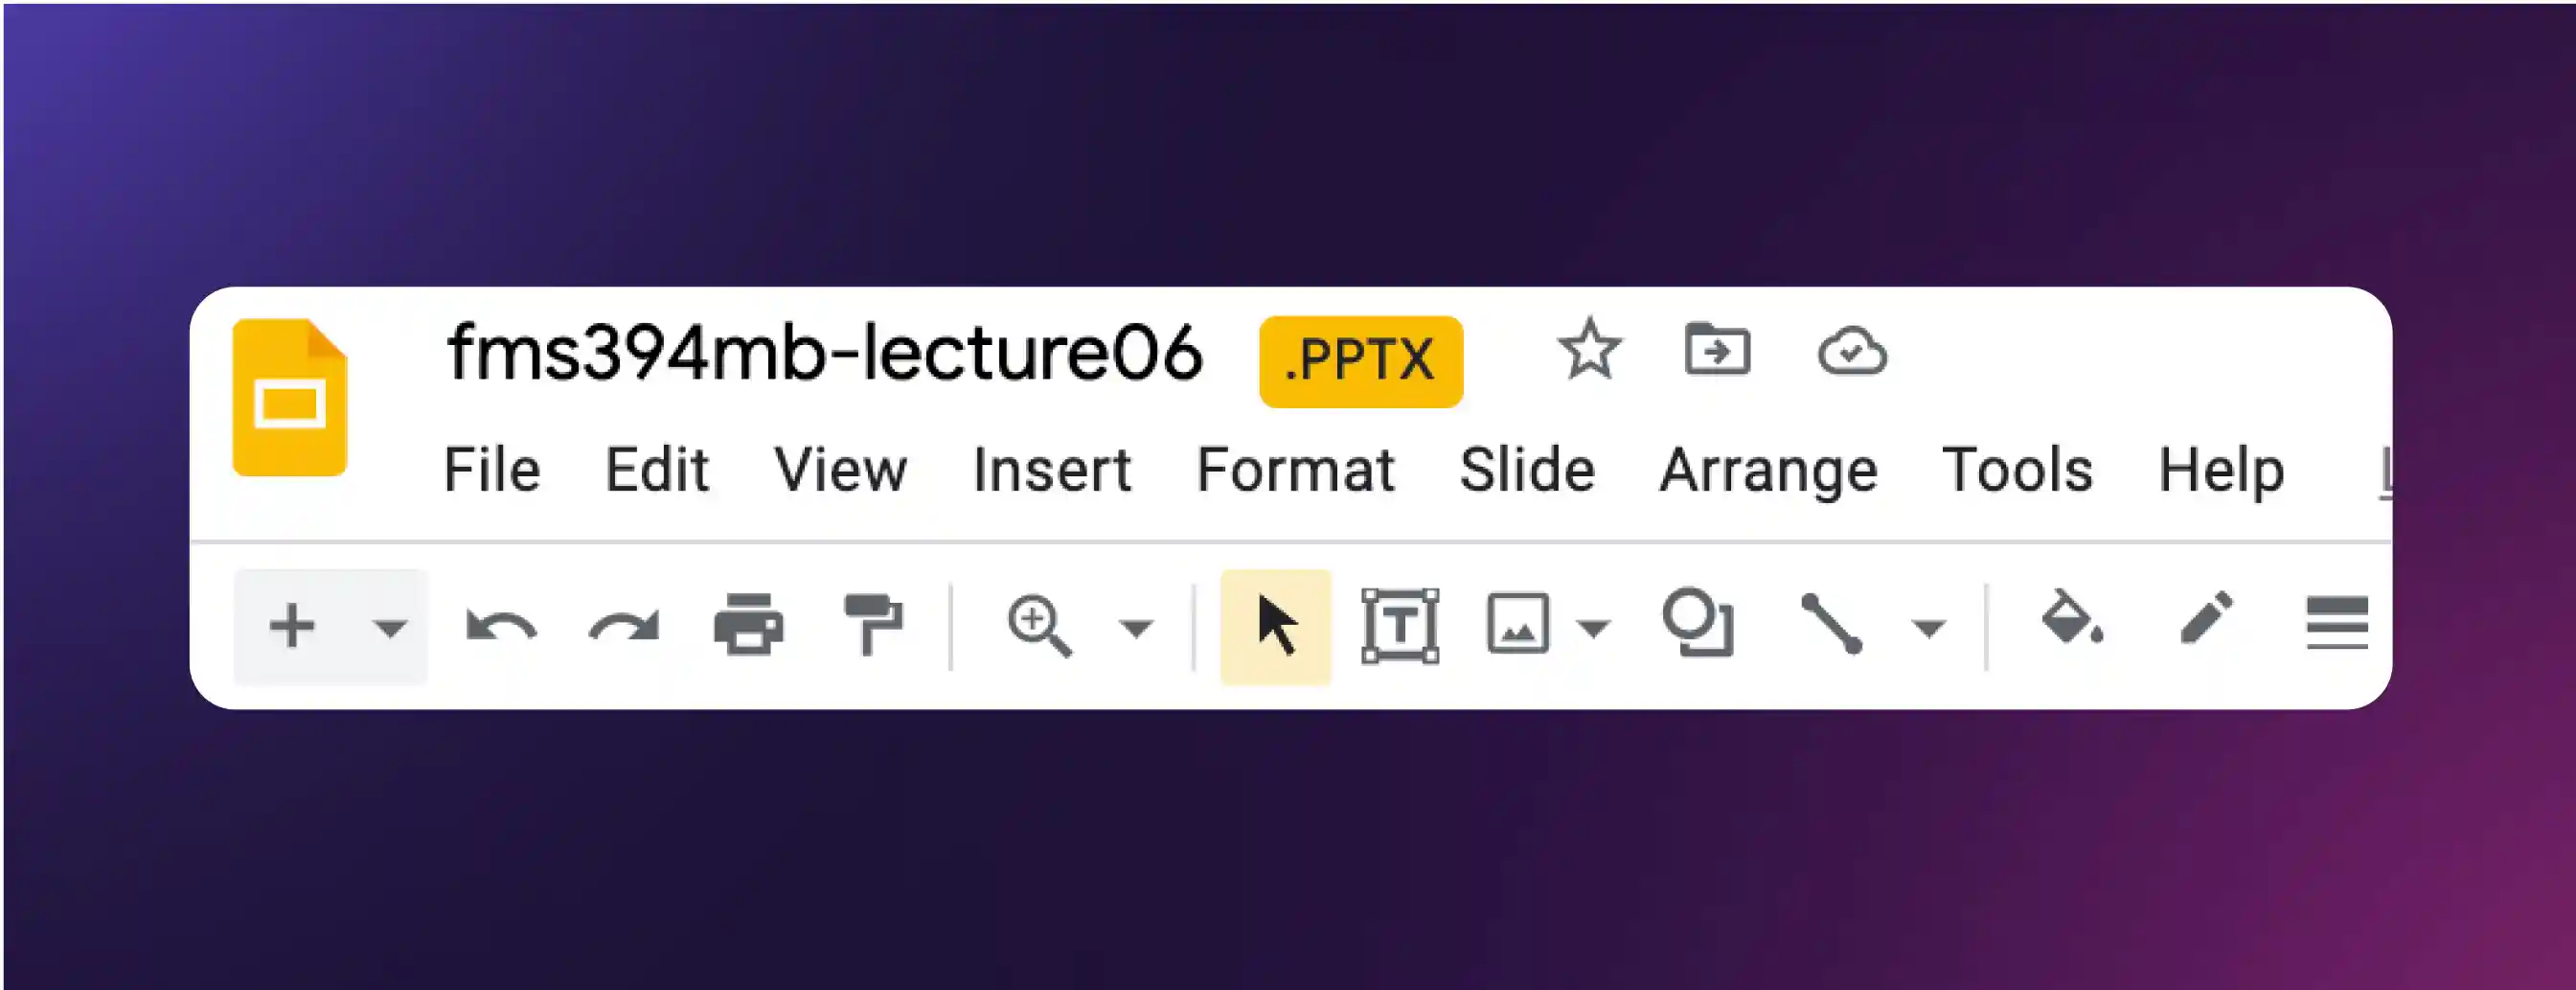
Pro Tip: This add-on is only available when you open a presentation in Google Slides, and not when you open a powerpoint presentation. When you open a file in .ppt or .pptx format, you won’t be able to see the Add-ons menu, as below. You can check the format of your file next to the file name. A file opened in Google Slides format will not have the highlighted yellow box with ‘.pptx’ like below, and the Add-ons menu will be visible after the Tools menu.
Click on ‘Open Murf’ and your project window will be launched to the right side of your screen.
If you have an existing Murf account linked to the same gmail id, opening the Murf add-on will enable your plan. If this is the first time you are using Murf, an account will be automatically created for you, linked to the same gmail id, and the free plan will be enabled. The same Google Slides project can also be accessed through the gmail login on the Murf website.
On sign up, you will get 10 minutes of voice generation time and 10 minutes of transcription time, along with access to a voice library of 200+voices, shareable links of your rendered video and many more. You don’t need a credit card to sign up. Checkout the complete pricing plan for Voiceover.
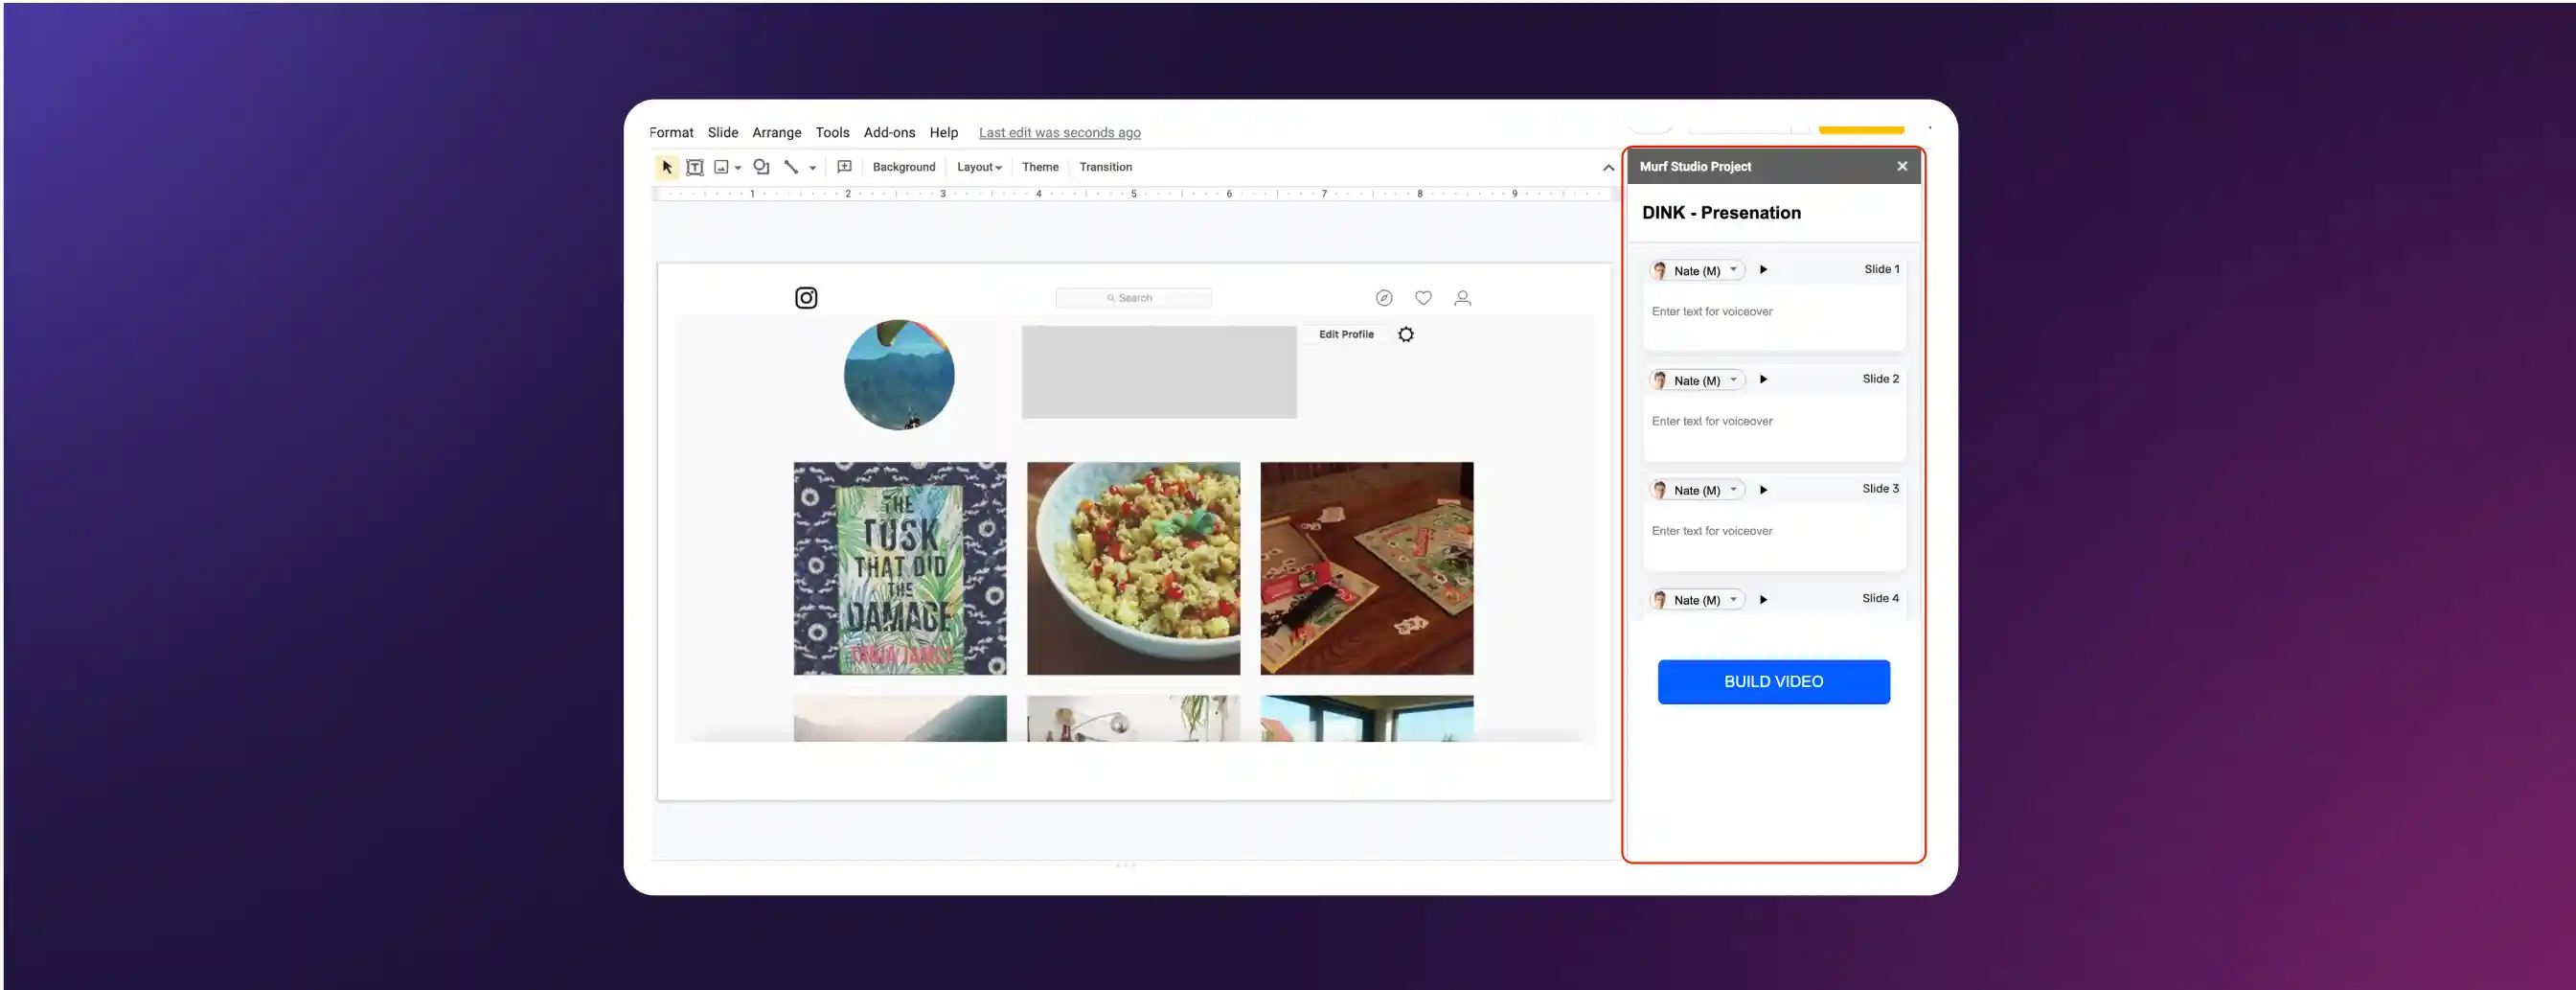
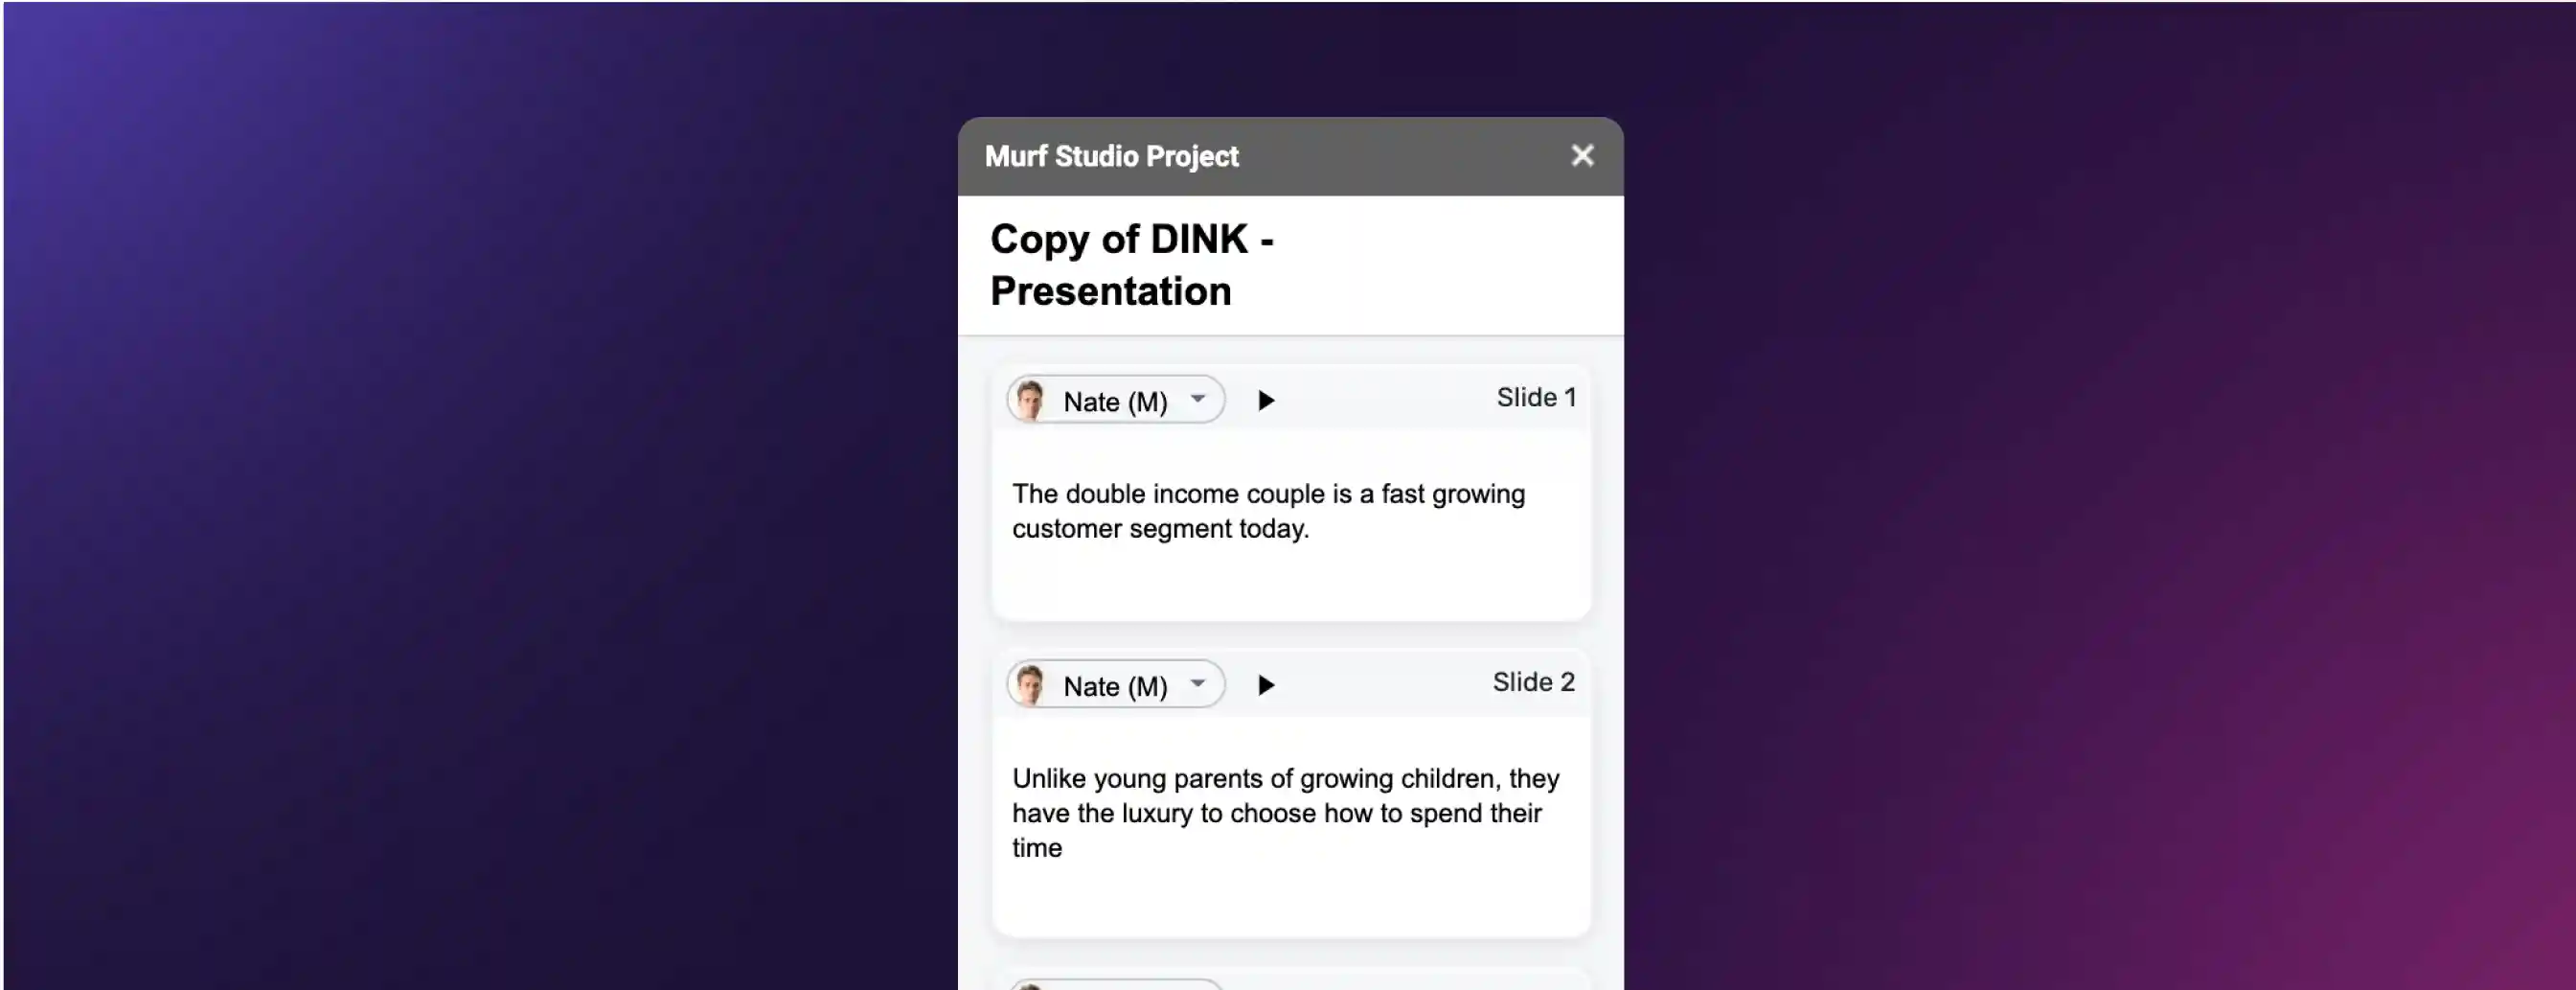
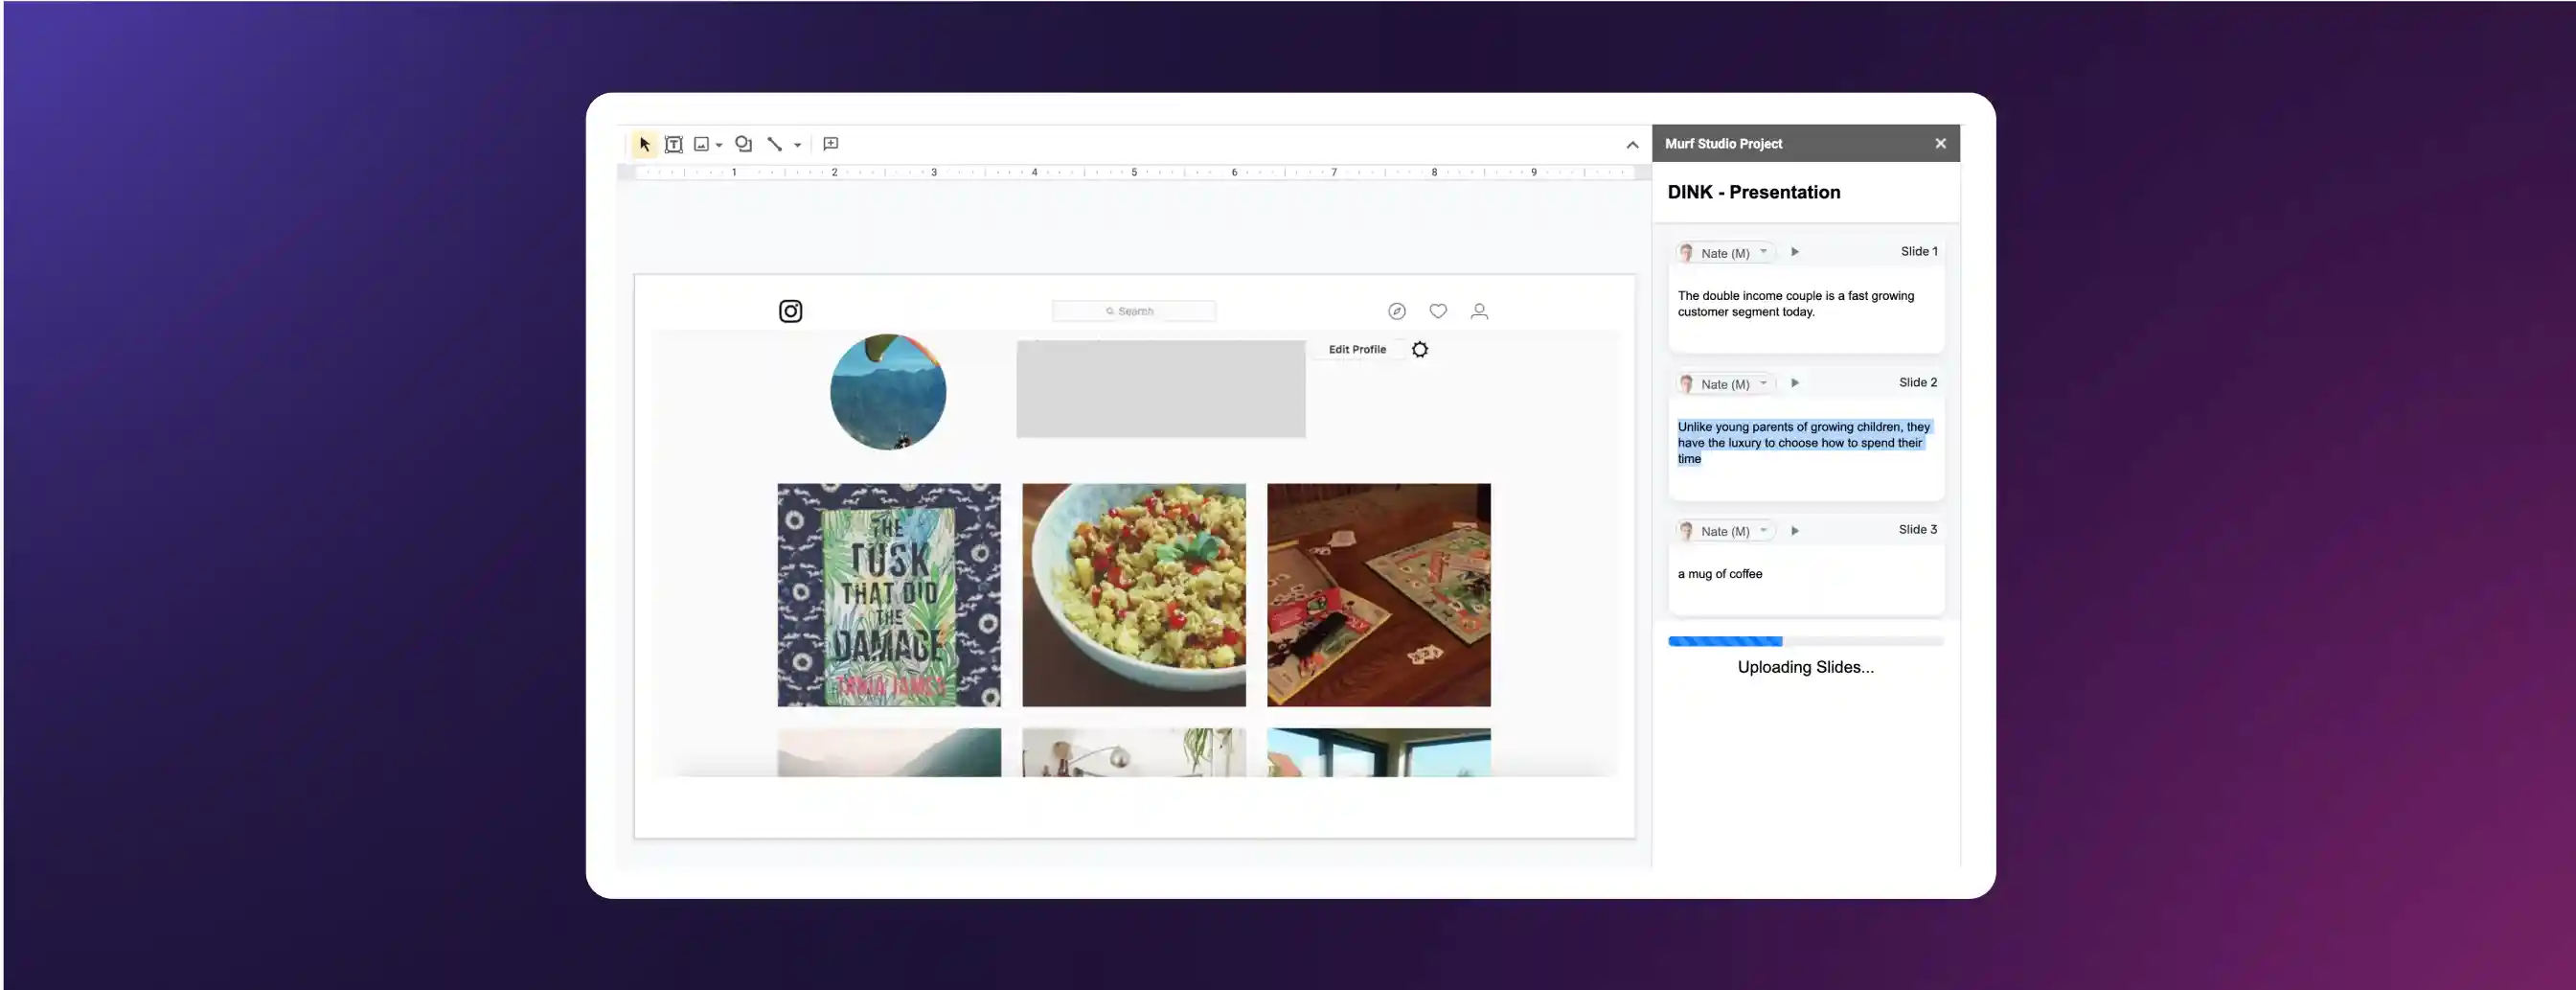
2. Add slide-wise script
Adding the voice over script to your slides is now as easy as typing out the slides themselves! Click on the space below the slide number and enter the text. If you have your text ready in the slide notes, copy and paste it into the respective window.

The slide transition will automatically sync with the script. You can double check this when you render the video in the last step.
3. Choose a suitable AI voice for your slide deck
A default voice will be applied to all the slides when you open the Murf add-on. To explore other voices, click on the voice image and name. You can also chooseand create AI voices for a specific slide or slides.

If you want to apply the voice of your choice to all the slides, check the ‘apply to all the slides’ box.

Wondering how to pick the perfect voice for your presentation? Read our article on how to choose the perfect voice for your video.
4. Convert your script into a voice audio file
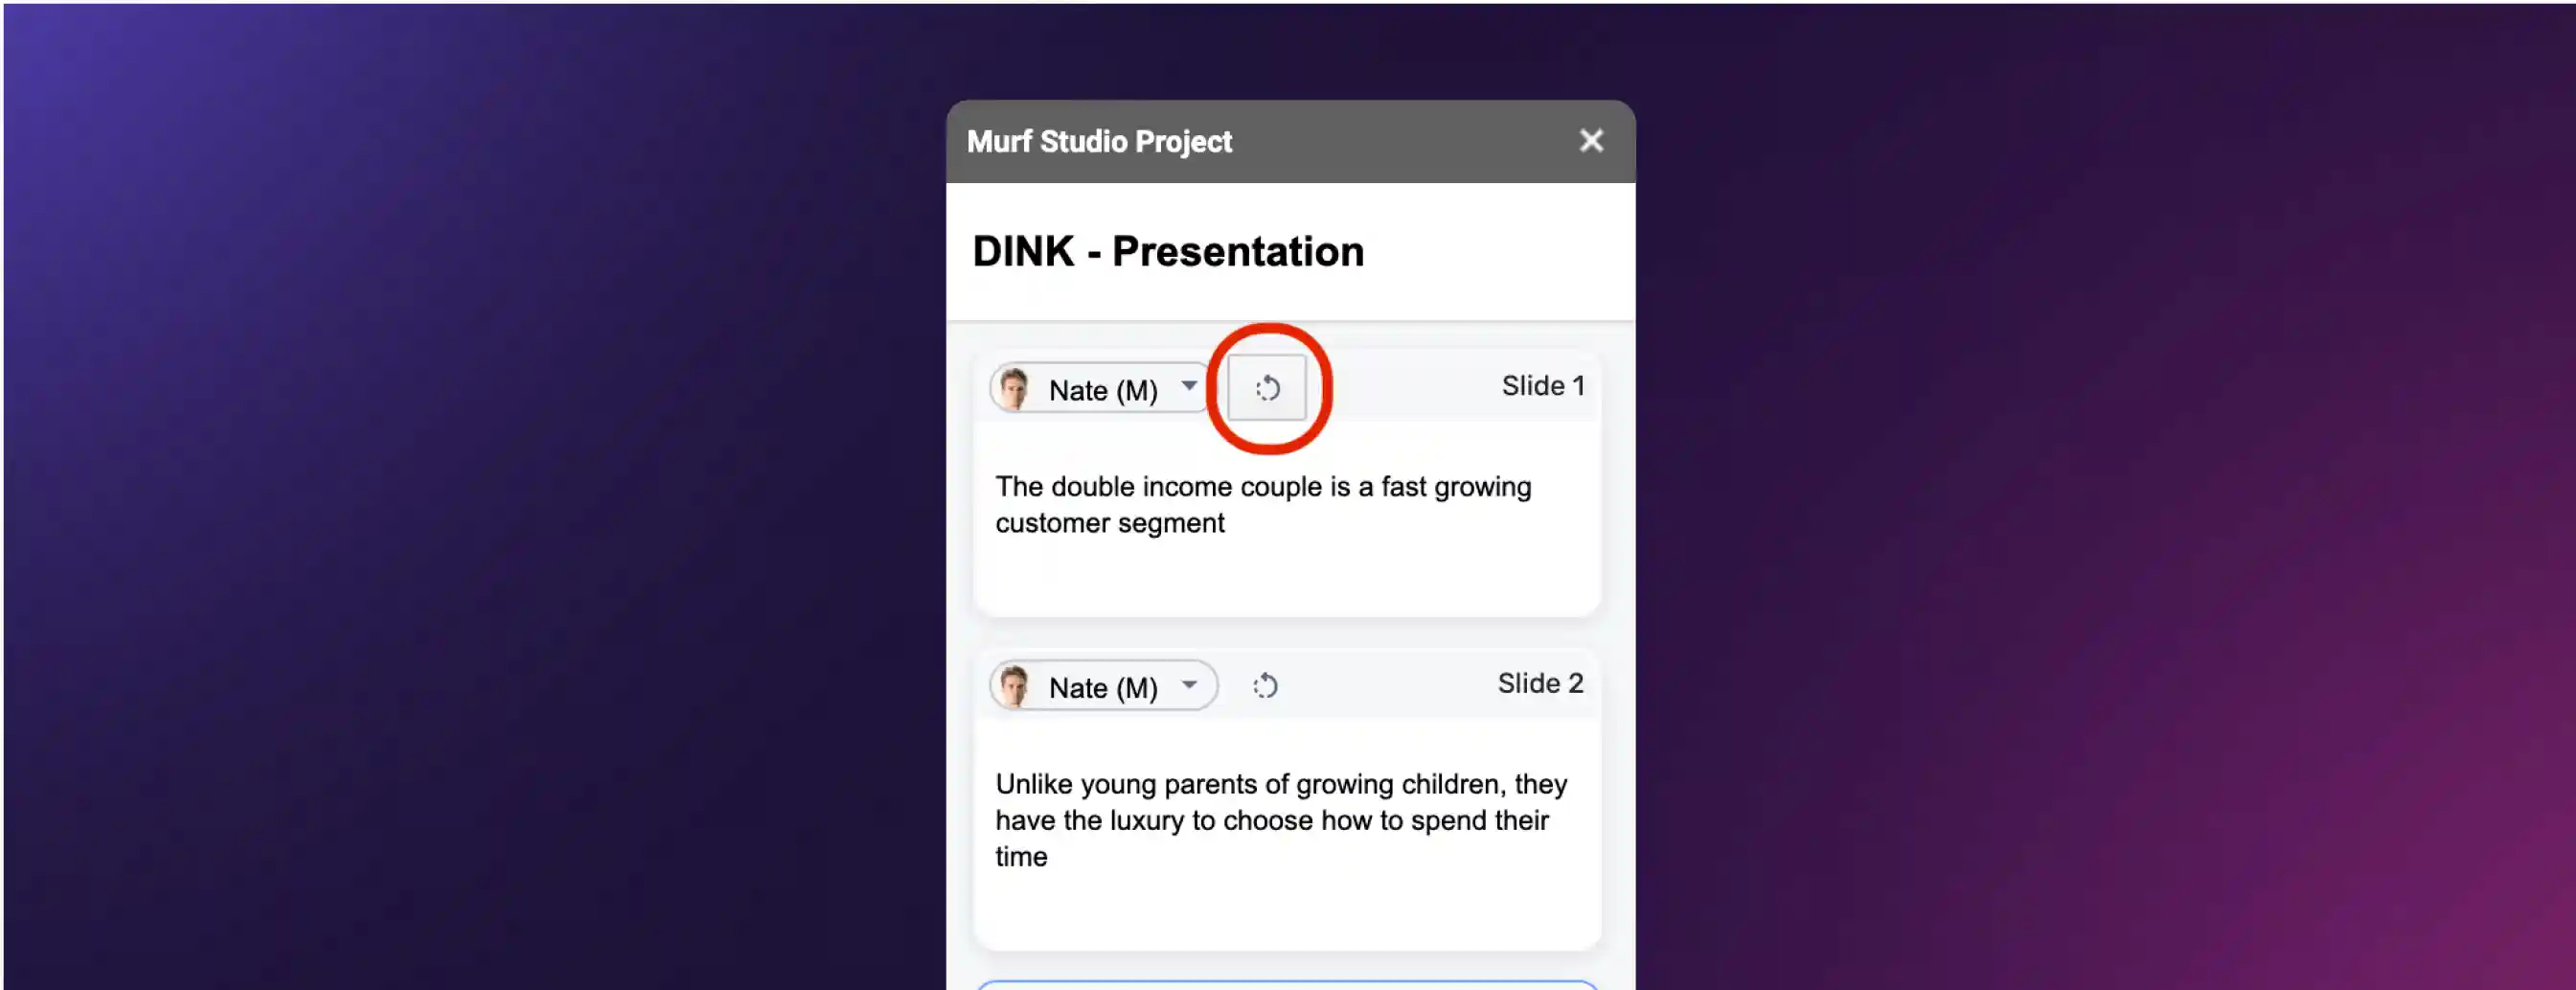
You can get a slide wise preview of the voice over by clicking on the refresh button next to the voice icon. When the voice over is ready to play the refresh button will change into a play button.
Be mindful that every time you hit the render button next to the voice icon, transcription time is used from your account. You can track the usage of your time by logging in to the Murf Studio from murf.ai.
5. Combine your voice over presentation and audio file to create a video
Once you have completed work on your slides, entered the voice over script, and played the rendered voices for each slide, get a preview of what your complete video will look like. Click on ‘Build your video’ at the bottom of the script window. The narration created for every slide would play automatically corresponding to the slide displayed in the video with perfect timing.
This process might take a few minutes, depending on the length of your presentation and the script. The Build button will be replaced by a status bar during this time.
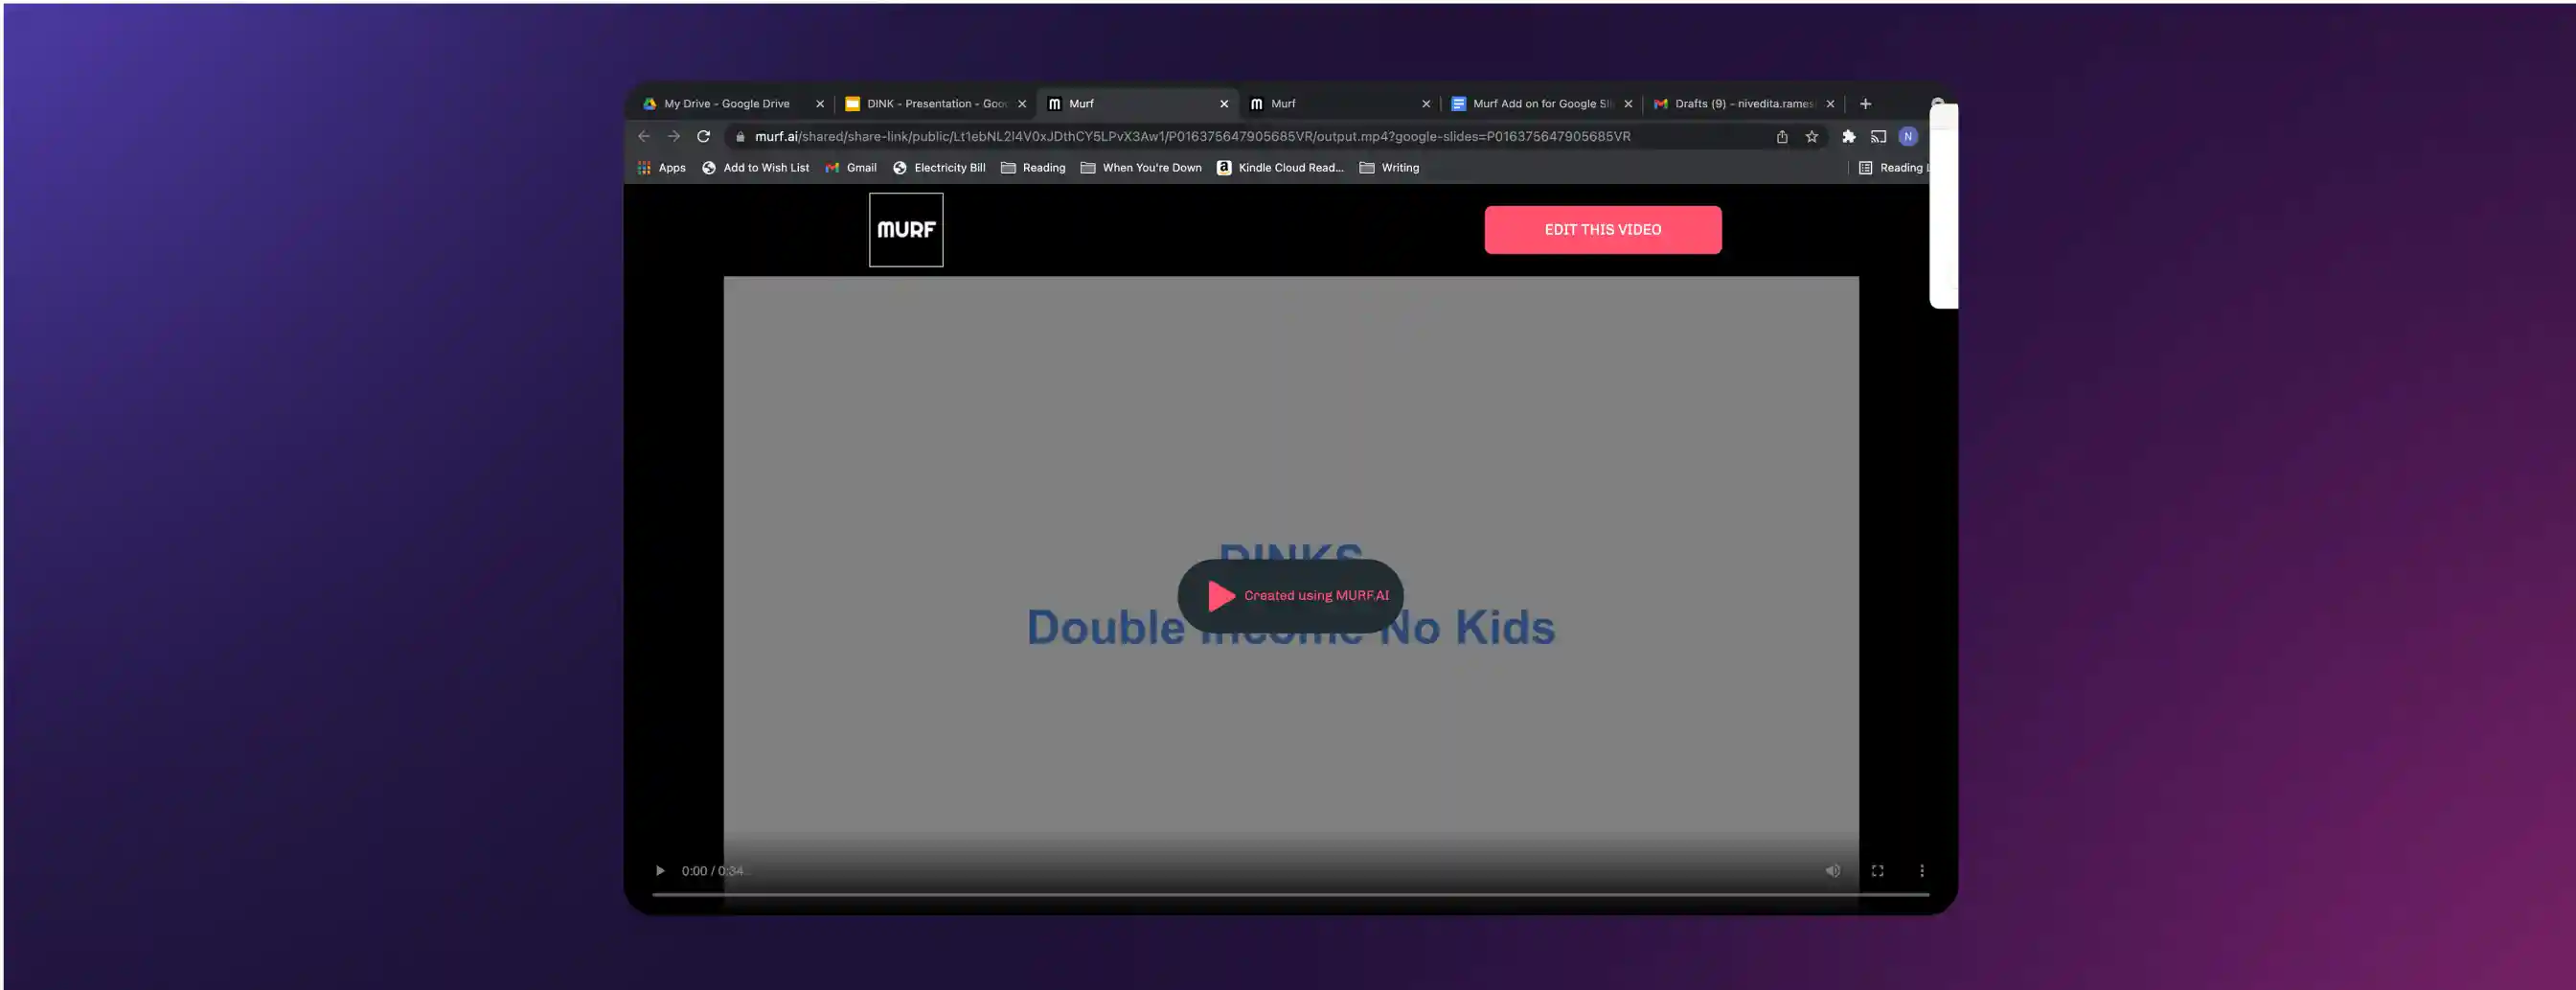
Once your video is ready, ‘click here to view video’ will open your video in a separate window, for you to get a preview of your final file. The audio file is integrated within the video, so you would not need to upload audio files manually in this case.

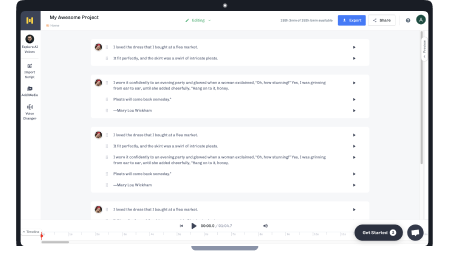
Your video preview screen will look like this:
6. Edit your voice over google slides
At this stage, you can continue editing your video in Google slides, by changing the voice, editing the script, rendering the voice over and rebuilding the video.
Alternatively, clicking on ‘Edit video’ either in the Murf add on pane in Google Slides, or in the preview as shown above, will take you to the Murf Studio interface.
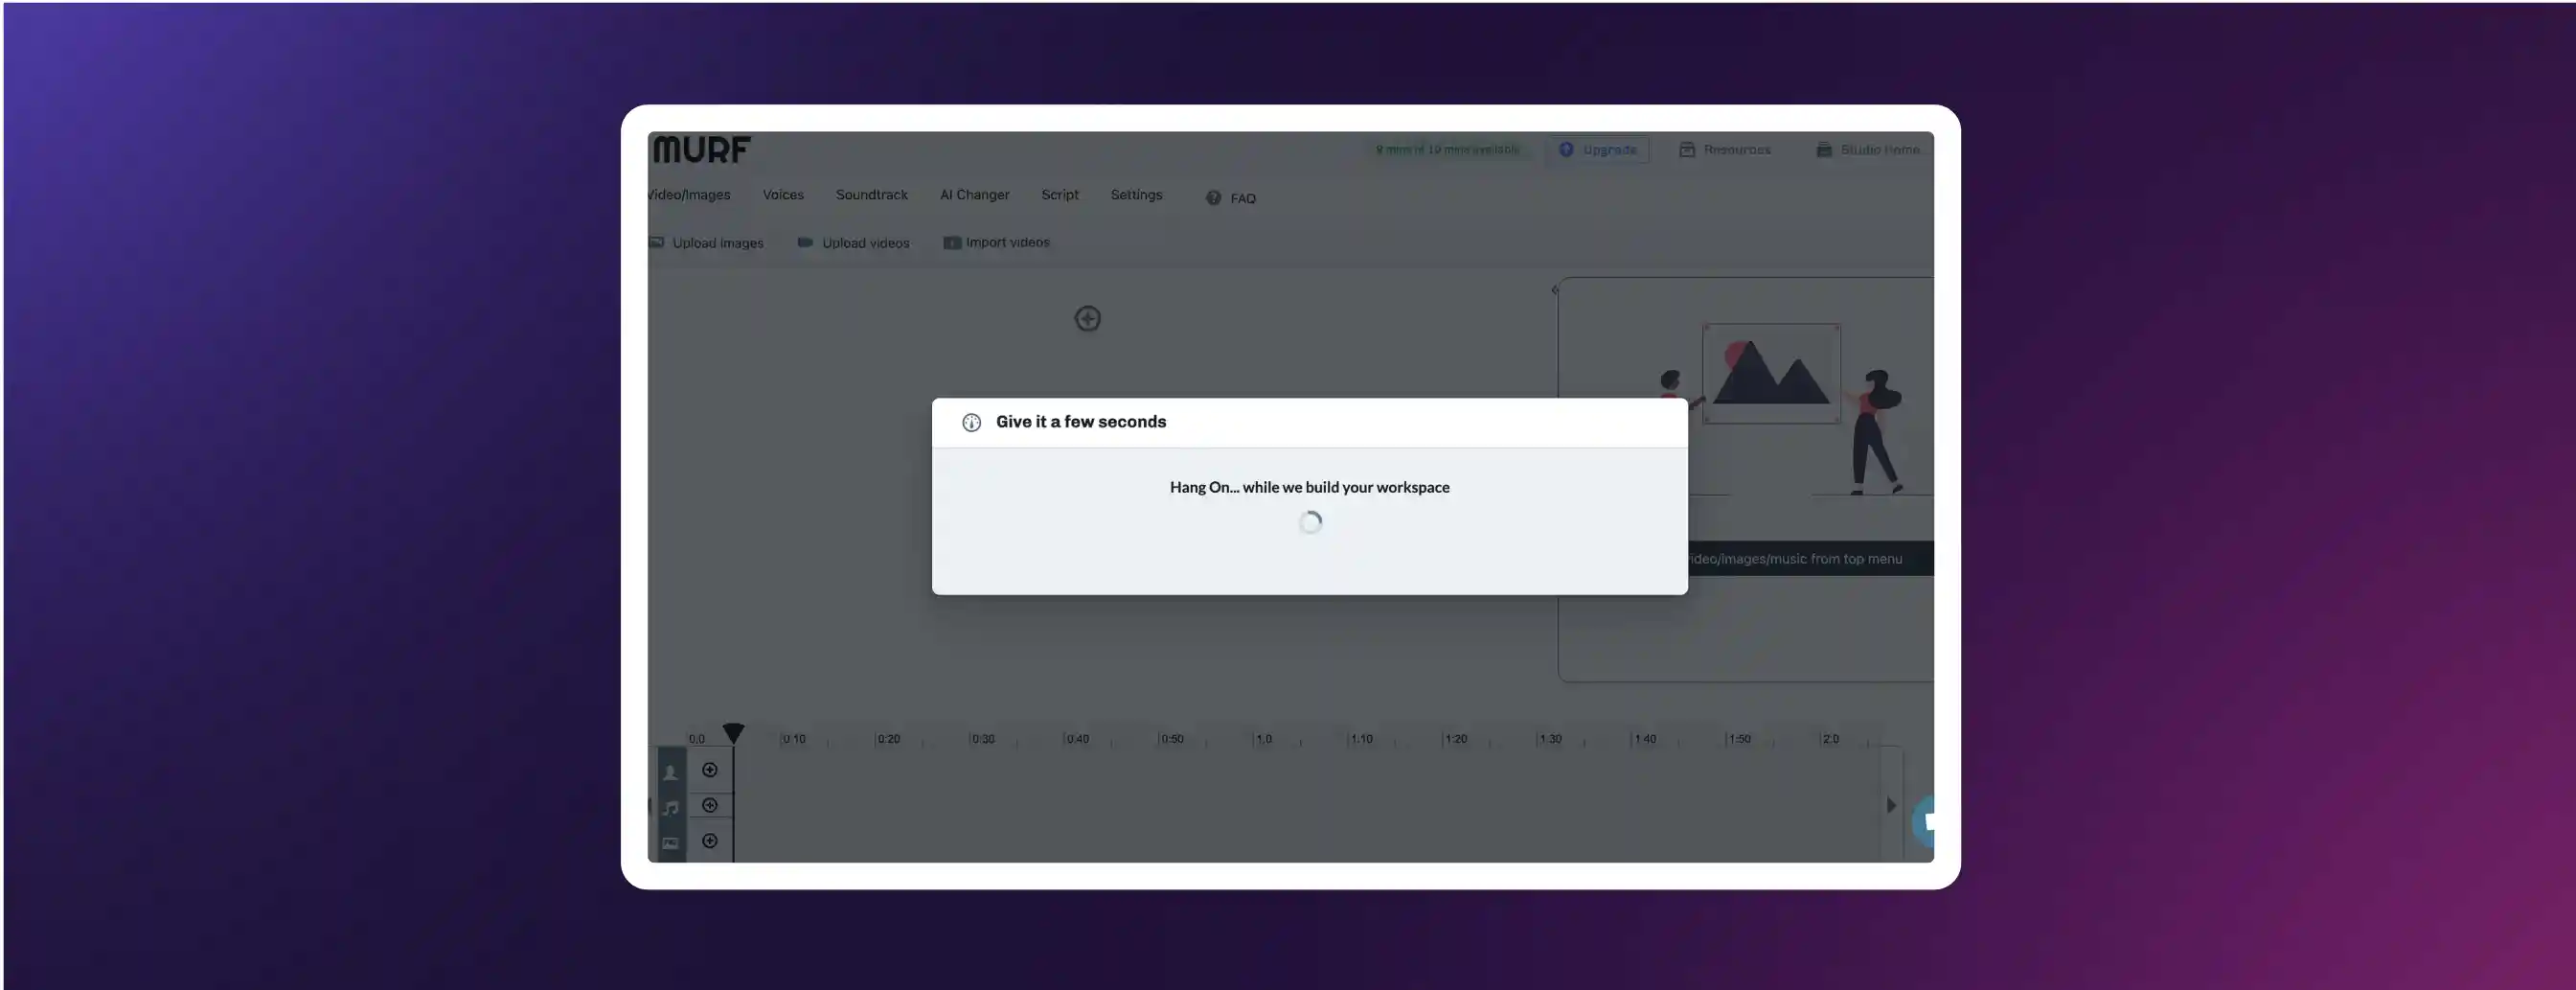
To edit your voice over presentation in the Murf Studio, enable Editing Mode by clicking on ‘Reading Mode’ at the top of the interface.
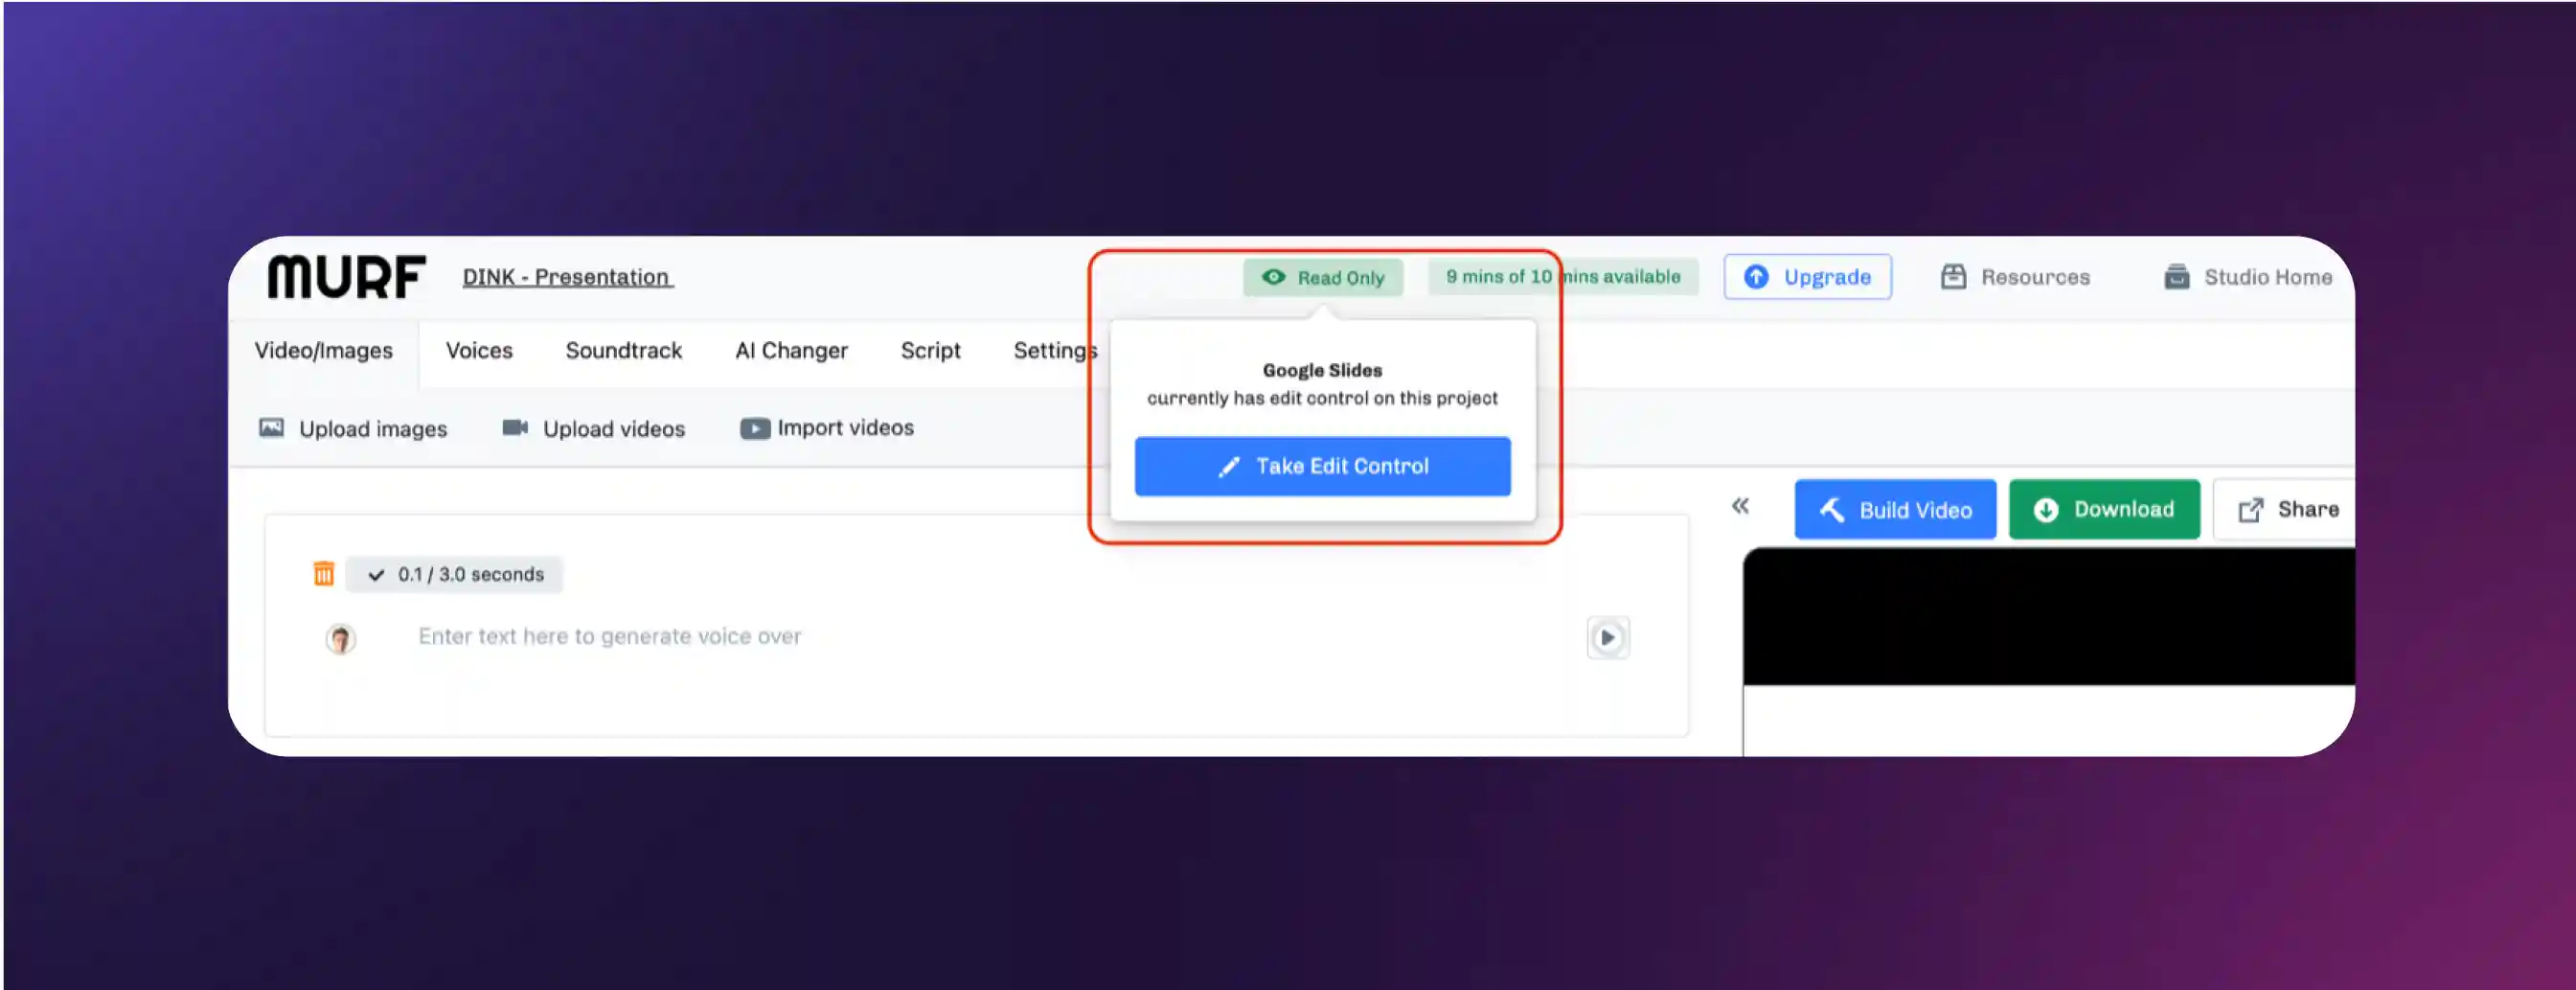
Pro Tip 1: When you install the add-on an account is automatically created for you in the Murf Studio. It is to this Workspace that your video screen transitions to, when you click on the Edit Video button. The changes you make to your voice over video in the Murf Studio will not reflect in the Google Slides, as the window has moved away from it. However, any changes that you make in the Murf add on window in Google Slides will reflect in the project created under the same name in the Murf Studio.
Pro Tip 2: One way to make the most of Murf’s voice toolkit without endlessly transitioning between Slides and Murf Studio is to edit and refine the slides to your satisfaction, before moving to accentuating the voice over. You can continue to edit your voice over script and even change the voices in the Murf Workspace. This way, you won’t need to toggle back and forth between the Google Slides and Murf tabs.
7. Access advanced voice over features at Murf Studio
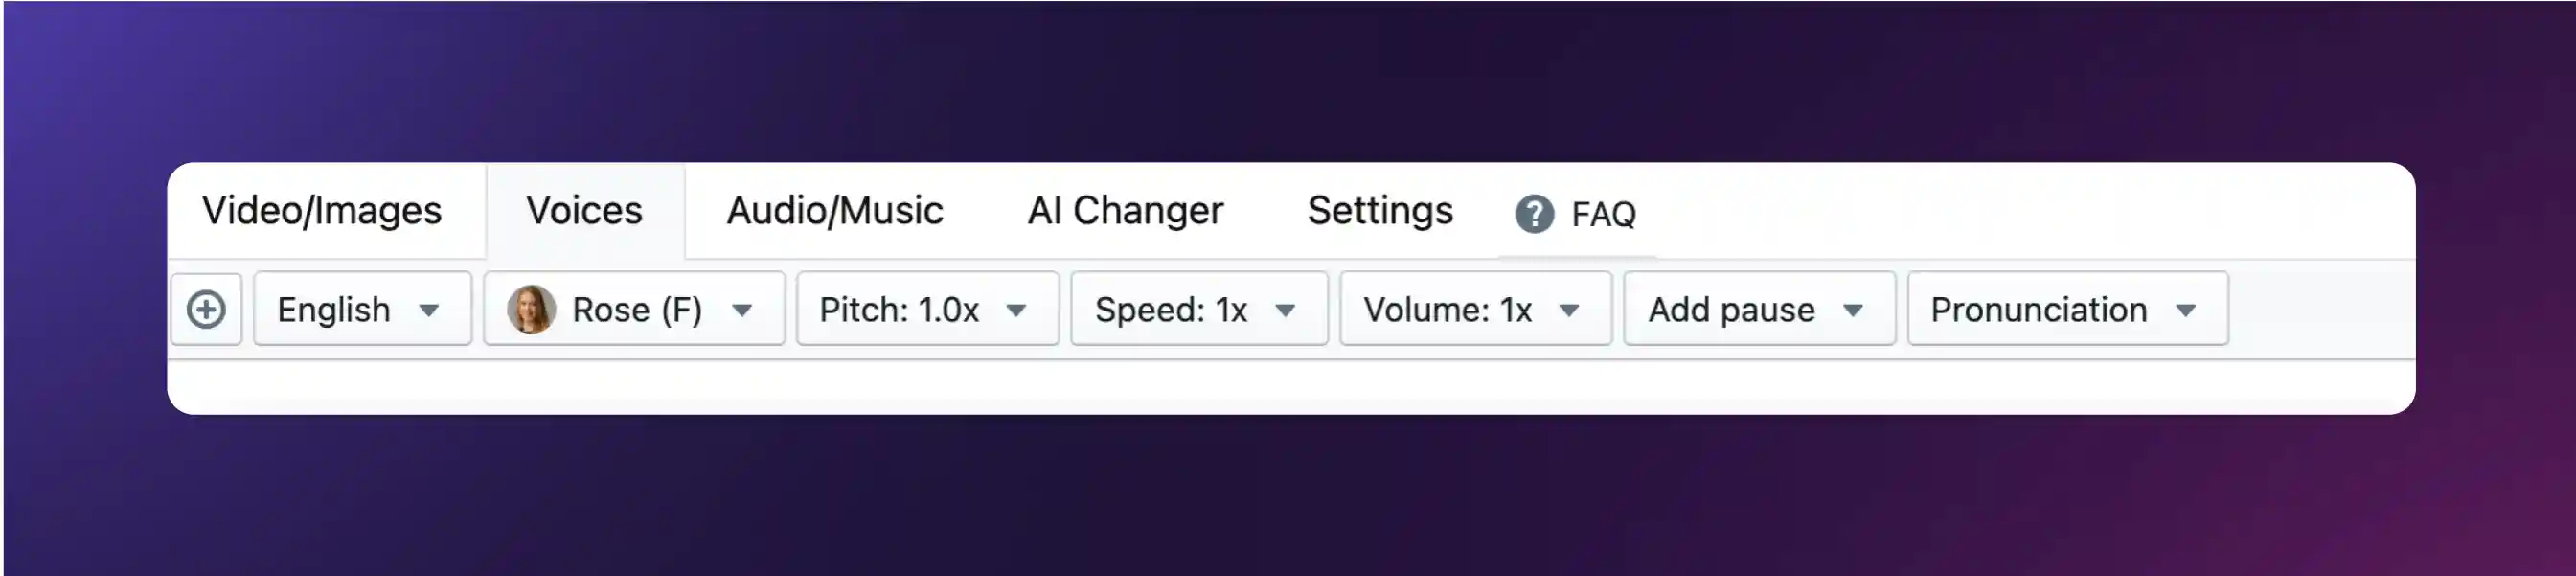
Murf offers exciting functionalities for its AI voices, including adding pauses, intonations and pronunciations. To view these enhanced voice styling options, click on the text in any paragraph.
You can even add music tracks to your video. Murf offers a variety of royalty free music, classified by mood and type of video, and when you add the track, the interface automatically fades the music in and out. Sections 7 and 8 of this guide can help you make the most of these features, to create a sensational voice over video.
8. Add finishing touches
With a free plan, you can create a shareable link for your video. You can even password protect it or limit its validity in order to control its dissemination. If you have a paid plan, you can download your video in .mp4 format, and even customise it for a specific platform.
As any content creator will tell you, if you feel the video is ready, then it is. Put it out there, embrace the love of the audience and the constructive criticism, and leave behind any comments or feedback that you don’t find useful or relevant. Keep doing what you love, and love what you do. That’s what makes our days sing at Murf, too.
Also read : Add Audio to Your Google Slides in Six Simple Steps