Best Video Equipments for YouTube: From Zero to Filmmaker

Imagine you have the perfect video idea in mind. You hit record with excitement, only to realize the audio sounds muffled, the footage looks grainy, and the lighting leaves you in shadow. This is a common challenge. The difference between an ordinary upload and content that captures attention often comes down to using the right video equipment.
And by “the best,” we don’t mean the flashiest, trendiest, or most expensive gear. You don’t need a Hollywood budget or a film school background to produce engaging YouTube videos. Many successful creators started with nothing more than smartphones and basic lighting setups. What matters is knowing which equipment upgrades truly improve quality and which costly gadgets add little value.
Whether you are just starting and asking, “What equipment do I need to start a YouTube channel?” or you’re ready to scale with professional-grade tools, this guide will help you make smart, budget-appropriate choices.
We’ve tested and reviewed equipment across all price ranges, from beginner-friendly options that deliver impressive results to advanced setups capable of producing studio-level content.
The goal is simple: to help you select the right gear to create compelling videos, grow your audience, and monetize your YouTube channel.
Why Gear Matters (and When to Upgrade)?
Choosing the wrong equipment to make YouTube videos can damage viewer engagement. In the opening seconds, poor audio or shaky footage often causes viewers to click away.
Because watch time is one of YouTube’s primary ranking factors, early abandonment like this can have significant effects on discovery and performance.
Quality gear influences three critical areas:
- Viewer retention: Professional visuals and audio keep audiences watching longer.
- Brand perception: Polished videos establish trust and credibility.
- Monetization potential: Brands are more likely to collaborate with creators who maintain consistent production values.
In many cases, your audience will highlight where improvements are needed, or you’ll notice them yourself. Don’t ignore these upgrade signals:
- Repeated viewer comments about poor audio.
- Retention rates are dropping below 40% in the first minute.
- Feeling your production quality is noticeably behind that of competitors.
Successful creators typically upgrade gradually, starting with audio (the most cost-effective improvement), followed by lighting, and then cameras.
Remember: The right equipment to make YouTube videos should support your content, not overshadow it. To become a successful content creator, you need to upgrade gear, but do so only when your current gear limits your creative vision.
Starter Gear: What You Probably Already Own
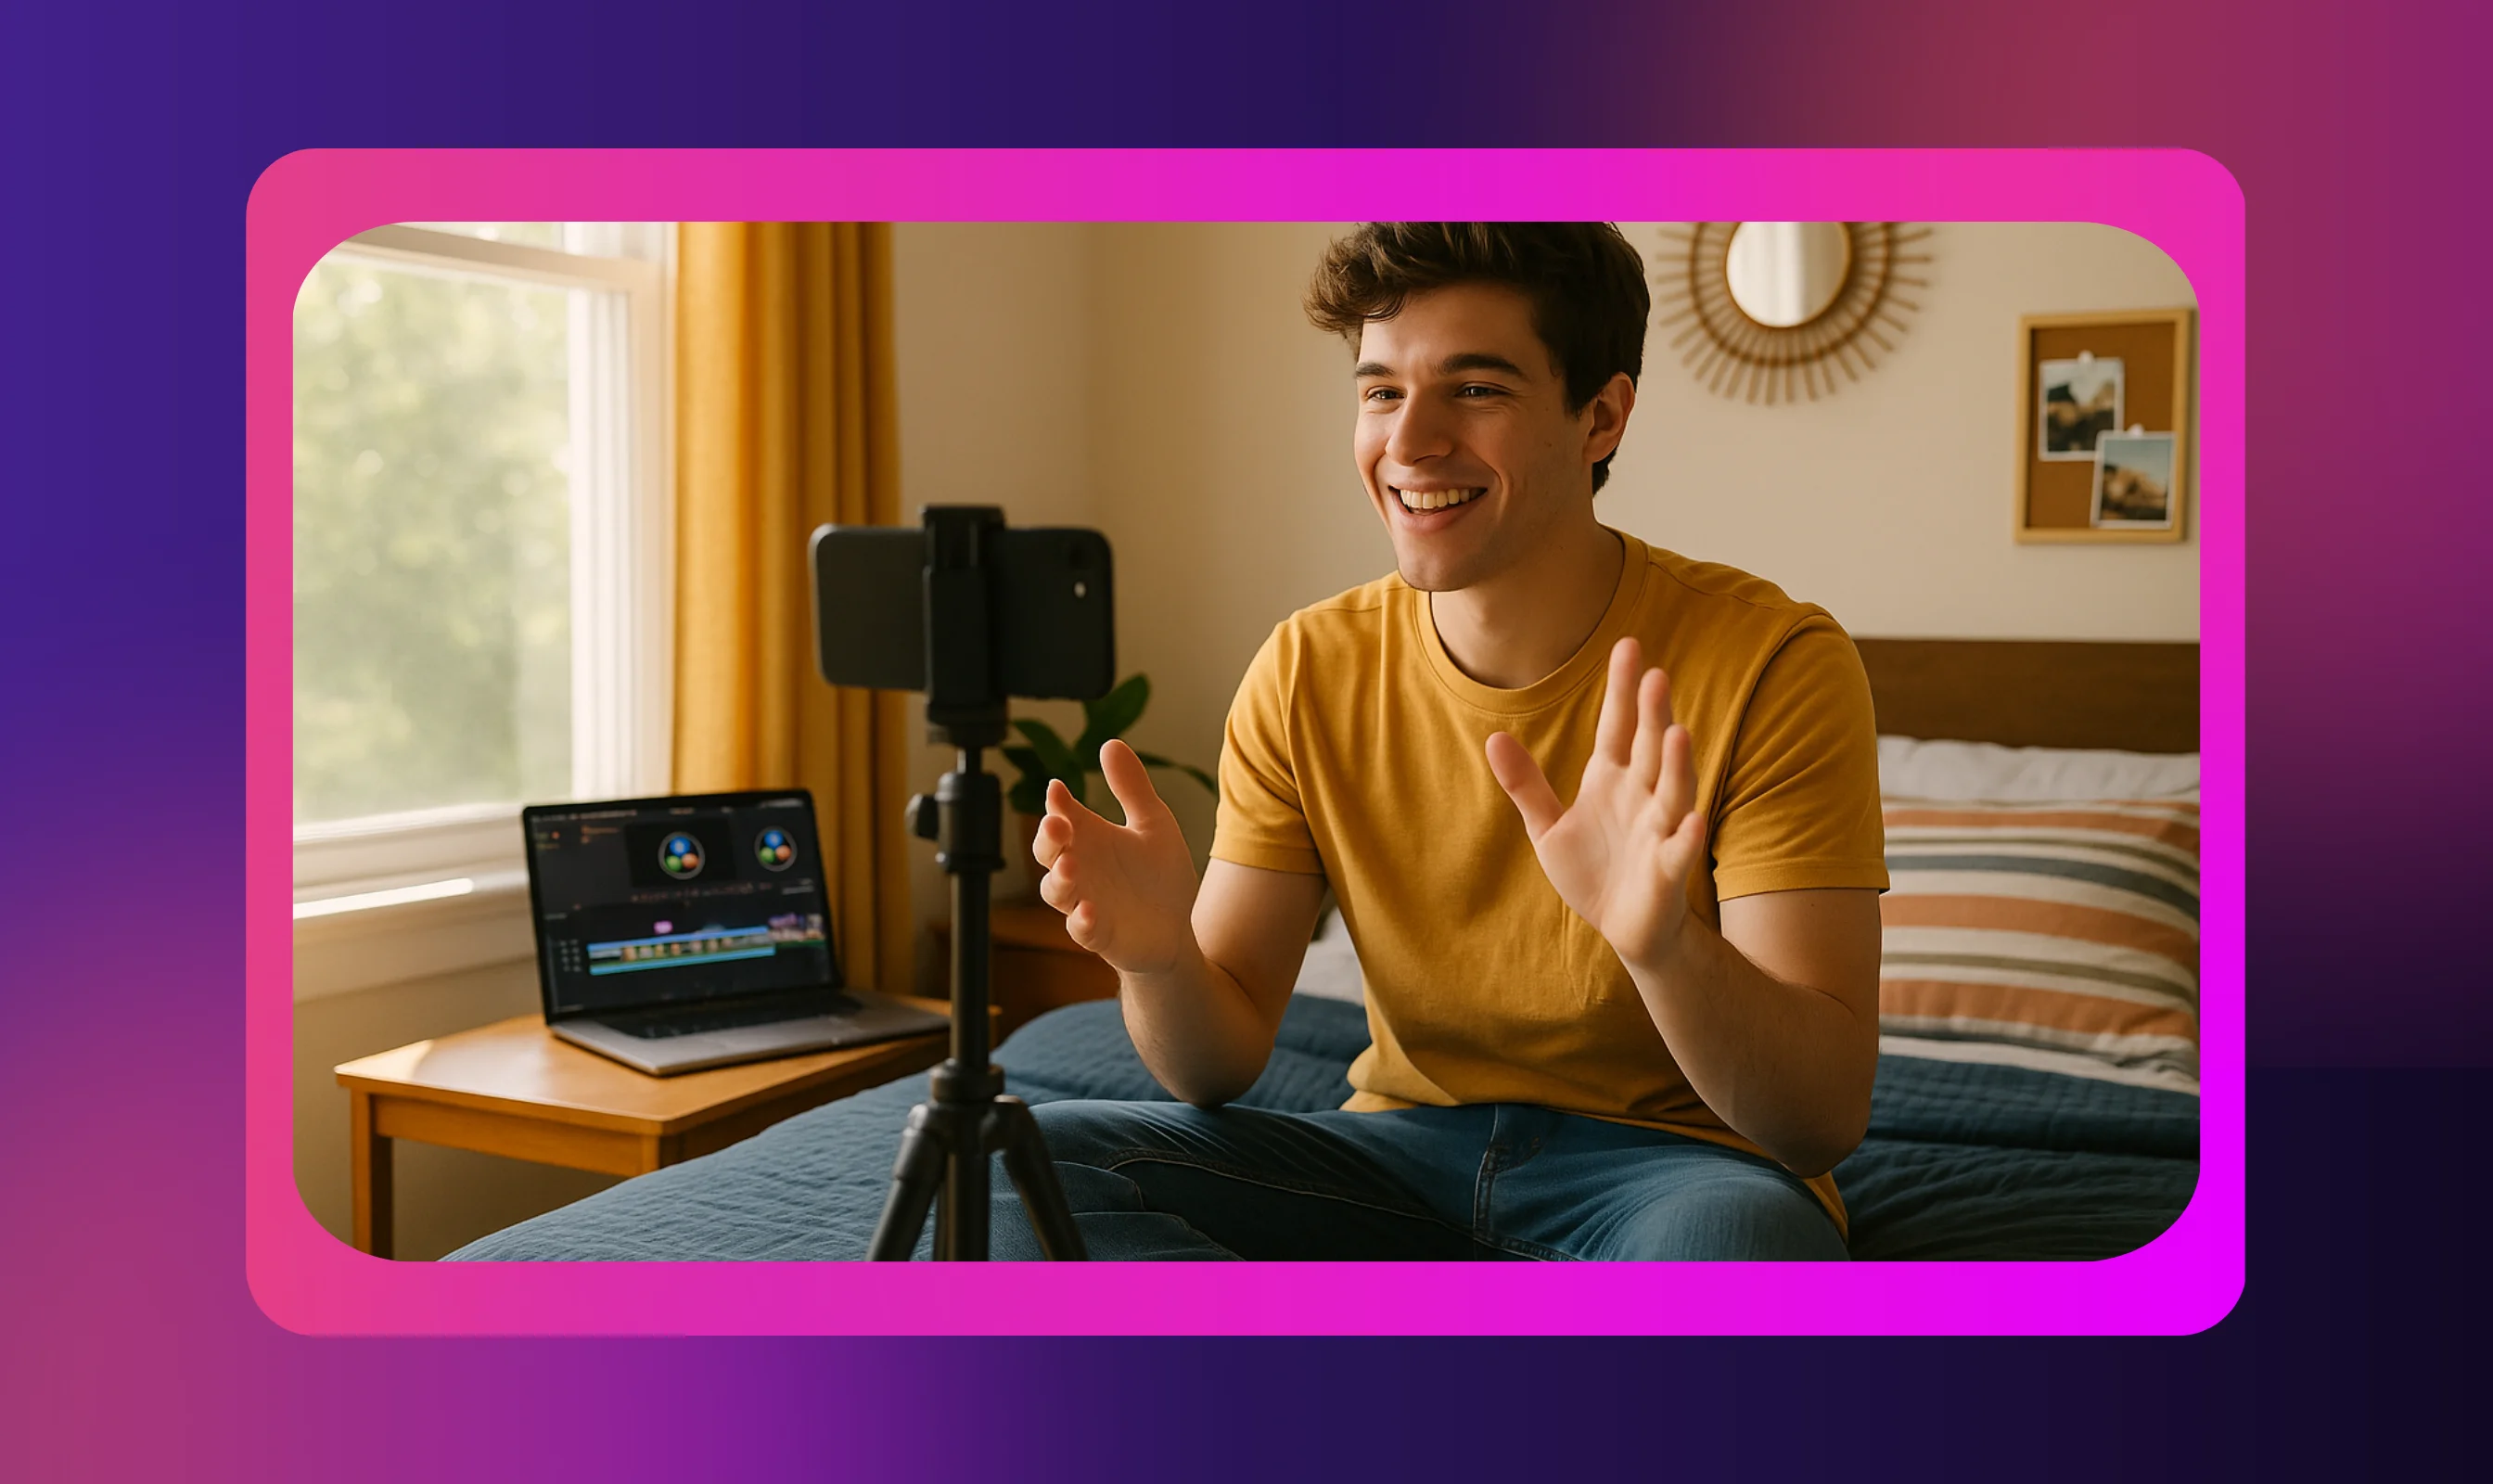
Do YouTubers use their phones to record? Absolutely, and with good reason.
Modern smartphones deliver video quality that rivals cameras costing thousands of dollars. The iPhone 16 Pro Max and Samsung Galaxy S25 Ultra, for example, shoot cinema-quality 4K video with professional stabilization.
Your beginner YouTube equipment toolkit likely includes:
- Smartphone: Recent iPhones, Samsung Galaxy, or Google Pixel models shoot 4K at 60fps with excellent stabilization. Many top creators still rely on phones for B-roll, social media clips, and even full-length videos.
- Built-in Microphones: While not ideal, smartphone mics are serviceable in quiet environments. Free software like Audacity can improve raw audio with noise reduction and EQ adjustments.
- Free Editing Software: DaVinci Resolve offers professional-grade capabilities at no cost, the same software used in Hollywood productions. For simpler cuts and transitions, iMovie (Mac) and Clipchamp (Windows) are reliable alternatives.
- Natural Lighting: Window light remains the most flattering, cost-effective option. Position yourself facing a large window for soft, even illumination.
Start with the tools you already own. As you create more content, your specific needs will become clearer, and you’ll know exactly when and what to upgrade.
Must-Have Equipment to Make Professional YouTube Videos
Knowing what equipment you need to start a YouTube channel helps you avoid costly mistakes and ensures your first videos look professional.
This essential YouTube beginner equipment list highlights gear that delivers the greatest impact for every dollar spent.
Camera Options
Which device is best for YouTube videos? For most beginners, your smartphone is more than enough to get started.
The iPhone 15/16 series and Samsung Galaxy S24/S25 shoot exceptional 4K video with advanced stabilization, capable of producing results that rival dedicated cameras.
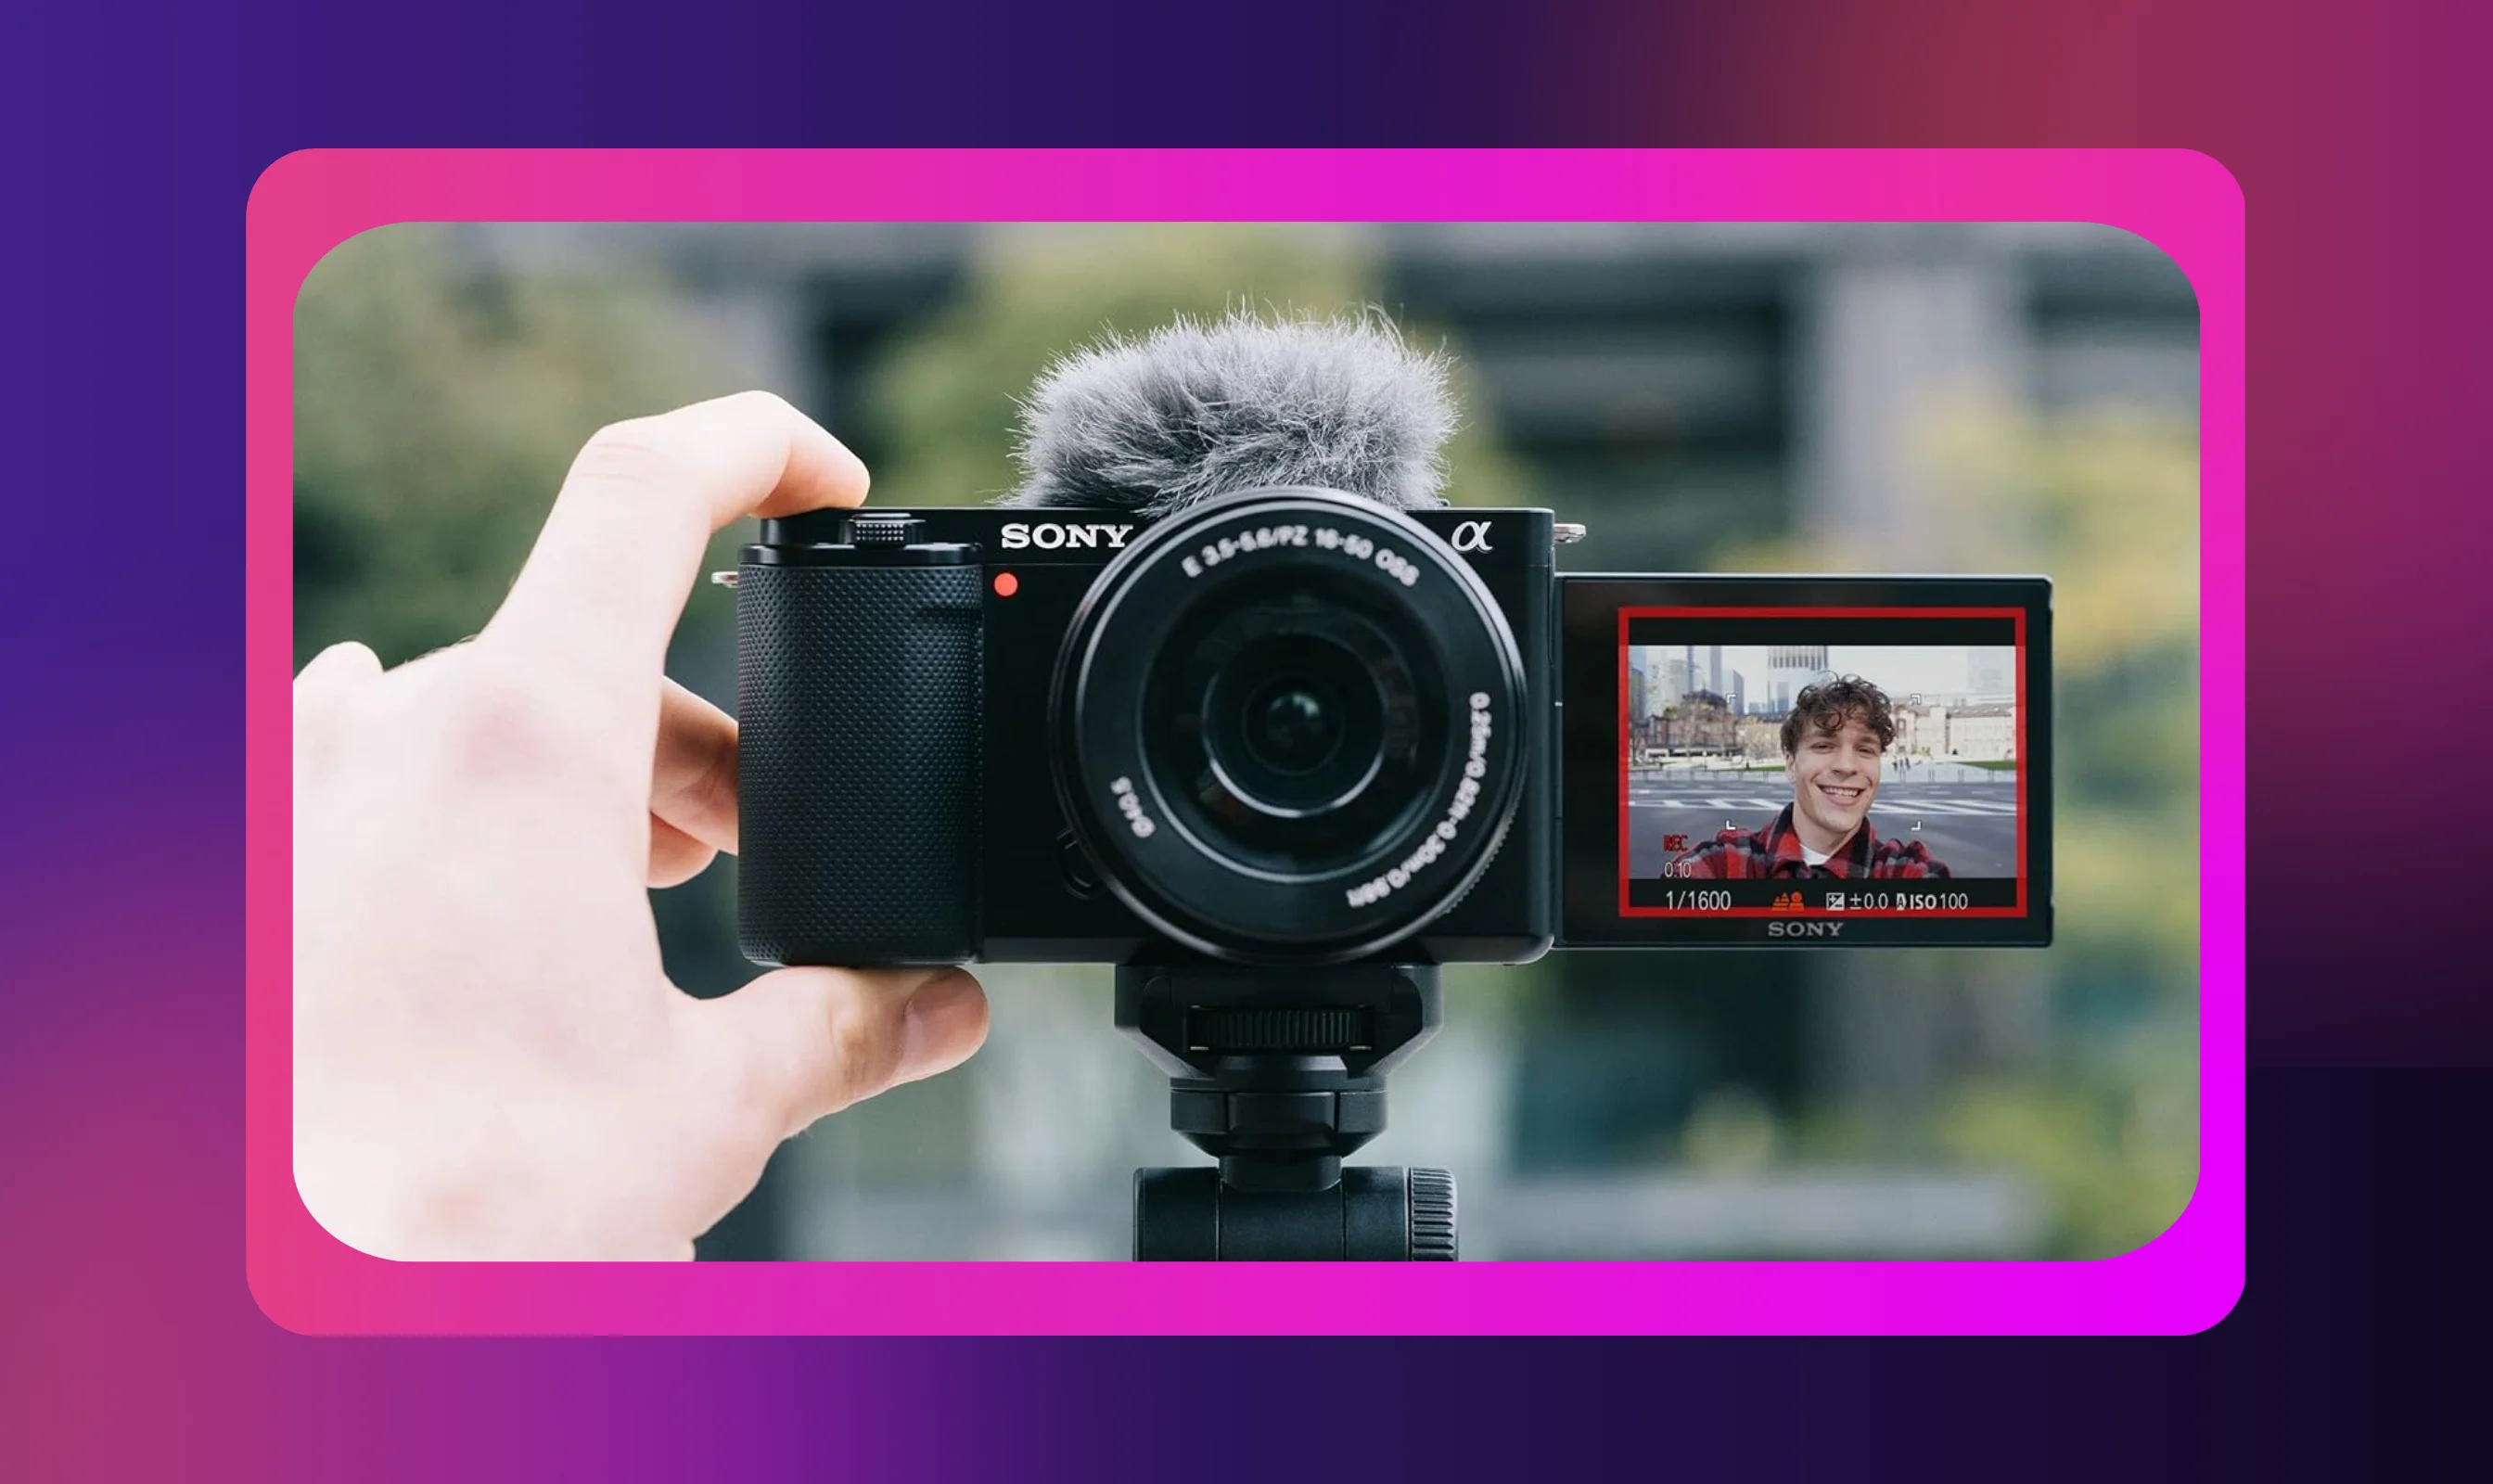
For creators ready to upgrade, the Sony ZV-E10 ($650–$750) is widely regarded as the best budget camera for new YouTubers. It offers a flip screen, excellent autofocus, and dedicated vlogging modes.
For sit-down videos, the Canon R50 ($550-$650) delivers slightly better image quality, though it lacks the vlogging-specific features of the ZV-E10.
Vlogging vs. sit-down considerations:
- Vloggers need flip screens, compact size, and fast autofocus (the ZV-E10 is the stronger choice).
- Sit-down creators can prioritize image quality and don’t need portability (the Canon R50 or even DSLR options work well).
Pro tip: Consider buying used. Platforms like Facebook Marketplace or eBay often list ZV-E10s for $400–$500, making professional YouTube video recording equipment more accessible for beginners.
Microphone
Audio quality matters more than video quality. Viewers are more forgiving of lower resolution than they are of poor sound, which can cause them to abandon a video entirely. Clean, clear audio is essential for building a successful YouTube channel.
- USB Microphones: The Audio-Technica ATR2100x-USB ($149) and Blue Yeti ($100) are excellent for sit-down content. They plug directly into computers, require no additional equipment, and deliver broadcast-quality sound.
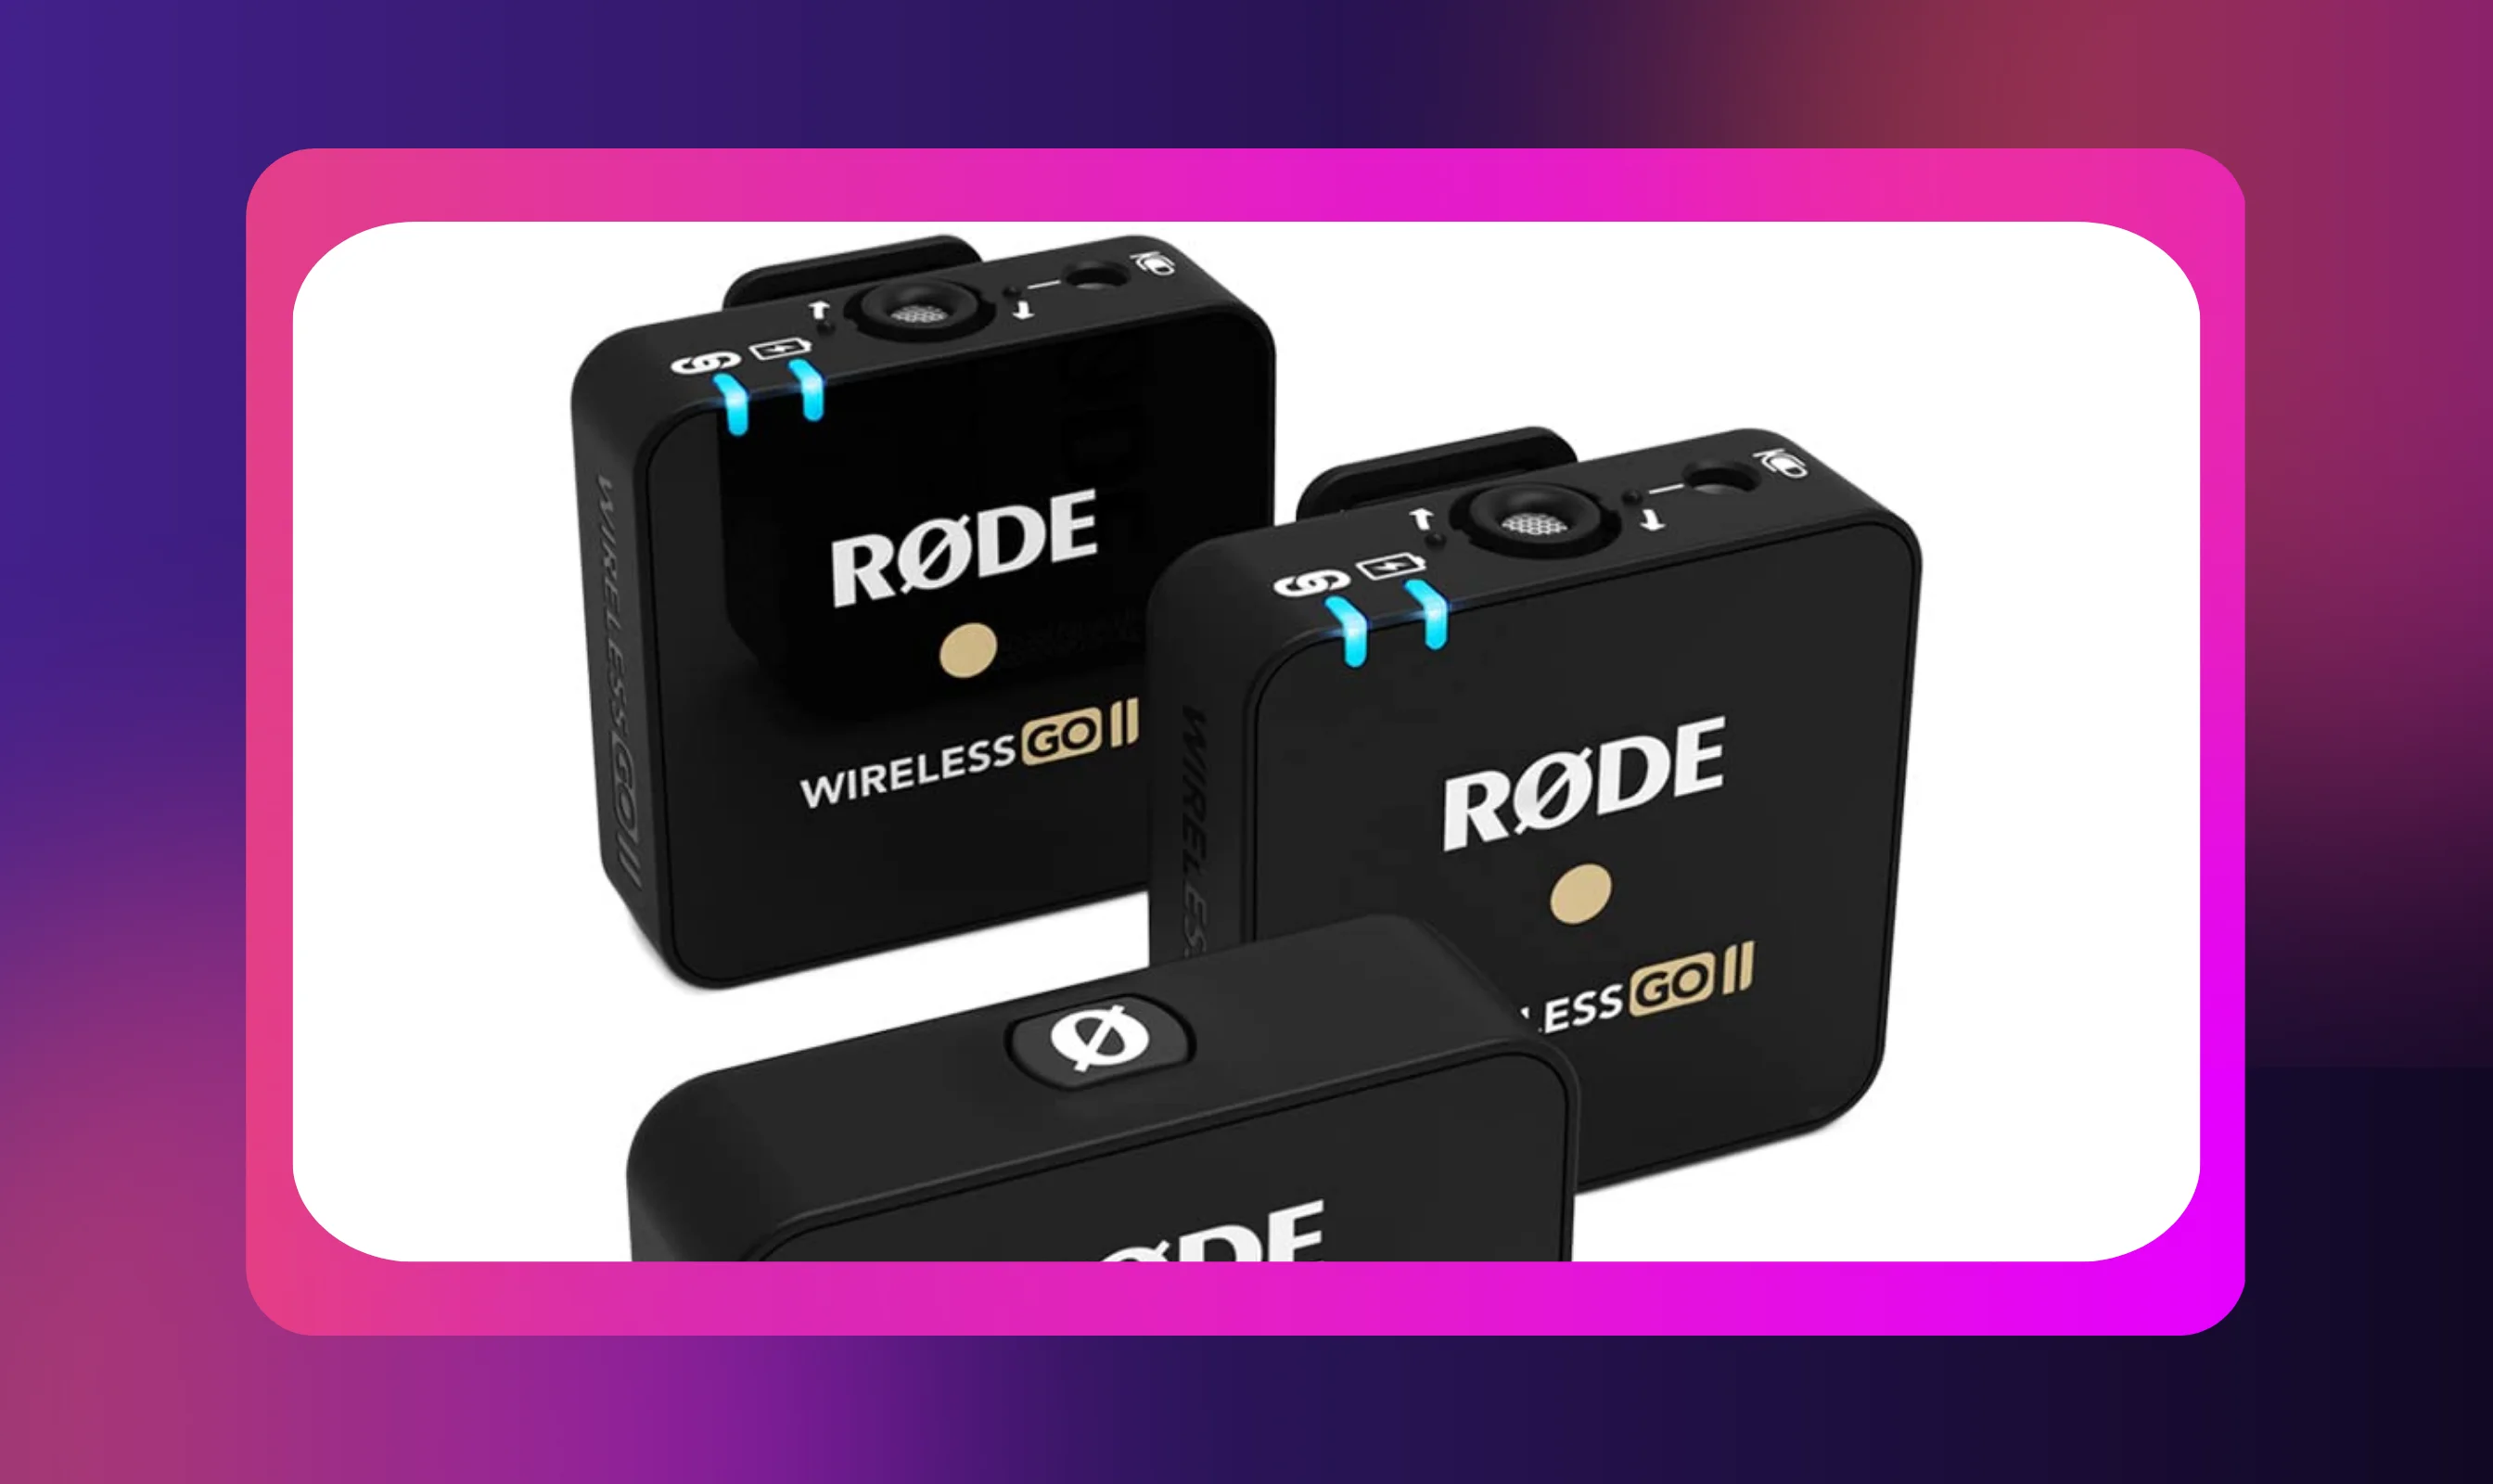
- Lavalier Mics: The Rode Wireless GO II ($299) clips easily to clothing for hands-free recording, making it ideal for vloggers or tutorial creators. Its wireless freedom is especially valuable for active content.
- Shotgun Mics: The Deity V-Mic D3 ($199) mounts on cameras for directional sound pickup, reducing background noise and keeping voices clear. This makes it a strong choice for outdoor or noisy environments.
You can also use vocal projection techniques to improve audio at the source, reducing the need for extensive editing later.
Budget hack: Your smartphone’s built-in voice memo app, paired with free audio editing software like Audacity, can significantly enhance recordings through noise reduction and EQ adjustments.
Lighting Kit
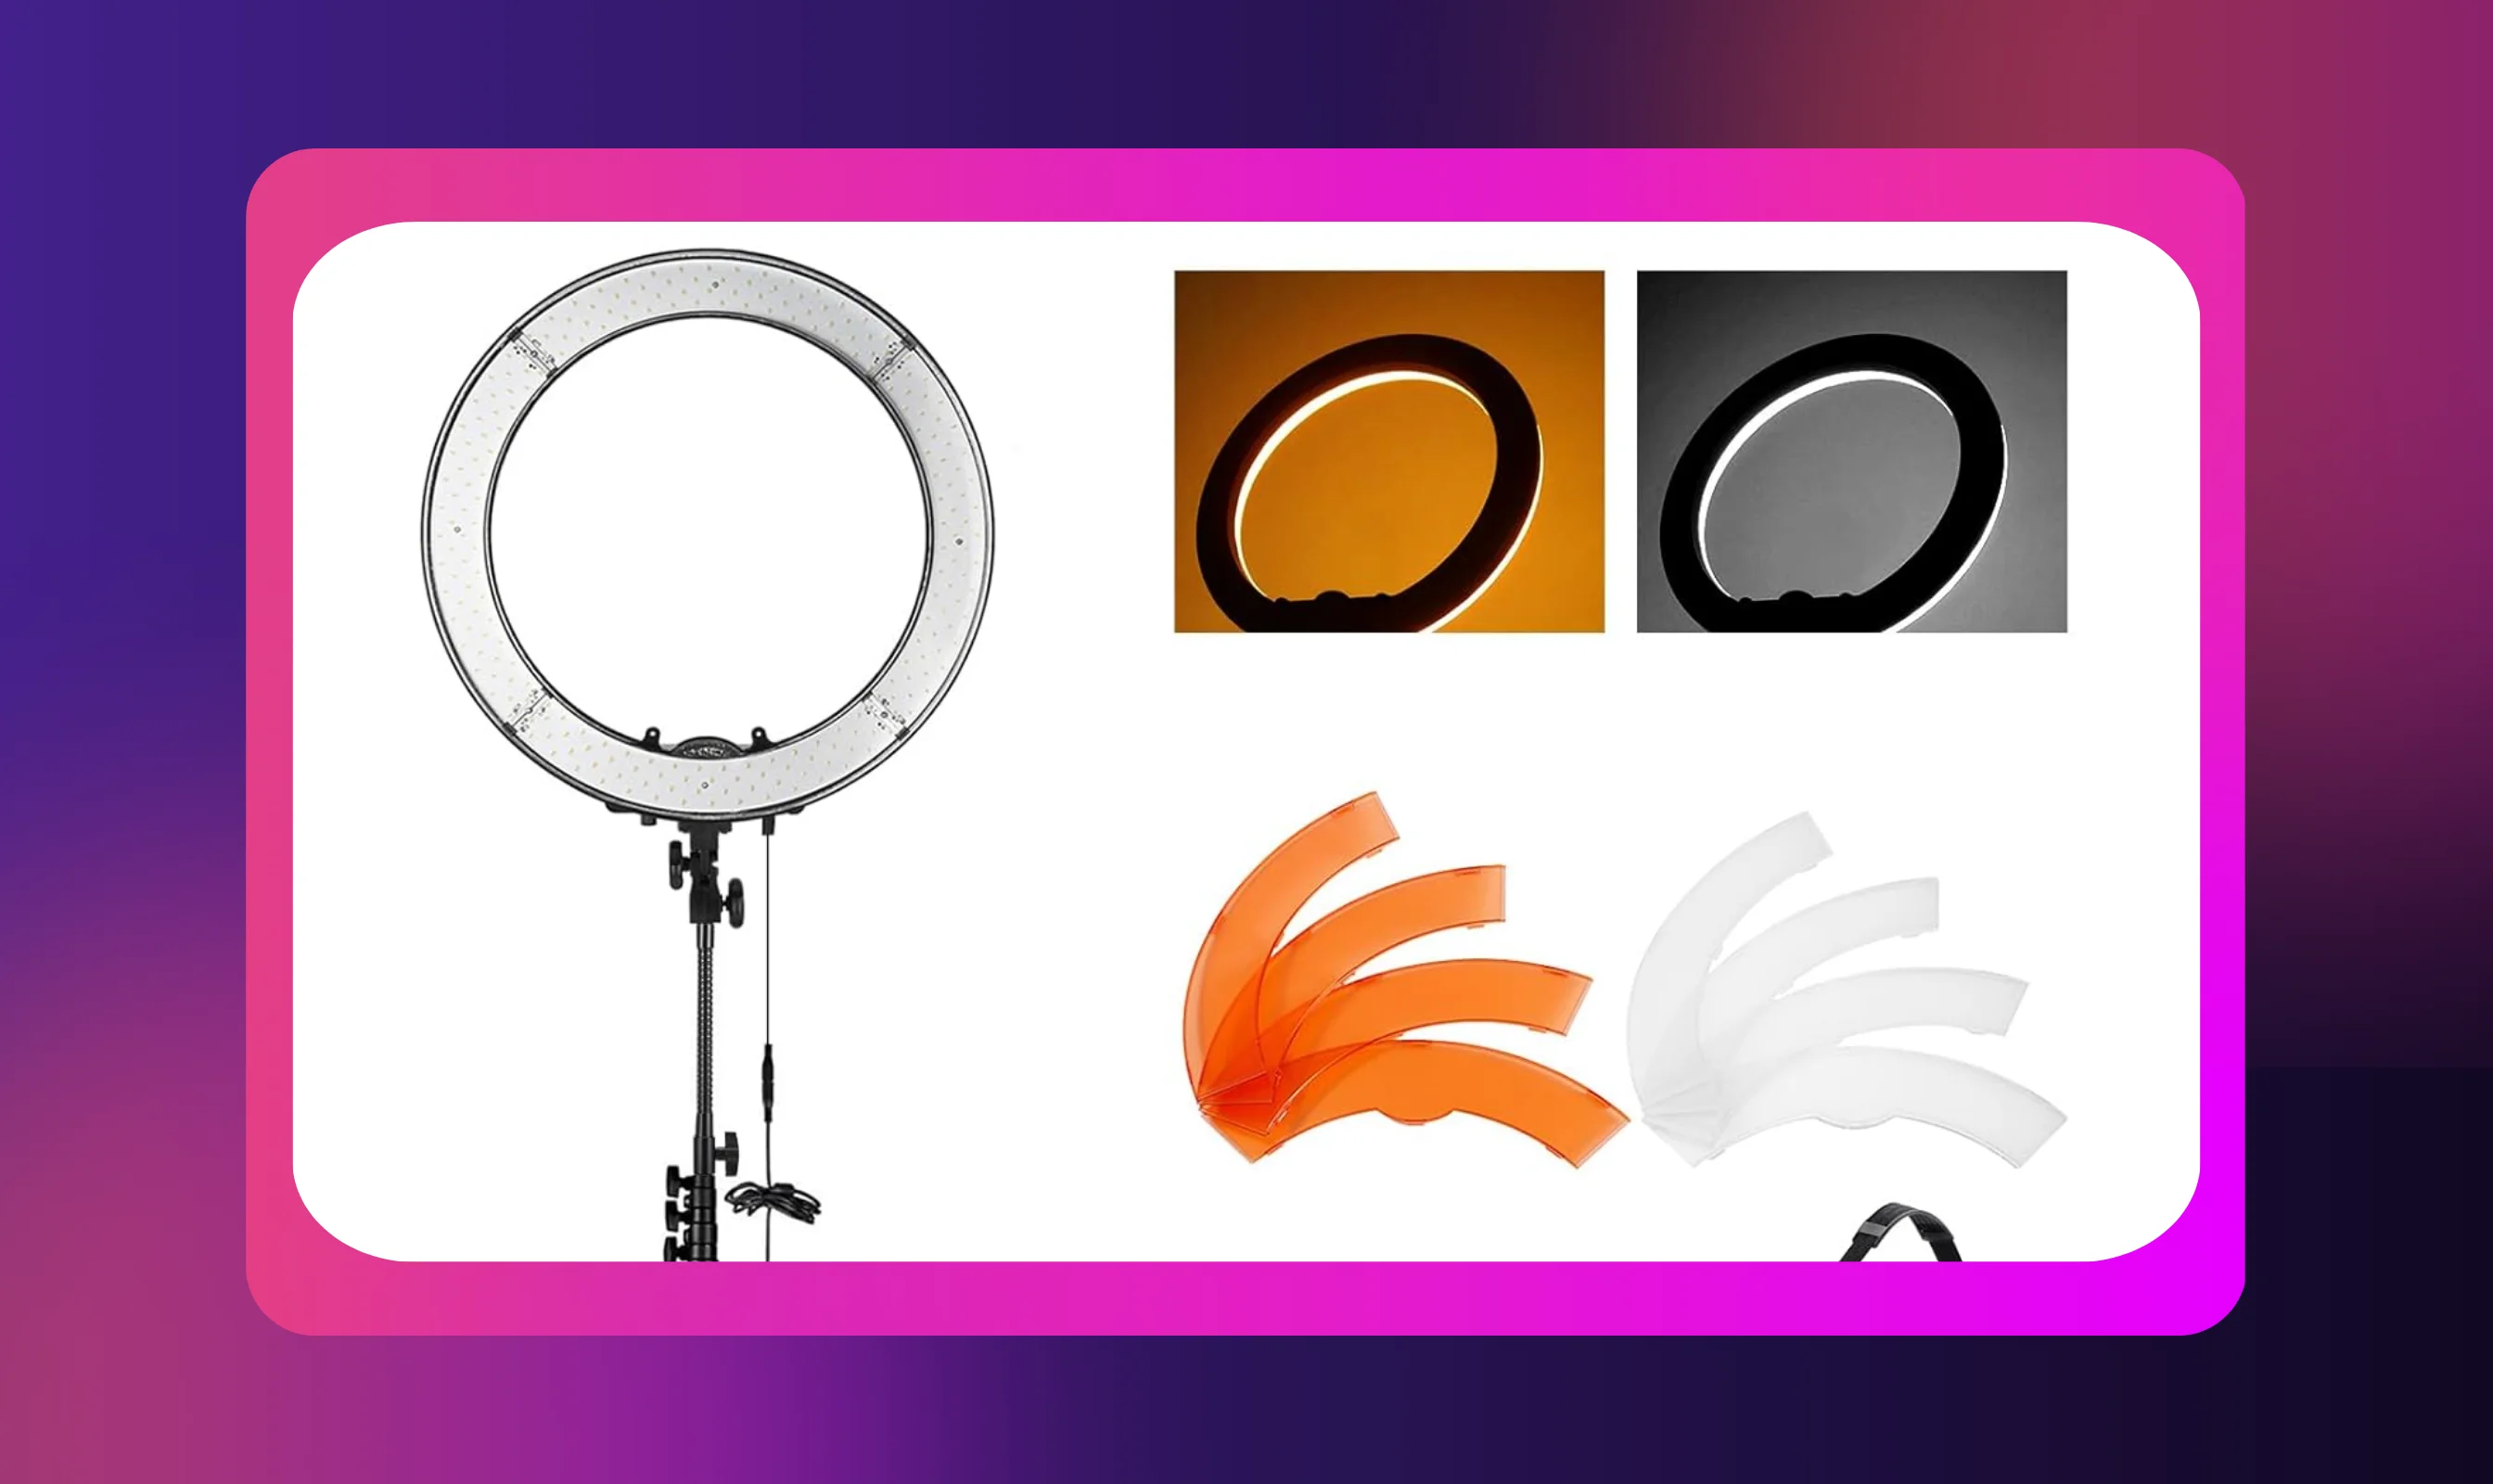
Good lighting can instantly transform amateur footage into professional-looking content. A simple ring light is one of the most impactful upgrades beginner YouTubers can make.
The best part: lighting costs far less than most camera upgrades yet delivers bigger improvements in visual quality.
Options to consider:
- Ring Lights: The Neewer 18" Ring Light ($60–$80) provides soft, even illumination, ideal for talking-head videos. The circular catchlight it produces in the eyes adds a polished, natural look.
- LED Panels: The Godox LEDP120C ($89) offers adjustable color temperature (3200K–5600K) and brightness. Two panels are enough to create professional three-point lighting setups.
- Budget Solutions: Natural daylight is free and flattering. Position yourself facing a large window for even illumination. White foam core boards (about $5 each) can bounce light to fill shadows, delivering professional results for under $20.
Pro tip: Light your background separately to avoid the “floating head” effect and add visual depth to your videos.
Tripod or Stabilizer

Even the best camera won’t save shaky footage; stability is essential for professional-looking videos. Investing in basic support equipment immediately improves both viewer experience and credibility.
Options to consider:
- Desktop Tripods: The Manfrotto PIXI ($35) supports cameras up to 2.2 lbs and fits easily on desks. Its ball head allows precise angle adjustments for optimal framing.
- Full Tripods: An Aluminum Compact Travel Tripod ($60–$100) extends to eye level while remaining lightweight and portable. It’s ideal for full-body shots or varied camera angles.
- Smartphone Stabilizers: The DJI OM 6 ($179) removes phone camera shake and enables smooth motion shots. Its magnetic mounting system makes setup quick and seamless.
- Handheld Gimbals: The DJI Ronin SC ($499) stabilizes mirrorless cameras for cinematic movement, transforming basic footage into professional-grade video with smooth pans and tracking shots.
Pro Tip: Always keep a lightweight tabletop tripod in your kit. It doubles as a stand for phones, cameras, or even microphones, making it one of the most versatile low-cost tools you can own.
Editing Software

What is the best tool to edit videos for YouTube? The answer depends on your skill level, workflow, and budget. Here are strong options at every stage:
- Free Options: DaVinci Resolve provides Hollywood-grade color correction and editing at no cost. iMovie (Mac) and Windows Video Editor are user-friendly for basic edits like cuts and transitions.
- Paid Beginner Options: Adobe Premiere Elements ($100) offers guided edits and automation for learners. Final Cut Pro ($300, Mac only) provides professional-grade tools with an intuitive interface.
- Professional Tools: Adobe Premiere Pro ($21/month) remains the industry standard, with extensive tutorials and plugin support. Final Cut Pro X offers faster rendering for Mac users.
- Mobile Editing: CapCut (free) and InShot ($3/month) allow full editing workflows on smartphones, ideal for YouTube Shorts or quick turnarounds.
The best editing software is the one you’ll use consistently. Start simple and upgrade as your skills and needs evolve.
Pro Tip: Incorporate AI content creation tools into your editing workflow to streamline production, enhance quality, and publish content faster.
Upgrades for Growth and Professionalism
Once monetization kicks in, strategic YouTube channel equipment upgrades can transform your content from "good enough" to industry-standard.
Prioritize upgrades that solve real problems rather than chasing expensive gear for its own sake.
- Professional Cameras: Sony A7 IV ($2,500) or Canon R6 Mark II ($2,400) deliver full-frame quality with exceptional low-light performance. The Sony FX30 ($1,800) offers cinematic video features at a more accessible price point.
- Advanced Lighting: Aputure AL-M9 LED panels ($89 each) and softbox kits ($200-$400) create three-point lighting setups that rival those of studio productions. Green screens ($50-$150) enable virtual backgrounds and create professional-looking environments.
- Professional Audio: Shure SM7B ($400) with Cloudlifter CL-1 ($150) delivers broadcast-quality audio that sounds identical to major podcasts and professional channels. XLR interfaces, such as the Focusrite Scarlett Solo ($120), provide studio-grade recording capabilities.
- Multi-Camera Setups: ATEM Mini ($295) enables live switching between multiple angles, creating dynamic content that keeps viewers engaged longer. Combined with audio dubbing capabilities, this setup positions you for global content expansion and increased revenue potential.
Upgrade when your current gear genuinely limits your creative vision or when better quality will meaningfully boost viewer engagement and monetization opportunities.
Gear Setup: Practical Placement & Workflow Tips
Smart placement, even with basic YouTube channel equipment, can elevate average footage into polished, professional-looking content. Proper arrangement ensures strong results regardless of budget or space constraints.
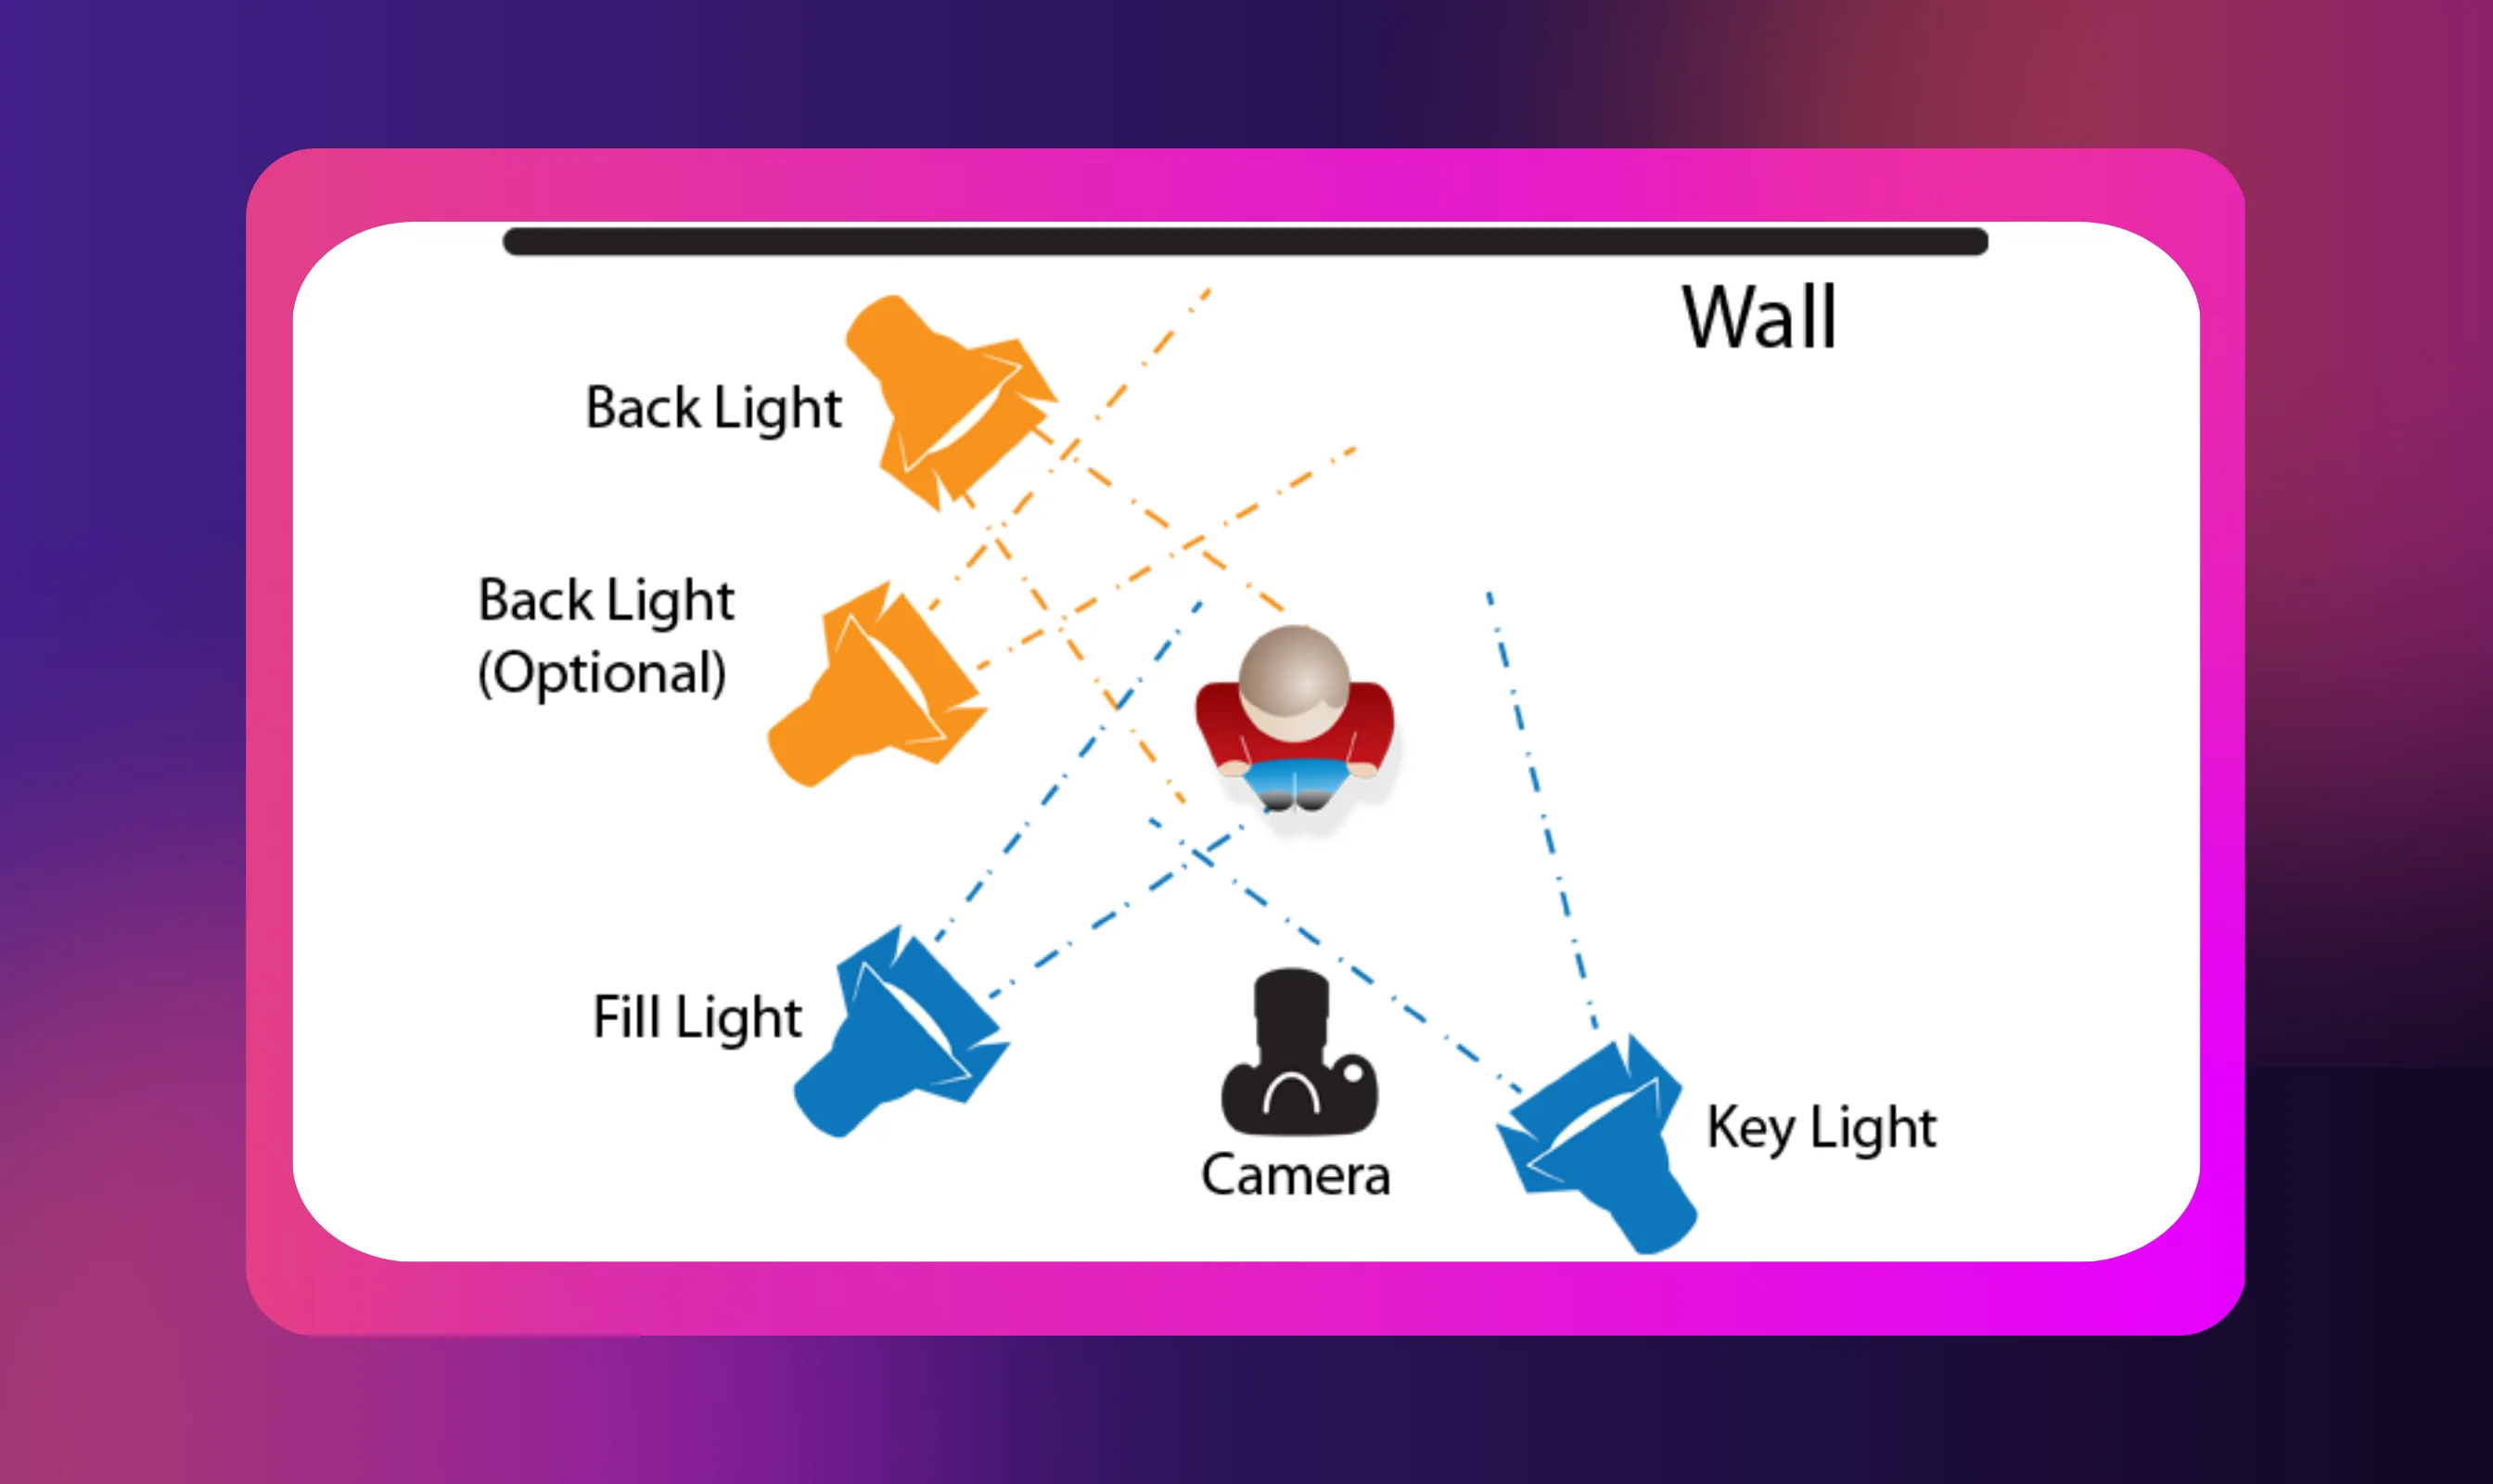
Image Source: Videomaker
- The Golden Triangle: Position yourself, the camera, and your key light to form a triangle. Place the camera at eye level, 3–6 feet away. Set the key light at a 45-degree angle to avoid harsh shadows while keeping facial features defined.
- Audio Optimization: For USB microphones, maintain a distance of 6–12 inches from your mouth. Lavalier mics should be clipped about 8 inches below your chin. Avoid placing microphones near air vents or computer fans to reduce background noise.
- Cable Management: Use adhesive clips along desk edges and trays beneath to keep cables tidy and prevent tripping hazards. Mount power strips under the desk for easy access while maintaining a clean background.
- Space Efficiency: What kind of camera do content creators use? Many professionals rely on all-in-one desk setups, where cameras, lights, and microphones are mounted to a single surface. This approach reduces setup time and ensures consistent framing across every shoot.
Pro Tip: Position lights just behind your camera but slightly off to the sides. This prevents lens flare while maintaining even, flattering illumination.
Boosting Reach with Multilingual Content
.webp)
Creating engaging YouTube videos is only the first step; the real growth potential comes from reaching global audiences.
Traditionally, international expansion required costly translation services, professional voice actors, and months of additional production. Today, audio dubbing makes the process far more efficient.
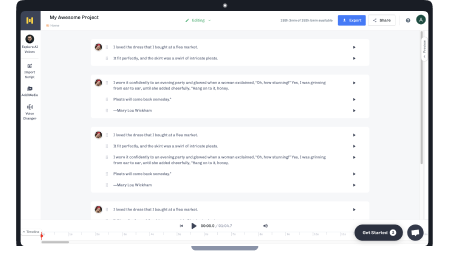
Upload your English-language YouTube video and instantly generate natural-sounding dubs in 40+ languages. The AI preserves your original voice characteristics, tone, and timing, while maintaining lip-sync accuracy and emotional context. The result feels authentic rather than robotic.
This approach multiplies your content’s reach. A single video can be localized into 10, 20, or even 30 versions targeting Spanish, French, German, Japanese, and other major markets.
- Creators have reported a 25% increase in watch time after adding multilingual audio tracks.
- Chef Jamie Oliver experienced a 300% growth in views after implementing multi-language dubbing.
Audio blogging is emerging as a cornerstone of content strategy. With Murf, you can record once with your current setup and let AI-powered dubbing handle global distribution, no additional filming, voice coaching, or technical expertise required.
Conclusion
Starting your YouTube journey does not require expensive gear: just passion, creativity, and the willingness to learn. Use what you already have, upgrade strategically, and focus on creating engaging content first. Your smartphone and storytelling skills often matter more than advanced equipment.
Once you are producing consistently, consider expanding globally through audio localization.
Murf’s AI technology can turn a single video into multilingual content across 40+ languages, dramatically increasing your reach. Creators worldwide are already using AI dubbing to connect with international audiences, without the added costs of voice actors or reshoots.
Ready to scale globally? Try Murf's AI dubbing platform and see how your existing videos can reach millions of new viewers.

Frequently Asked Questions
What equipment do most YouTubers use?
.svg)
Most YouTuber equipment setups prioritize audio first, then lighting, then cameras. The Sony ZV-E10 ($650–$750) is a staple for many YouTubers, followed by the Canon R50 and the Sony A7S III for premium setups.
For audio, the Shure SM7B paired with Focusrite Scarlett interfaces is an industry standard. Lighting often includes ring lights or Aputure LED panels, while editing is commonly done on Adobe Premiere Pro or DaVinci Resolve.
What's the entry-level camera for YouTube?
The Sony ZV-E10 ($650–$750) remains the most popular beginner camera thanks to its flip screen, autofocus, and vlogging-specific features.
The Canon R50 ($550) is a strong alternative for sit-down videos, while smartphones like the iPhone 15 Pro or Samsung Galaxy S24 Ultra deliver excellent 4K quality. New creators can start with their phone’s camera and upgrade later.
Do YouTubers use their phones to record?
Yes. High-profile creators like Casey Neistat and Peter McKinnon regularly use iPhones for B-roll, social content, and even main videos.
Modern smartphones such as the iPhone 15 Pro Max, Samsung Galaxy S25 Ultra, and Google Pixel 8 Pro shoot cinema-quality 4K with professional stabilization, making them viable tools even for established channels.


.webp)
.webp)


.webp)


