How to Set Up a Dubbing Studio – Essential Equipment, Process, and Tips
.webp)
Key Takeaways
- Demand for localized content has made dubbing essential for global distribution, motivating creators to consider in-house studio setups.
- Owning a dubbing studio provides creative control, long-term cost savings, faster turnaround, and improved collaboration.
- Core studio requirements include microphones, audio interfaces, monitors, headphones, acoustic treatment, and professional editing software.
- Proper room selection and acoustic treatment are critical for minimizing noise, reflections, and recording inconsistencies.
- Effective studio setup depends on ergonomic equipment placement, cable management, and calibration testing.
- Common mistakes include poor vocal care, inconsistent mic positioning, plosive noise, and insufficient audio cleanup.
- AI dubbing tools offer an alternative to physical studios by enabling voice cloning, multilingual video dubbing, and voice transformation from a computer.
- Murf AI reduces equipment, staffing, and studio costs while supporting scalable multilingual dubbing workflows.
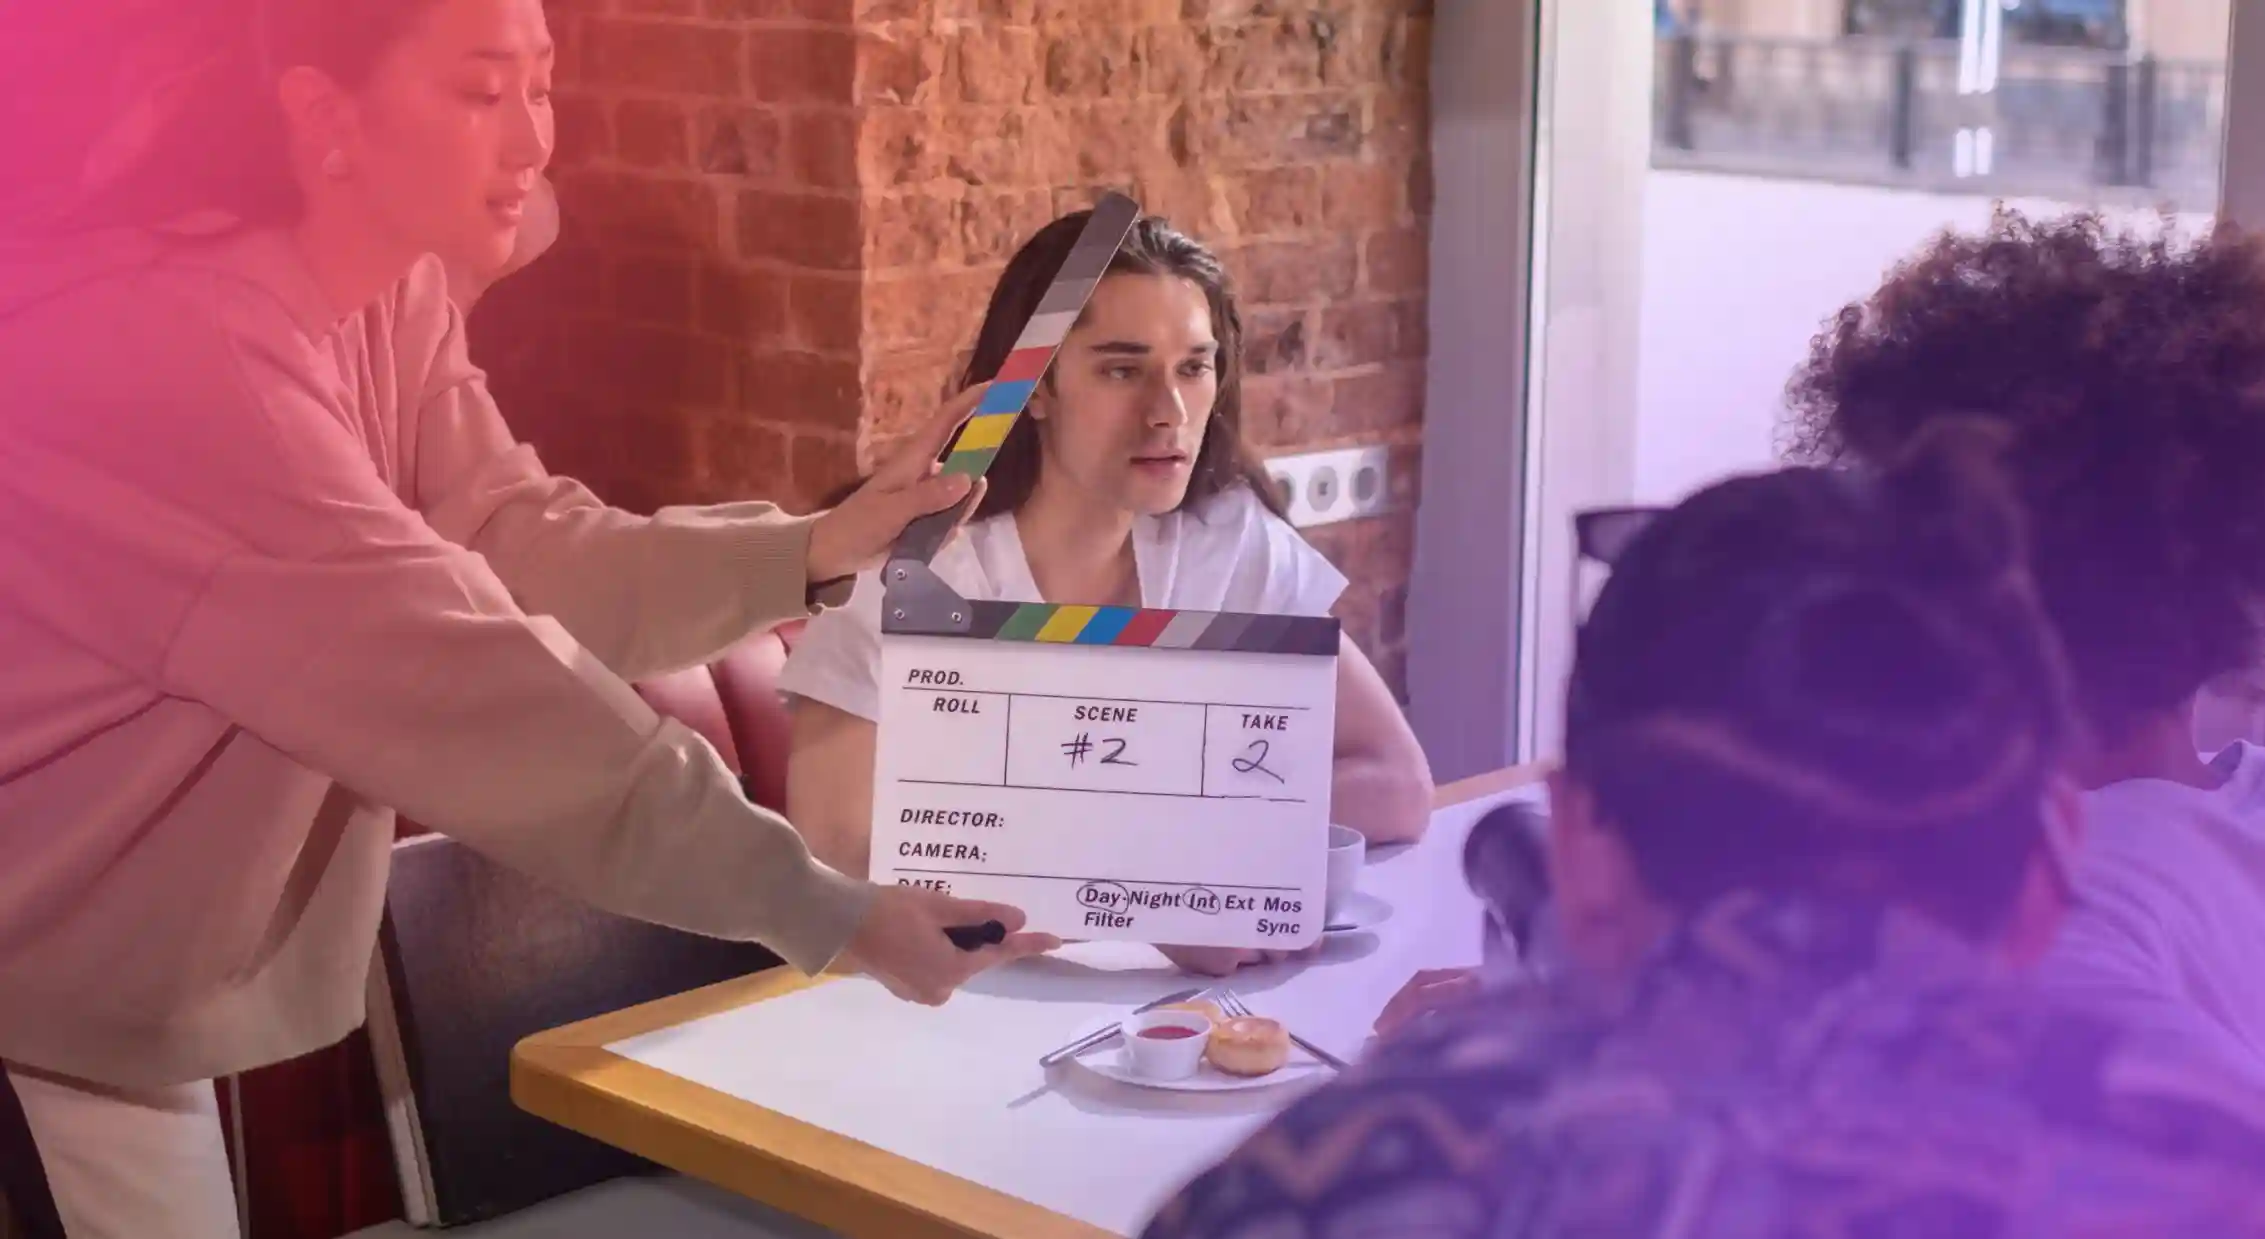
Global hits no longer stay in one language. Series like Squid Game, Money Heist, and Stranger Things stream worldwide with multiple dubs ready at launch. Big films like Dune and John Wick reach global audiences because viewers prefer to hear stories in their own voice and language. That demand has made dubbing a serious production step, not just an afterthought.
If you want to reach new markets, your dubbing studio setup matters. Many creators rent a recording studio at first, but regular dubbing projects can quickly cost more money. Building your own studio space, even a budget-friendly home studio set inside your house, gives you control over sound quality, background noise, and recorded audio.
You do not need a huge budget. But you do need the right equipment, proper acoustic treatment, reliable recording software like Adobe Audition or Pro Tools, and a clear dubbing process.
This article explains how to set up a dubbing studio that delivers consistent audio quality across all your recordings, along with everything you need to know to ensure professional results.
How to Set Up a Recording Studio: A Step-by-Step Process
Once your recording equipment is ready, it is time to build your dubbing studio setup the right way. A proper studio setup protects sound quality, improves workflow, and makes dubbing projects easier to manage. Follow this step-by-step process to create a practical recording studio that delivers consistent audio quality.
Step 1: Choose the Correct Location or Space
Your right room affects everything, from voice sound to background noise control. Even the best microphone or audio interface cannot fix poor acoustics.
Keep these points in mind:
- Pick a Quiet Space
Choose a quiet space with low ambient noise. Avoid rooms near traffic, elevators, or shared walls. Less noise means cleaner recorded audio. - Consider Room Size and Shape
Small rooms work well for a home voiceover studio or solo dubbing work. Irregular dimensions help reduce harsh sound waves and standing waves. - Plan for Growth
If you expect more dubbing projects, select a studio space that can fit extra recording equipment, studio monitors, and team members. - Check Ventilation and Stability
Ensure proper cooling and airflow so your computer, solid state drive, and other equipment do not overheat. Stable flooring helps control vibration and unwanted sound. - Organize for Efficiency
Arrange essential tools based on daily use. Your microphone stand, boom arm, headphones, and recording software should be easy to access inside the recording area.
Step 2: Install Acoustic Panels for Treatment
Acoustic treatment helps absorb sound and control reflections that can reduce audio quality. This step is critical in any recording studio, especially in a home studio.
Focus on the following:
- Install Acoustic Panels
Place acoustic panels at reflection points to improve sound clarity and reduce echo. - Use Bass Traps and Diffusers
Bass traps manage low frequency sound waves. Diffusers help balance the room without making it feel unnatural. - Cover Doors and Windows
Use heavy curtains to reduce background noise from outside and improve overall sound control. - Manage Cables Properly
Route your XLR cable and other wires along the edges of the room. Clean cable management reduces interference and keeps the studio safe.
Step 3: Set Up and Calibrate the Equipment
Next, it’s time to assemble and test your studio setup.
Follow this order:
- Position the Microphone Correctly
Mount your condenser microphone on a stable microphone stand or boom arm. Use a pop filter or pop shield to control plosive sounds. A USB microphone can be plugged directly into your computer for a budget-friendly setup. - Connect Through an Audio Interface
If you are using an XLR mic, connect it to your audio interface with a quality XLR cable. Set proper input levels to protect sound quality. - Place Studio Monitors and Headphones
Position studio monitors at ear level. Use closed back headphones or wired headphones during recording to prevent sound bleed. - Install Recording and Dubbing Software
Set up recording software such as Adobe Audition or Pro Tools. Adjust settings for clean recording and explore editing options for polishing recorded audio. - Run Test Recordings
Record sample voice clips before starting professional dubbing projects. Listen carefully to hear unwanted noise or distortion. Make adjustments before finalizing your setup.
Essential Recording Equipment for a Dubbing Studio
The equipment in your dubbing studio setup shapes the final sound more than anything else. Good tools protect audio quality, reduce noise, and make editing easier. Whether you are building a full recording studio or a compact home voiceover studio, these are the must-have components.
Audio Recording Software
Your recording software is the center of your studio setup. It handles recording, editing, exporting, and file management.
Look for software that supports:
- Multitrack recording for dubbing projects
- Noise reduction and cleanup tools
- Flexible editing options
- Export in different digital format types
Adobe Audition and Pro Tools are widely used for dubbing work. The right choice will vary depending on your workflow, budget, and the type of projects you handle.
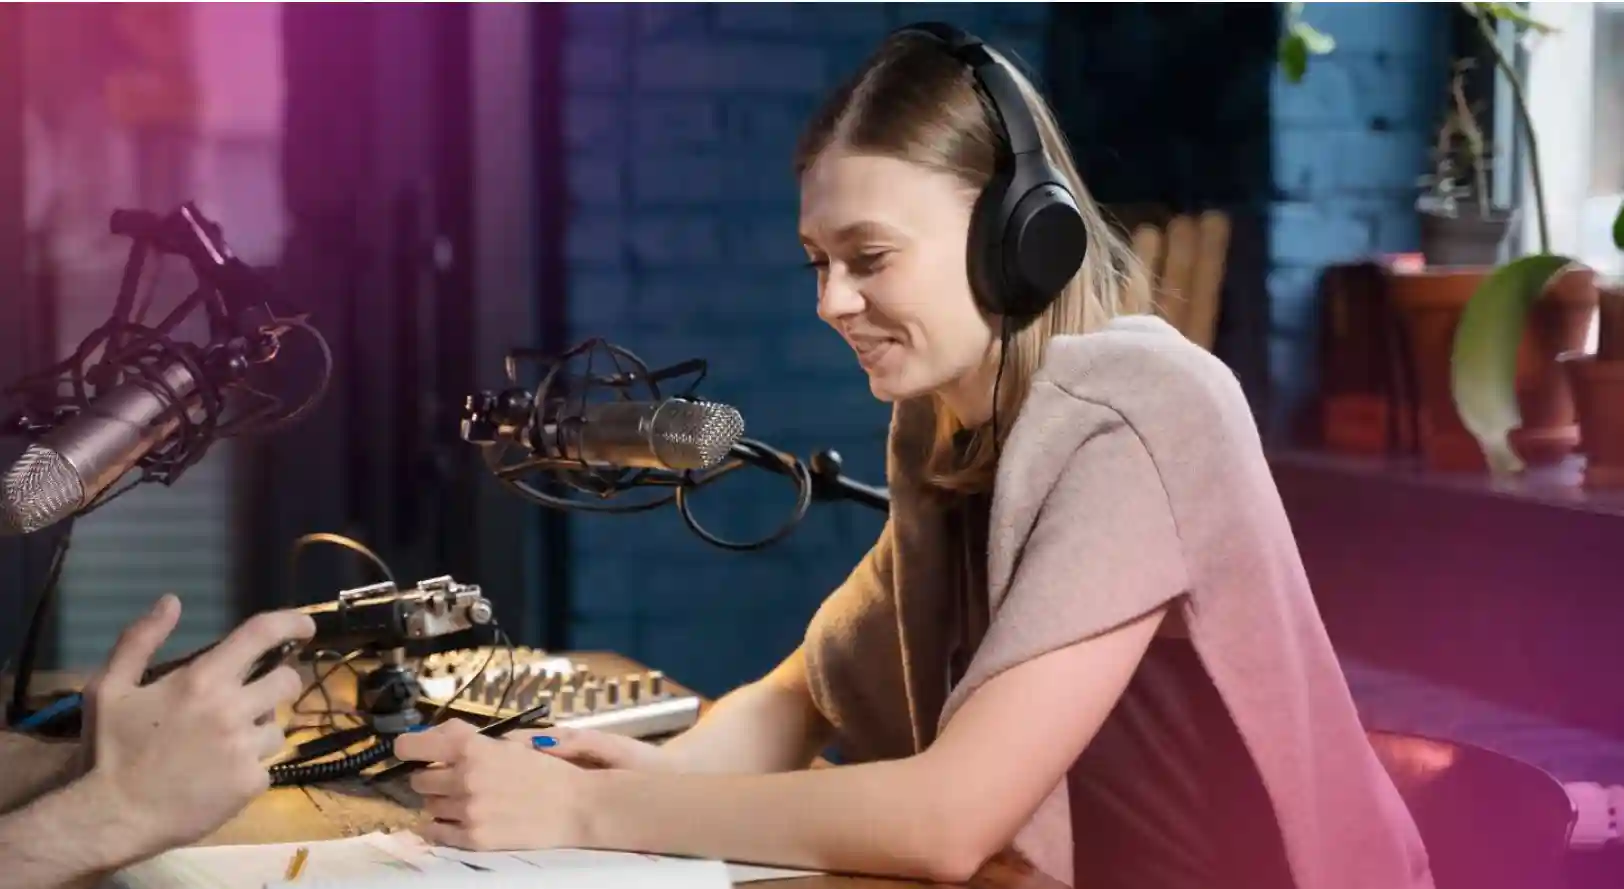
High-Quality Microphones
The microphone captures the voice. If this step fails, nothing later can fully fix it.
For strong voice sound and detailed sound waves:
- Choose a condenser microphone for better sensitivity and clarity.
- Use a stable microphone stand or boom arm.
- Add a pop filter or pop shield to control plosive sounds.
- Connect with a reliable XLR cable for clean signal transfer.
A USB microphone can be plugged directly into your computer and works for a budget-friendly home studio set. However, an XLR mic paired with an audio interface usually delivers better audio quality.
Audio Interface
An audio interface converts analog sound into digital format so your computer can process it.
It helps you:
- Maintain high sound quality
- Reduce latency during recording
- Improve overall recorded audio clarity
Choose an interface that matches your mic and software and does not compromise signal strength.
Studio Monitors
Studio monitors allow you to hear the real output of your recording.
They help you check:
- Tone and clarity
- Timing and pitch
- Balance in the final mix
Position studio monitors correctly in your studio space to create an accurate listening environment similar to what your audience may hear.
Headphones
Headphones are essential during recording and editing.
- Use closed back headphones to prevent bleed into the mic.
- Wired headphones offer stable monitoring without delay.
- They also help voice artists focus without background noise distractions.
Accurate monitoring improves audio quality across all your recordings.
Acoustic Treatments
Even the best equipment cannot fix a bad room. Acoustic treatment helps absorb sound and control reflections.
To improve your recording area, use:
- Acoustic panels to absorb reflections
- Bass traps to control low-frequency sound waves
- Diffusers to balance the sound
Acoustic treatment reduces unwanted noise, prevents echo, and creates a neutral studio environment. It isolates the studio from external disturbances and improves clarity for sound engineers, editors, and voice actors.
Audio Editing Software and Tools
Recording is only half the job. You also need tools to edit and polish the audio.
Editing software allows you to:
- Clean up noise
- Adjust levels
- Improve timing
- Enhance voice clarity
A digital audio workstation gives you control over every part of the dubbing process, from raw recording to final delivery.
Digital audio workstation
This is a platform used by sound editors to edit, mix, and work on audio recordings to create the desired output for their projects. The workstation allows the editor to edit sound recordings and create high-quality dubbing tracks.
Adobe Audition, Reaper, Logic Pro, and Pro Tools are some of the top digital audio workstations available. There are also many AI tools that let you edit and mix faster.
When buying a digital audio workstation, ensure it has adequate features and functionalities for multitrack recording, noise reduction, mixing, and more.
Software plugins and enhancers
Plugins can further refine your voice recordings when basic tools are not enough.
You may use:
- Antares Auto Tune Pro for pitch correction
- Celemony Melodyne for timing and tone adjustments
- iZotope Nectar for EQ and vocal processing
These tools can help fine tune your dubbing projects and maintain consistent quality.
Why Set Up a Dubbing Studio of Your Own?
Setting up your own dubbing studio setup is not just about convenience. It gives you control over sound, workflow, and long-term costs. Here’s what you gain:
- Complete Creative Control: You control the voice sound, tone, pacing, and final output.
- Consistent Sound Quality: Working in the same studio space with fixed acoustic treatment and equipment ensures stable audio quality across all your recordings.
- Lower Long-Term Costs: An in-house home studio set may require upfront investment, but it reduces ongoing expenses, even without a huge budget.
- Flexible Scheduling: You can record, edit, and export in your preferred digital format without waiting for studio availability or adjusting to third-party timelines.
- Faster Turnaround: Immediate access to your recording area allows quick revisions and faster project delivery.
- Better Collaboration: Teams can hear drafts instantly through studio monitors or headphones.
Key Mistakes to Avoid During Dubbing Studio Setup
Here are a few mistakes that can spoil your output.
- Starting Cold and Rushing into Recording
Hitting record without warming-up your voice is like sprinting without stretching. Your diction slips, tone feels tight, and energy sounds forced. Spend a few minutes loosening up before every session. - Treating Your Voice Carelessly
Late nights, dehydration, and consuming extremely hot or cold drinks right before recording can show up in the recorded audio. Your voice is the instrument in a dubbing studio setup. Protect it by drinking water and getting ample rest. - Moving Around Too Much on the Mic
Movements like leaning back, turning your head, and shifting in your chair may feel small, but sensitive microphones capture these changes instantly. The sound waves shift, the volume changes, and the consistency disappears. It’s important to keep a steady mic distance and angle. - Ignoring Plosives and Harsh Sounds
Those sudden bursts of air on words with P or B can wreck a clean take. Ditto with sharp sibilance on S sounds. Always use a pop filter or pop shield and position the mic slightly off-center to prevent this. - Thinking You Will Fix Everything Later
Yes, recording software like Adobe Audition or Pro Tools can reduce noise and clean up audio. But they cannot fully rescue bad mic placement or heavy background noise. Get it right in the recording area first. - Skipping the Final Listen
Before completing the project, pay attention to noise removal and audio cleaning. You can use various editing tools or AI software solutions to help you with this.
Using Murf AI for Voiceovers and Dubbing
Let’s be honest. Setting up a full dubbing studio takes effort. You need the right room, proper acoustic treatment, solid recording equipment, and time for retakes. And even after all that, small script changes can send you back to square one.
That is where AI can make life easier.
Murf AI is built for voiceovers and AI video dubbing at scale. You can create, edit, and export high-quality audio without booking studio space every time. It does not replace a professional recording studio in every case. But for many dubbing projects, it removes a lot of friction.
Here’s how.
AI Voice Cloning
AI voice cloning lets you create a digital version of a real voice and use it for future recordings.
This is useful when:
- You want consistent voice sound across multiple videos
- You need small script updates without calling the voice actor again
- You are building long term content like courses or training modules
Instead of setting up the mic, audio interface, and recording area for every revision, you can generate updated recorded audio directly from your computer.
It saves time, keeps the tone consistent, and reduces repeat studio work.
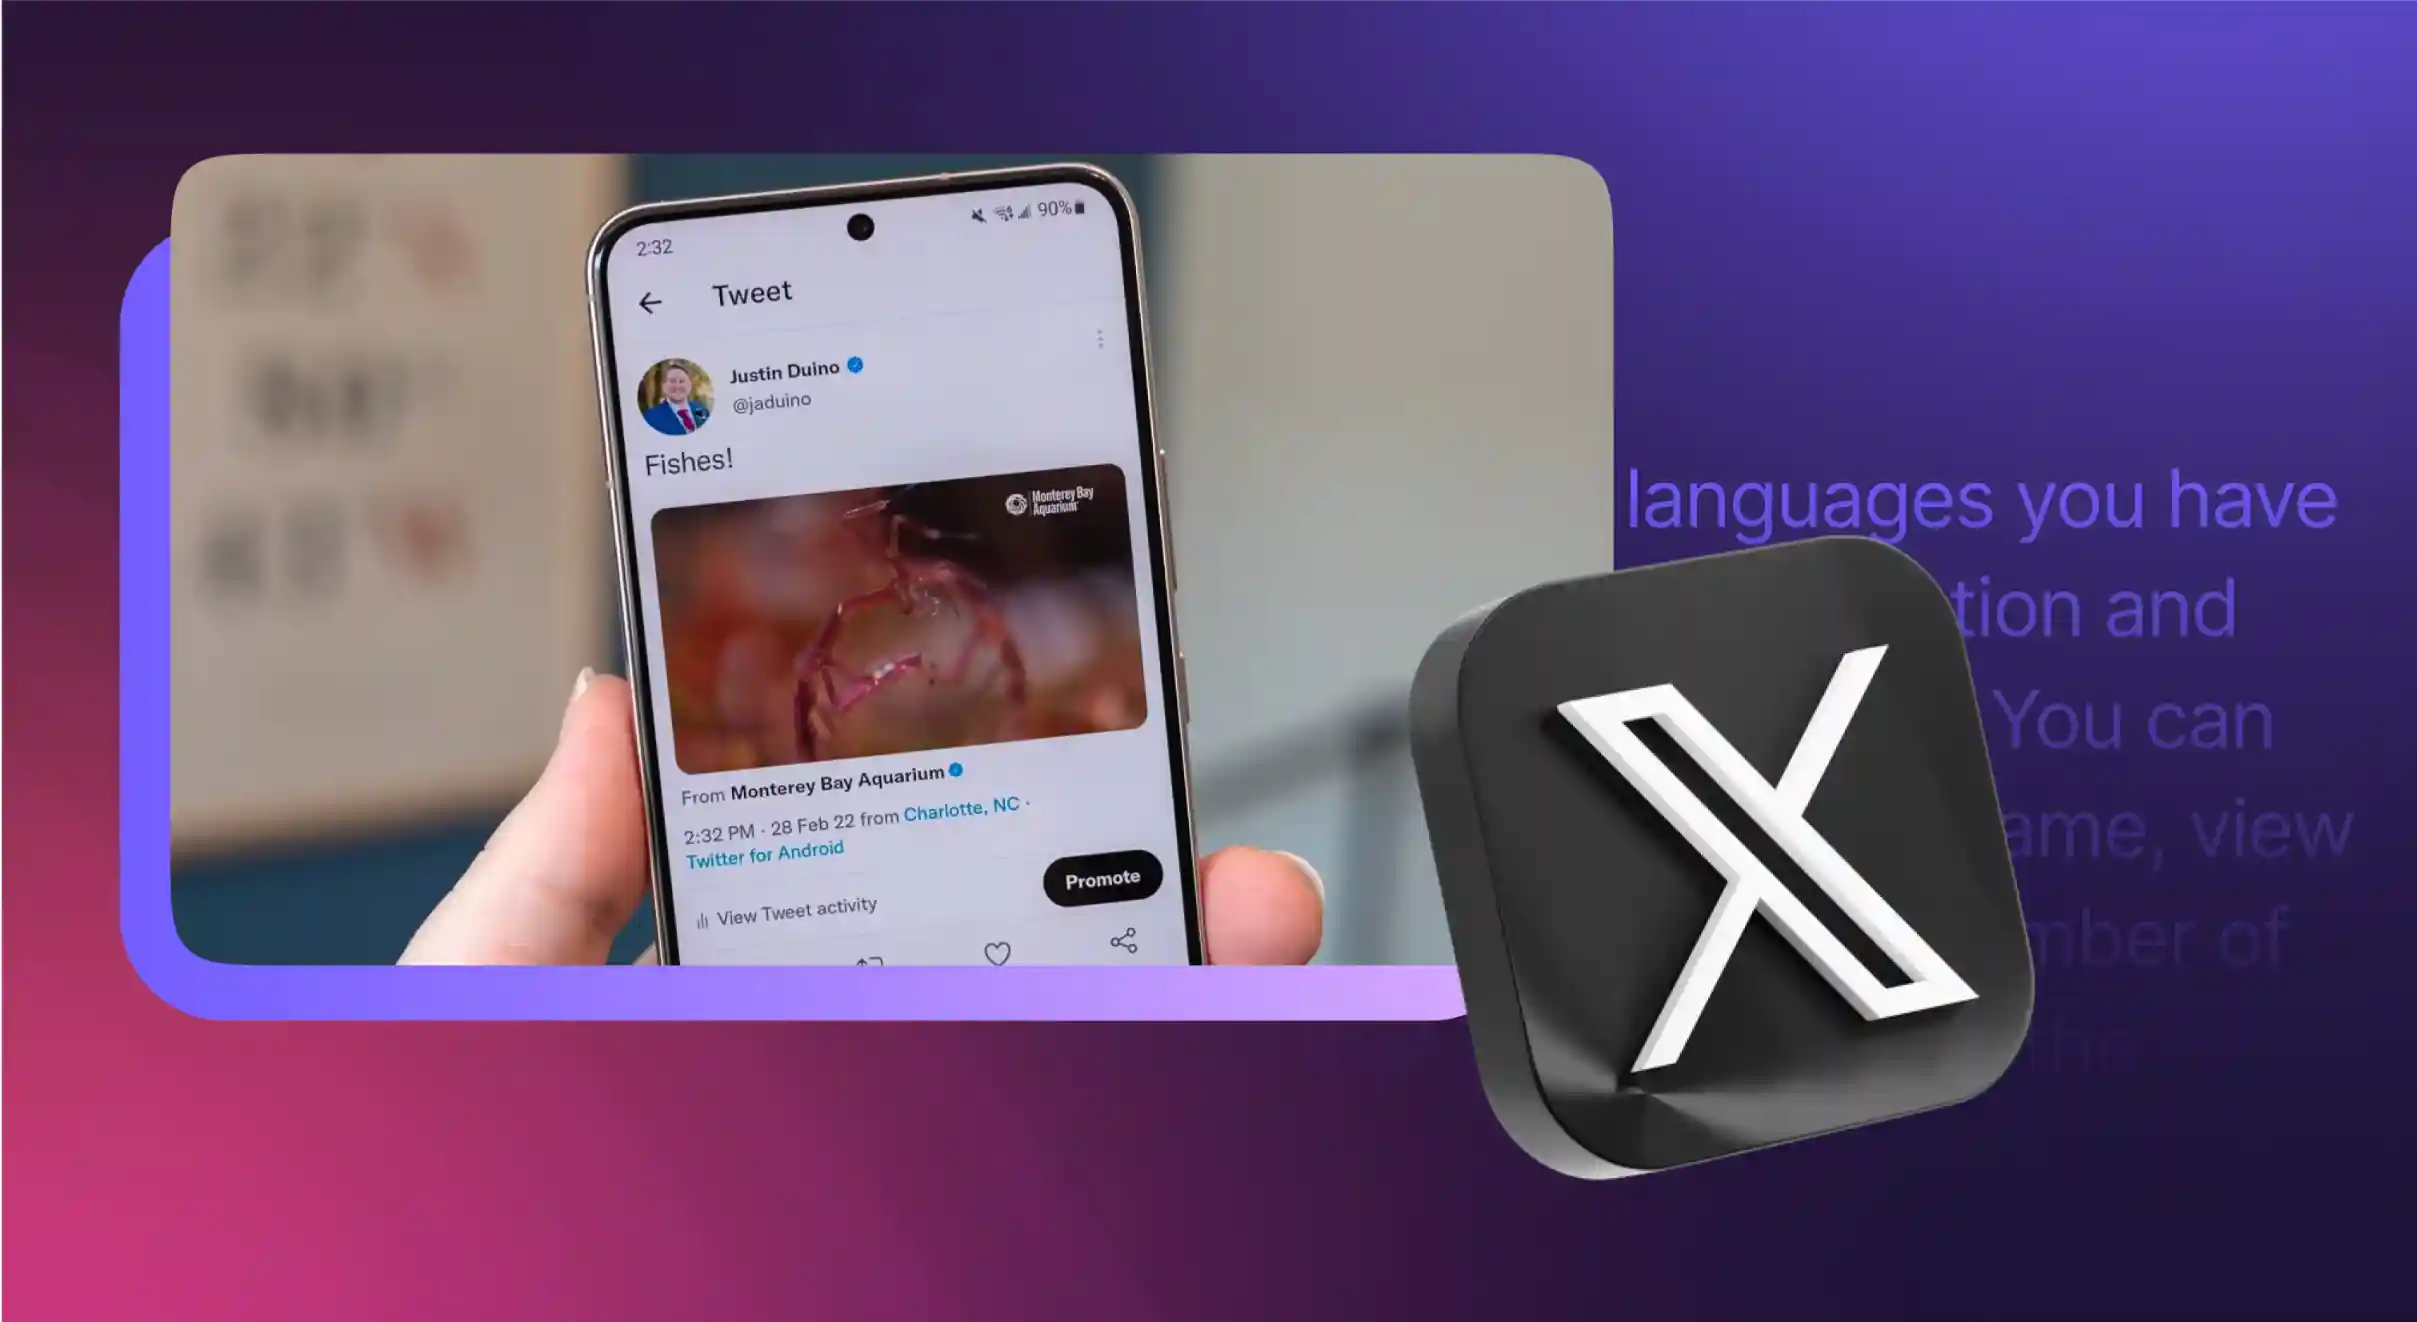
AI Video Dubbing
Using an AI video dubbing online free tool like Murf AI can help you translate and replace dialogue in videos while keeping timing aligned with the visuals. The platform allows you to upload videos in any of the 40+ supported languages and have them translated and dubbed into any of your chosen languages from the library.
You can:
- Dub content into multiple languages faster
- Scale YouTube videos, courses, or marketing content globally
- Maintain natural pacing without manual syncing every line
For creators expanding into new markets, this cuts down the need for repeated recording sessions inside a traditional studio space. You still review the output and control audio quality. But the heavy lifting becomes much faster. When you're handling frequent dubbing work, this kind of speed matters.
AI Voice Changer
An AI voice changer allows you to adjust tone, pitch, or style without re-recording everything.
This helps when:
- You want to test different voice styles for the same script
- You need slight tonal changes for different audiences
- Deadlines do not allow another full recording session
Instead of resetting your entire studio setup, you make changes digitally and review them inside your editing workflow.
Murf AI Can Save You from All These Troubles

A professional or home studio setup to AI dubbing your content or productions is integral to any multimedia project. While independent creators and studios choose to rent studios for their projects, it may not be viable in the long run. An excellent way to address this is to set up your recording studio, but you must invest heavily in dubbing equipment, space, and setting it up. A cost-effective alternative to this issue is to use AI dubbing tools like Murf AI, Voice AI, ElevanLabs, etc. Murf AI stands out for its focus on customization, dubbing quality, and ease of use.
These tools have become extremely popular in the last few years, and the AI dubbing tools industry is on a trajectory of consistent growth. According to Market.us, the sector is expected to be worth US $2.918 billion by 2033, up from US $794.3 million in 2023, with a CAGR of 13.9%.
If you are a creator or a studio producing multilingual content with dubbing for a global audience, Murf AI can help you with its diverse AI dubbing and text to speech capabilities.
Sign up for a free account and explore how Murf AI can transform your dubbing workflow.
Frequently Asked Questions
Do I Need a Headphone Amplifier for Dubbing Sessions?
.svg)
Honestly, most people do not. A decent audio interface can power your headphones just fine. You only really need a headphone amplifier if several people are monitoring at once or you need separate volume controls.
What Are the Common Mistakes to Avoid During the Dubbing Process?
Most dubbing mistakes are not dramatic; they are subtle. Lip sync slightly off, a voice that sounds different halfway through, a faint hum in the background. These small slips add up. Keep your mic position steady, watch your audio levels, and always do one last full listen before calling it done.
Can You Recommend Any Specific Audio Editing Software for Beginner?
If you are new to this, do not overcomplicate it. Audacity is free and gets the job done for basic recording and cleanup. Oceanaudio is another simple option. Once your projects grow, you can explore Adobe Audition or Pro Tools for deeper control.
How Can I Effectively Direct Voice Actor During Recording Sessions?
Think of it as a conversation, not a command. Share what is happening in the scene and what the character is feeling. When voice actors understand the emotion, the delivery clicks. Ask for a couple of different takes and guide them in the moment.
Is Building a Home Voiceover Studio Better Than Renting a Studio?
If you dub often, renting can start to feel like a subscription you never asked for. A home studio takes effort upfront, but it gives you freedom. You set the schedule, control the sound, and grow at your own pace.
.webp)
.webp)

.webp)
.webp)