


Get in touch
Discover how we can improve your content production and help you save costs. A member of our team will reach out soon

Summarize the Blog using ChatGPT
In an era where video content reigns supreme, the traditional PowerPoint presentation requires some rejuvenation. You need dynamic, visually appealing content that tells a story to capture attention and engage your audience.
Turning your PowerPoint presentations into videos can have a significant impact. This approach brings your slides to life with animations and voiceovers and makes your content more interactive, accessible, and shareable.
Read on as we break down the step-by-step process of converting your PPTs to videos, elevating your presentations to a new level. Along the way, we’ll explore why turning your presentation slides into a video online can be a game-changer and how you can make your video sound professional. Let’s start!
Transforming your PowerPoint into a video isn’t just about clicking a few buttons; it’s about making your presentation more exciting and easier for people to watch, significantly enhancing the delivery of your content.
Here are a few key benefits of this change:
Videos, by nature, provide a more interesting angle to storytelling than static slides. Adding dynamic elements like animations, transitions, and multimedia elements, like voiceovers to videos, can make the content more appealing and engaging.
Knowing how to convert a PowerPoint into an MP4 video format increases the accessibility of your content. Videos can be accessed anytime, anywhere, and on any device, allowing viewers to watch at their convenience.
Knowing how to convert a PowerPoint into a video increases content dissemination flexibility. MP4 is a widely used video file format that can be easily shared across many channels, including social media, email, and video-sharing websites. Thanks to this adaptability, you can contact your audience through their chosen media.
Saving PowerPoint to an MP4 format helps with information retention. Videos enhance viewers’ comprehension and memory by combining visual and aural inputs. This two-mode presentation improves learning outcomes and reinforces important points, thereby increasing the effectiveness of your lectures.
By converting a PowerPoint presentation to a video, your content can reach a significantly larger audience. You can post the videos on video-sharing sites or even share them on email and social media platforms. This greater potential will ensure that more people will view your message.
Turning a PowerPoint into a video can increase the impact and reach of your content. You can accomplish this in three ways: web converters, third-party applications, or PowerPoint’s built-in functionality.
Let’s explore each option to help you select the one that best suits your requirements:
Using PowerPoint’s built-in tools is one of the easiest ways to convert a PPT to video. Here is a detailed tutorial on how to accomplish it:
Third-party software is a second option if you’re learning about more advanced features or greater control over how to make a PowerPoint into a video. Here’s how to convert PPT to video using third-party software:
Online converters can help you learn how to turn a PowerPoint into a video without installing software. To use an online converter, follow these steps:
Easily convert your PowerPoint presentations into engaging videos by following these steps:
Confirm that you have PowerPoint installed on your device, and ensure your presentation format is ready before starting the conversion process. Verify that each slide has been completed and that the information is accurate. Ensure the successful application and intended operation of all multimedia components, animations, and transitions.
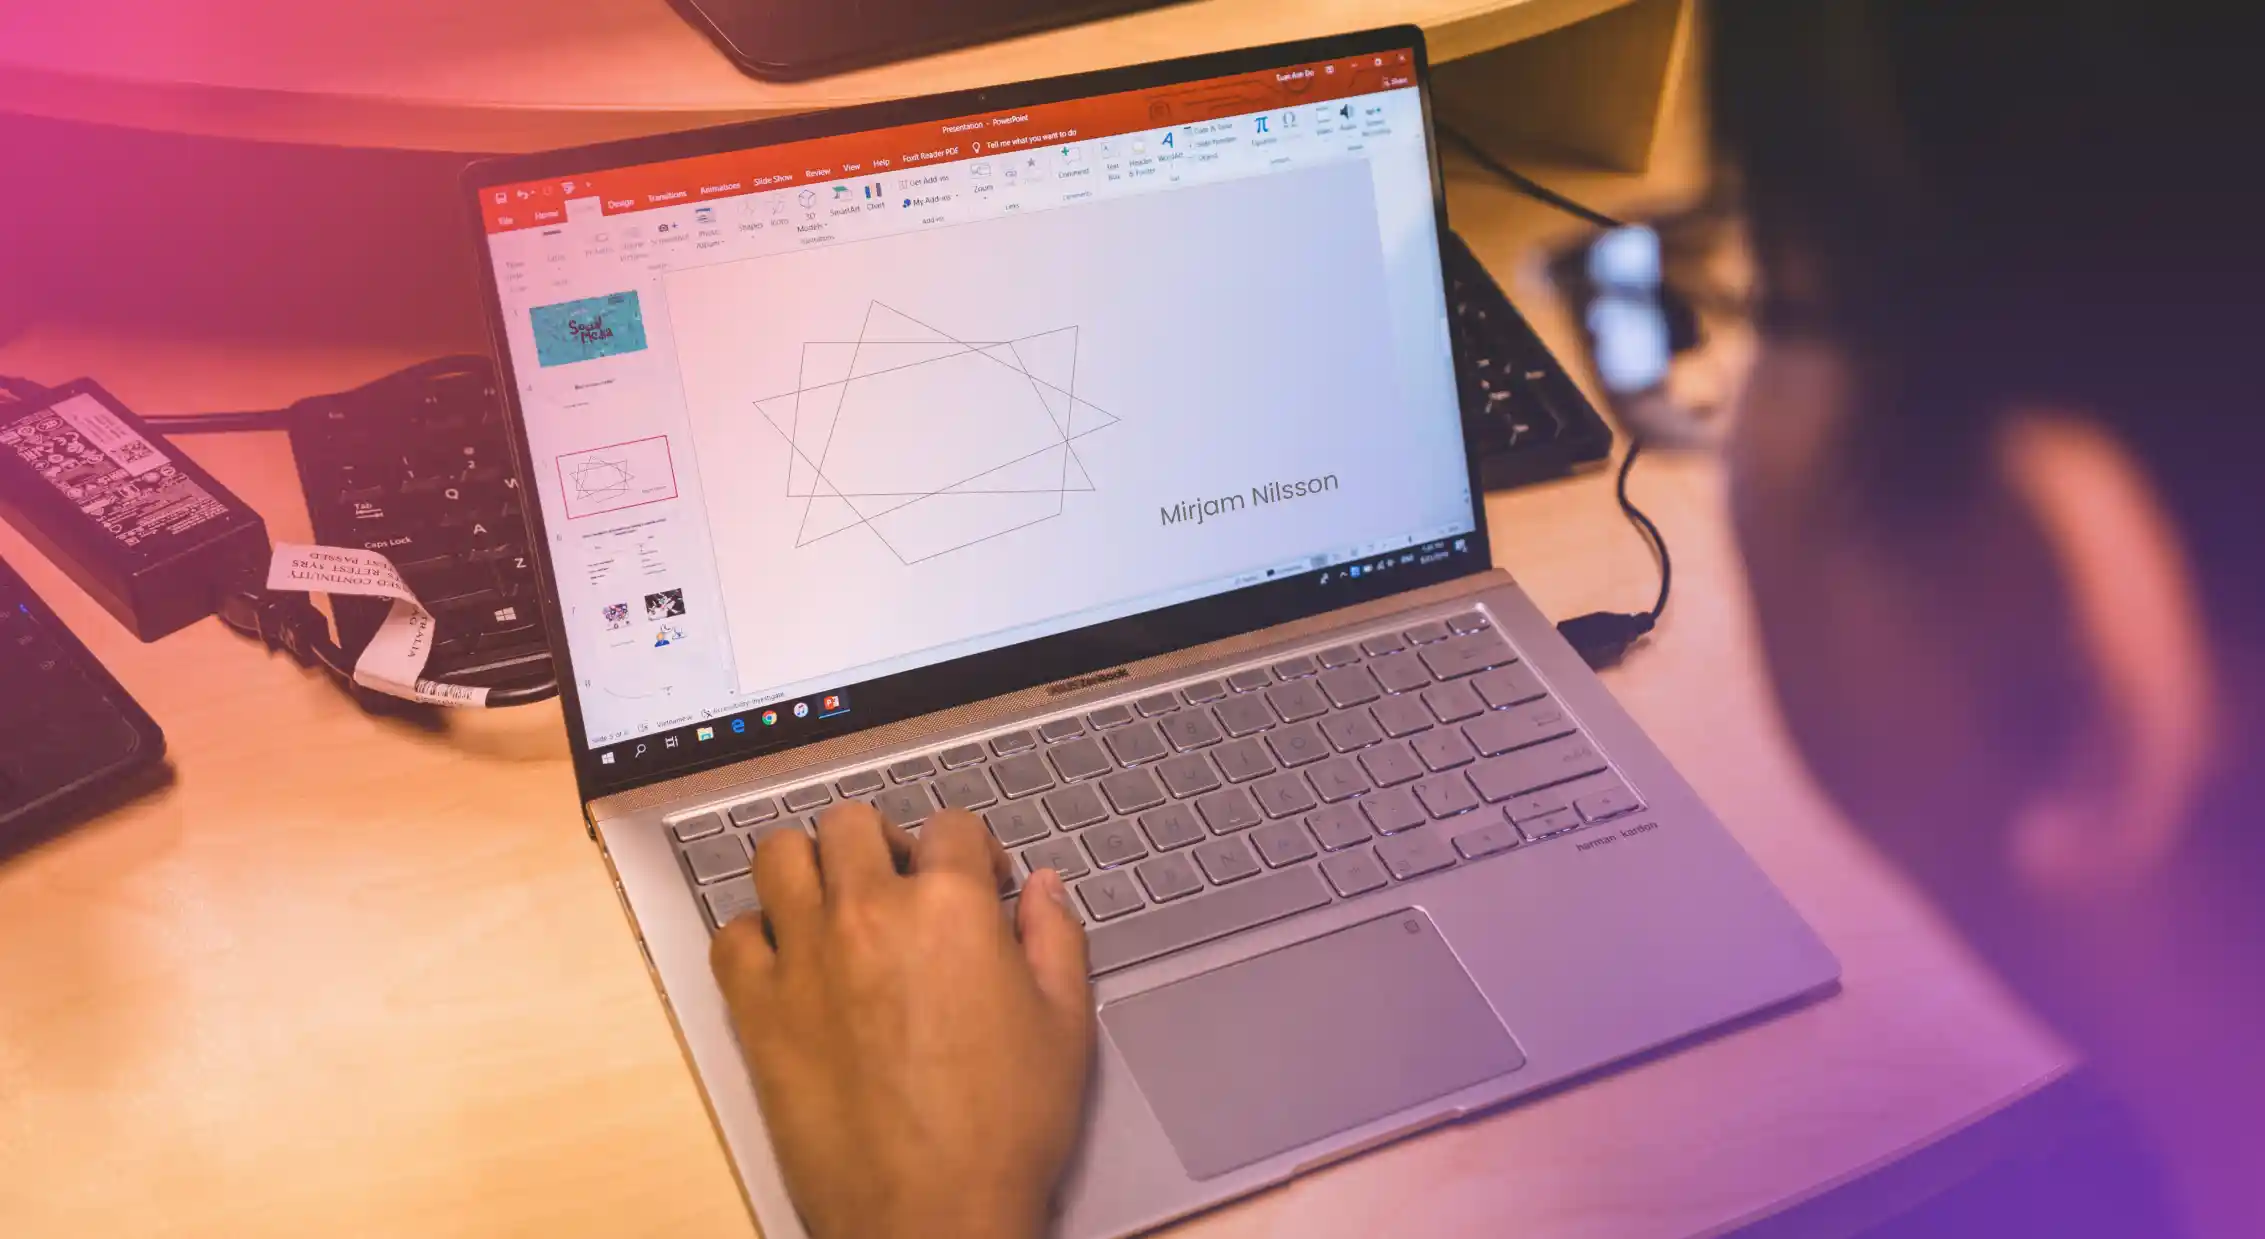
Next, select the technique to convert your presentation into a video. PowerPoint has built-in functionality for instantly turning presentations into videos. You can navigate to the "File" menu, select "Export" or "Save As," and choose the option to create a video. PowerPoint lets you control the timing of slides, narration, or audio inclusion and even includes animations and transitions from your original presentation.
Alternatively, you can use web resources or third-party software to access more sophisticated functionality and customization choices.
After selecting your conversion technique, tweak the options to maximize the video quality. Adjust the resolution, video format, slide time, and file size to suit your needs. High-definition (HD) settings ensure clarity and detail.
Customize your presentation’s visual components to improve the visual appeal of your video. Make sure the transitions and animations are seamless and aesthetically acceptable. Make the video more dynamic and interesting by adding visuals, effects, or overlays.
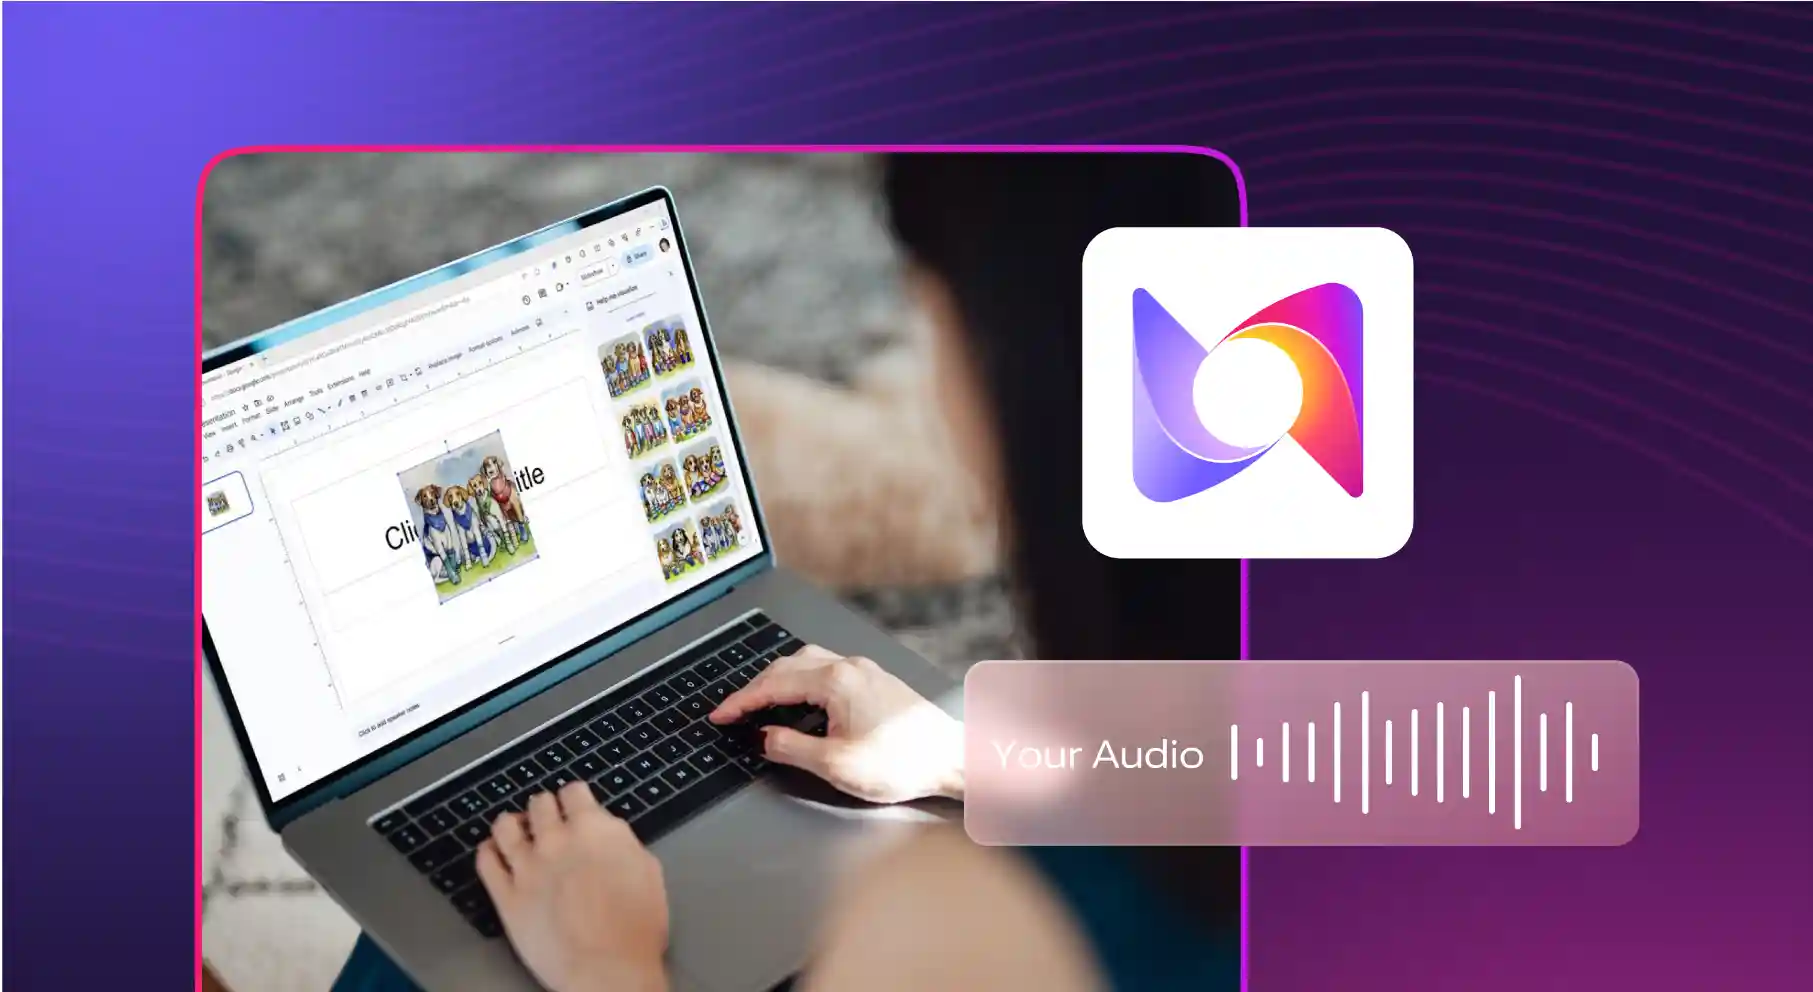
Adding voiceovers or narration can greatly increase the effectiveness of your video. Start recording your narration in PowerPoint, or use an external audio editing program for higher quality.
With a clear narrative, your message will be more effective, and the audience's attention will be maintained. Tools like Murf can be easily incorporated into your workflow to ensure your voiceovers and narration are in sync with the video.
Go to the “File” menu in PowerPoint, click “Export,” and then “Create a Video.” After adjusting the final video export parameters, like frame rate and resolution, save your video with the preferred file name and format.
PowerPoint presentations can become lively, interesting videos by combining Murf AI voiceovers. PPT to video conversion may be done smoothly with several solutions. The following are the top three video converter tools that can help you in this process:
One of the features included in Microsoft PowerPoint is the ability to turn presentations into movies. This simple and practical native feature guarantees compatibility with every component in your presentation.
PowerPoint's capabilities are ideal for people looking for a simple answer without the need for additional software.
Camtasia is strongly recommended for producing and editing video material. Advanced capabilities enable more personalization and expert-caliber video production.
Camtasia is ideal for users who are prepared to spend time learning the software and need more advanced editing choices.
Adobe Captivate is another powerful program for converting PowerPoint presentations into interactive films. It is especially useful for producing training modules and e-learning materials.
Teachers and business trainers wishing to design engaging and participatory learning environments will find Adobe Captivate perfect.
When converting PowerPoint presentations into videos, Murf’s voiceovers provide various advantages that raise your material’s general caliber and potency.
Here’s how Murf can help:
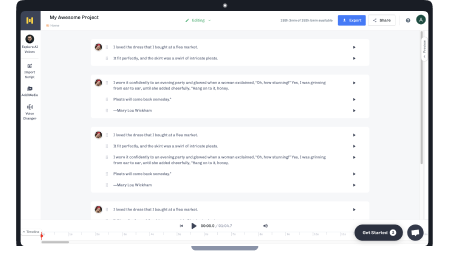
Murf provides a wide range of AI voices for the creation of voiceovers. You can choose the ideal voice to fit your presentation’s tone and audience by selecting from various voices, including male and female voices with different accents and tones.
Murf’s user-friendly interface lets you change pitch, tempo, and tone easily. Because of its adaptability, you can adjust the voiceover to fit the tone and rhythm of your presentation perfectly. Murf makes it easy to adapt the voiceover to your particular requirements.
Murf can create video voiceovers in 20+ languages, such as French, Spanish, and English. With this freedom, you can successfully transmit your message to a wide range of demographics and reach a larger audience.
Murf makes it simple to share your material across several platforms by supporting various video download formats, including MP4 and MOV. This ensures that a large audience can watch your videos without issues.
When it comes to voiceovers for PPT, Murf is more cost-effective and time-efficient than standard voiceover tools. Murf eliminates the need for lengthy recording sessions and costly studio equipment. You can also add background music to your videos to make them more engaging.
With access to a free trial of Murf Studio, you can access all of its features before committing.
.svg)
To convert a PowerPoint presentation into a video, open PowerPoint, go to the “File" menu, select “Export,” and then choose your preferred video format.
PowerPoint supports MP4, WMV, and AVI, among other formats. With their adaptability and compatibility, you can select the file format that most closely fits your requirements a high-quality presentation or a smaller file for sharing online.
Yes, you can add background music to the video file by inserting an audio file onto your PowerPoint slides before converting them to video. This can help you enhance your video quality and make it more memorable.
Factors such as PowerPoint file size and platform restrictions may limit the length of the video file, but PowerPoint can typically handle longer presentations.
You can include voice narration in the converted video by recording narrations for your slides within PowerPoint or uploading the audio file to the program before you export your PowerPoint presentation to video.
Murf voiceovers enhance engagement in PowerPoint presentations by offering high-quality voices that suit your content’s tone and style.
With Murf, you have a variety of voices to choose from, and its user-friendly interface lets you adjust pitch, tempo, and tone effortlessly. Plus, Murf can create voiceovers in over 20 languages, allowing you to reach diverse audiences effectively.

Keeping your data safe


Learn how we help enterprises expand globally at scale


