n8n and Murf AI Integration
This is the official Murf AI n8n integration, enabling seamless automation for voice-powered workflows. With this integration, you can build dynamic n8n scenarios that leverage Murf’s comprehensive AI voice capabilities including text-to-speech (TTS), voice changing, translation, and automated dubbing—all within your n8n automation workflows.
Introduction to n8n and Murf AI
n8n is a powerful workflow automation platform that enables seamless Murf AI integration across your workflows. By using the Murf AI n8n node, you can automate text-to-speech, voiceovers for podcasts and videos, audio notifications, dubbing workflows, and other voice-powered automations without writing any code.
What is a Workflow in n8n?
In n8n, a workflow is a collection of nodes connected together to automate a process. Nodes perform two main types of operations:
- Triggers: Start workflows in response to events or conditions
- Actions: Perform tasks like manipulating data and interacting with external systems
The Murf AI n8n node integrates seamlessly into these workflows, allowing you to incorporate AI voice capabilities at any point in your automation process.
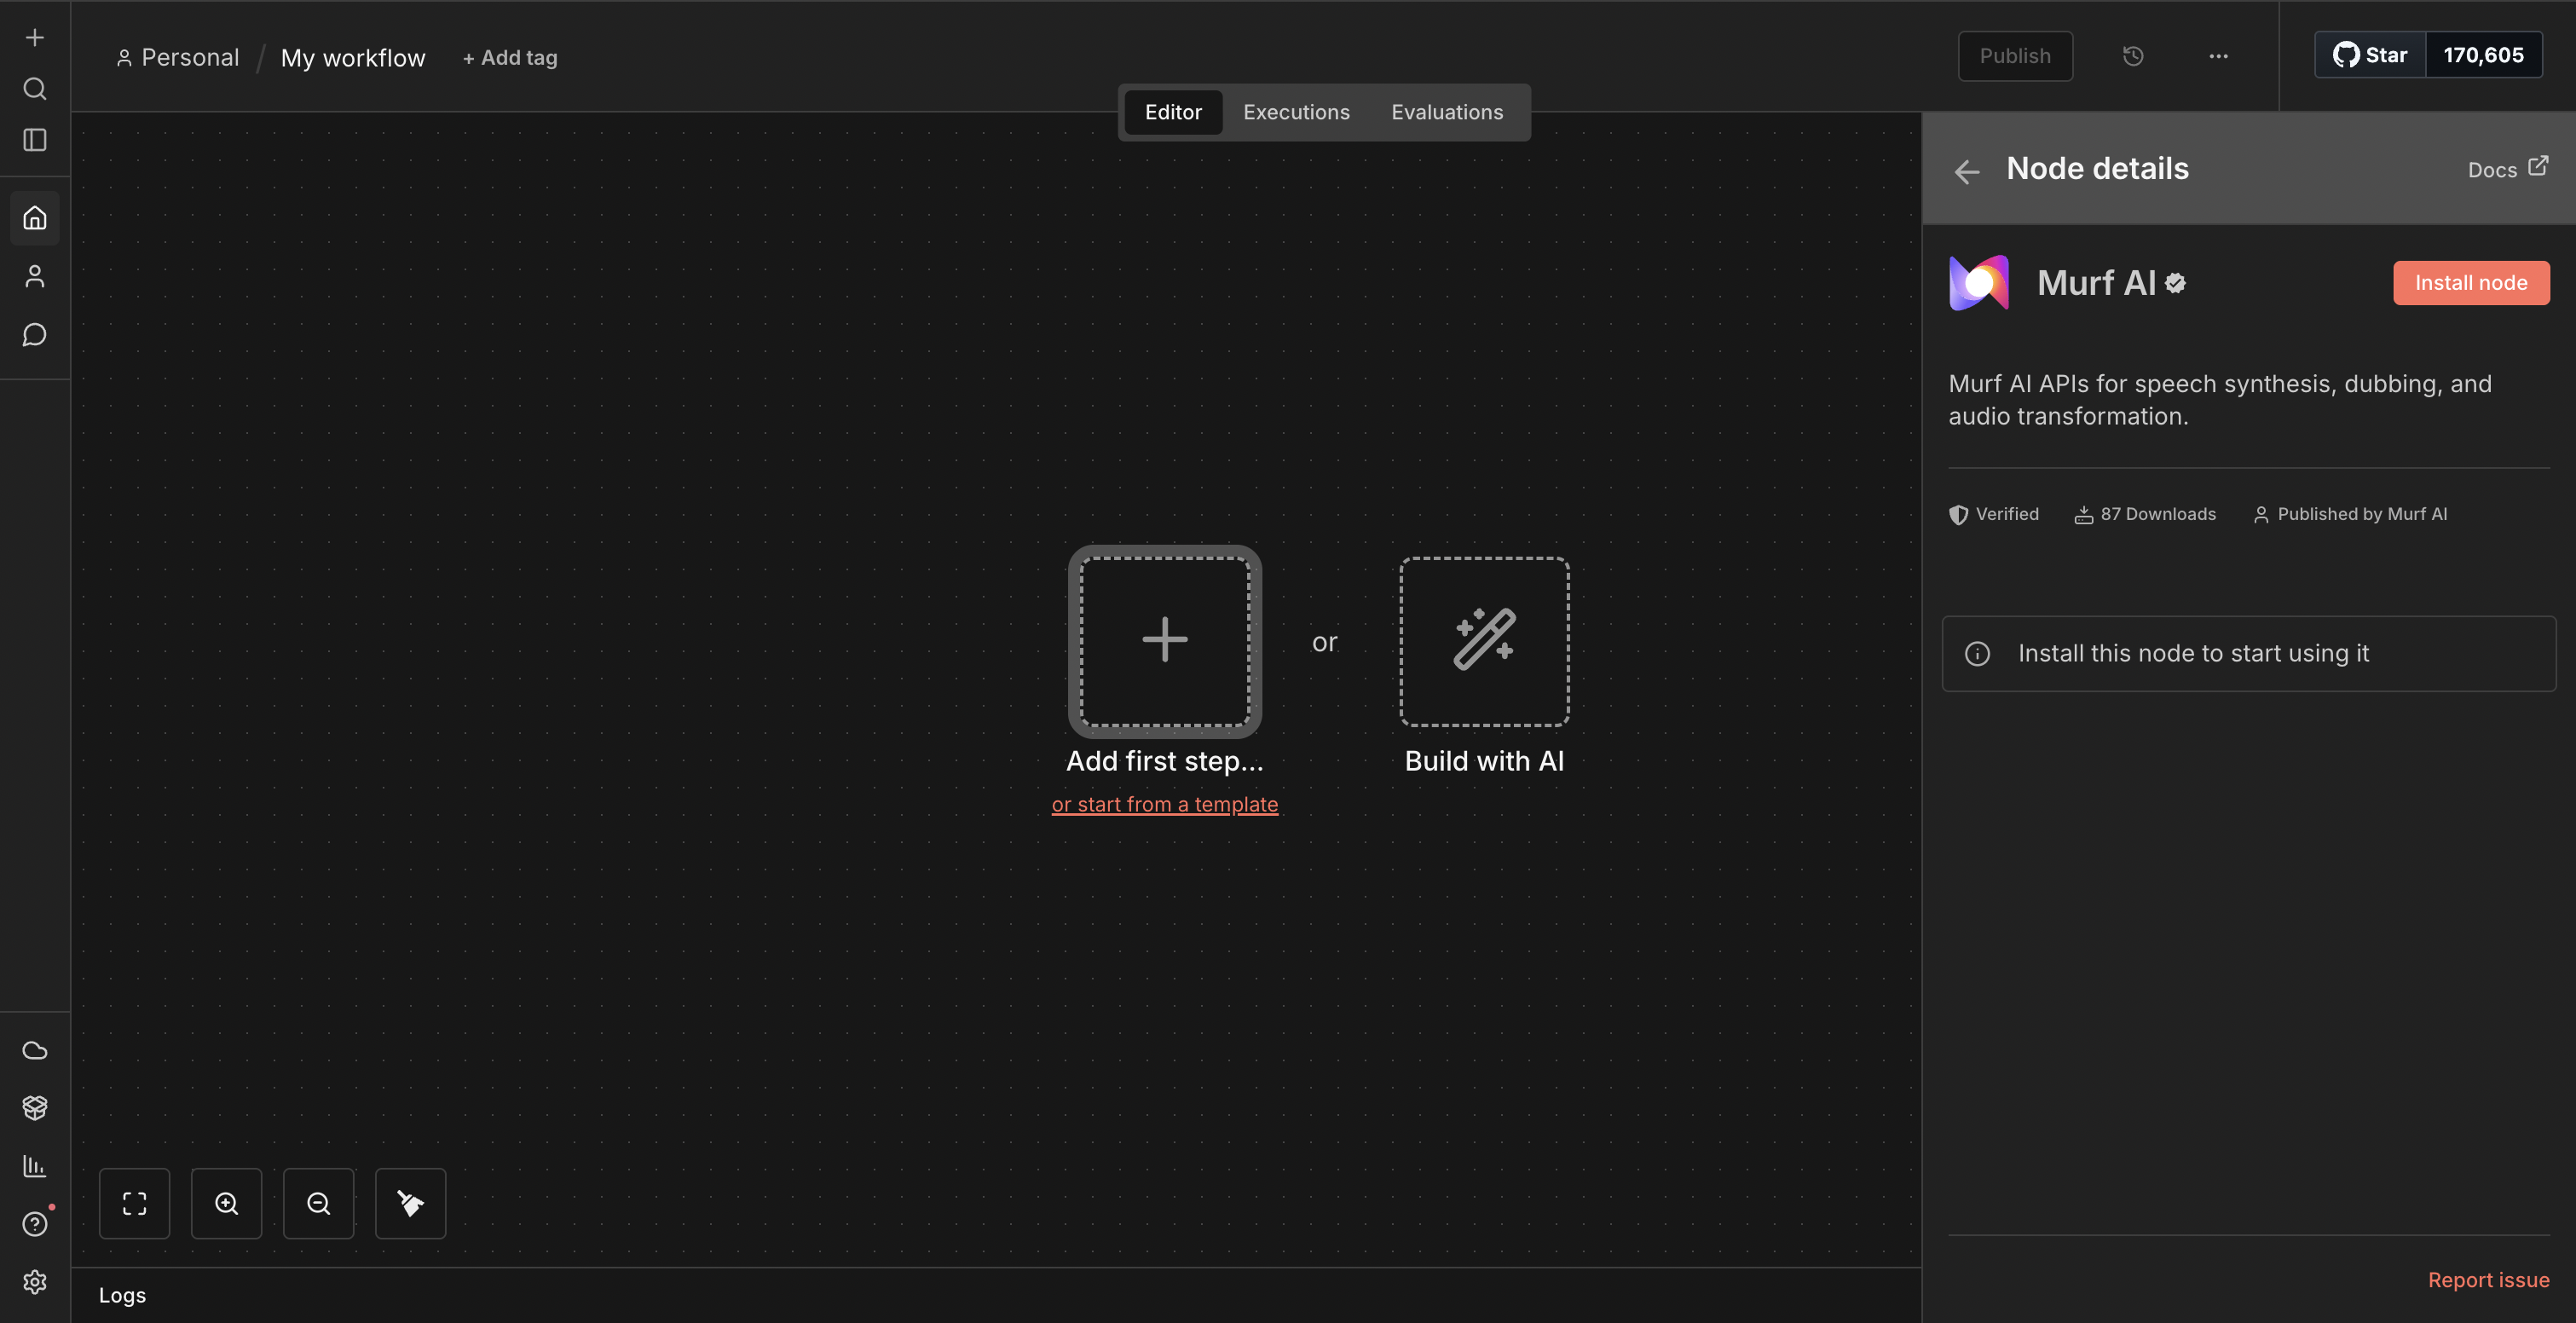
Installing via n8n UI
- Open your n8n instance and go to the Canvas
- Open the nodes panel (press Tab or click the ’+’ button)
- Search for “Murf” in the nodes panel
- Select the Murf AI node and click Install
- The node will be installed for all users in your n8n instance
Operations
The Murf AI n8n node supports four operations:
- Text to Speech: Convert text into natural-sounding speech using 150+ voices across 35+ languages
- Voice Changer: Transform existing audio files by changing voice characteristics
- Translation: Translate text between languages
- Dubbing: Create automated dubbing jobs for videos with multi-language support
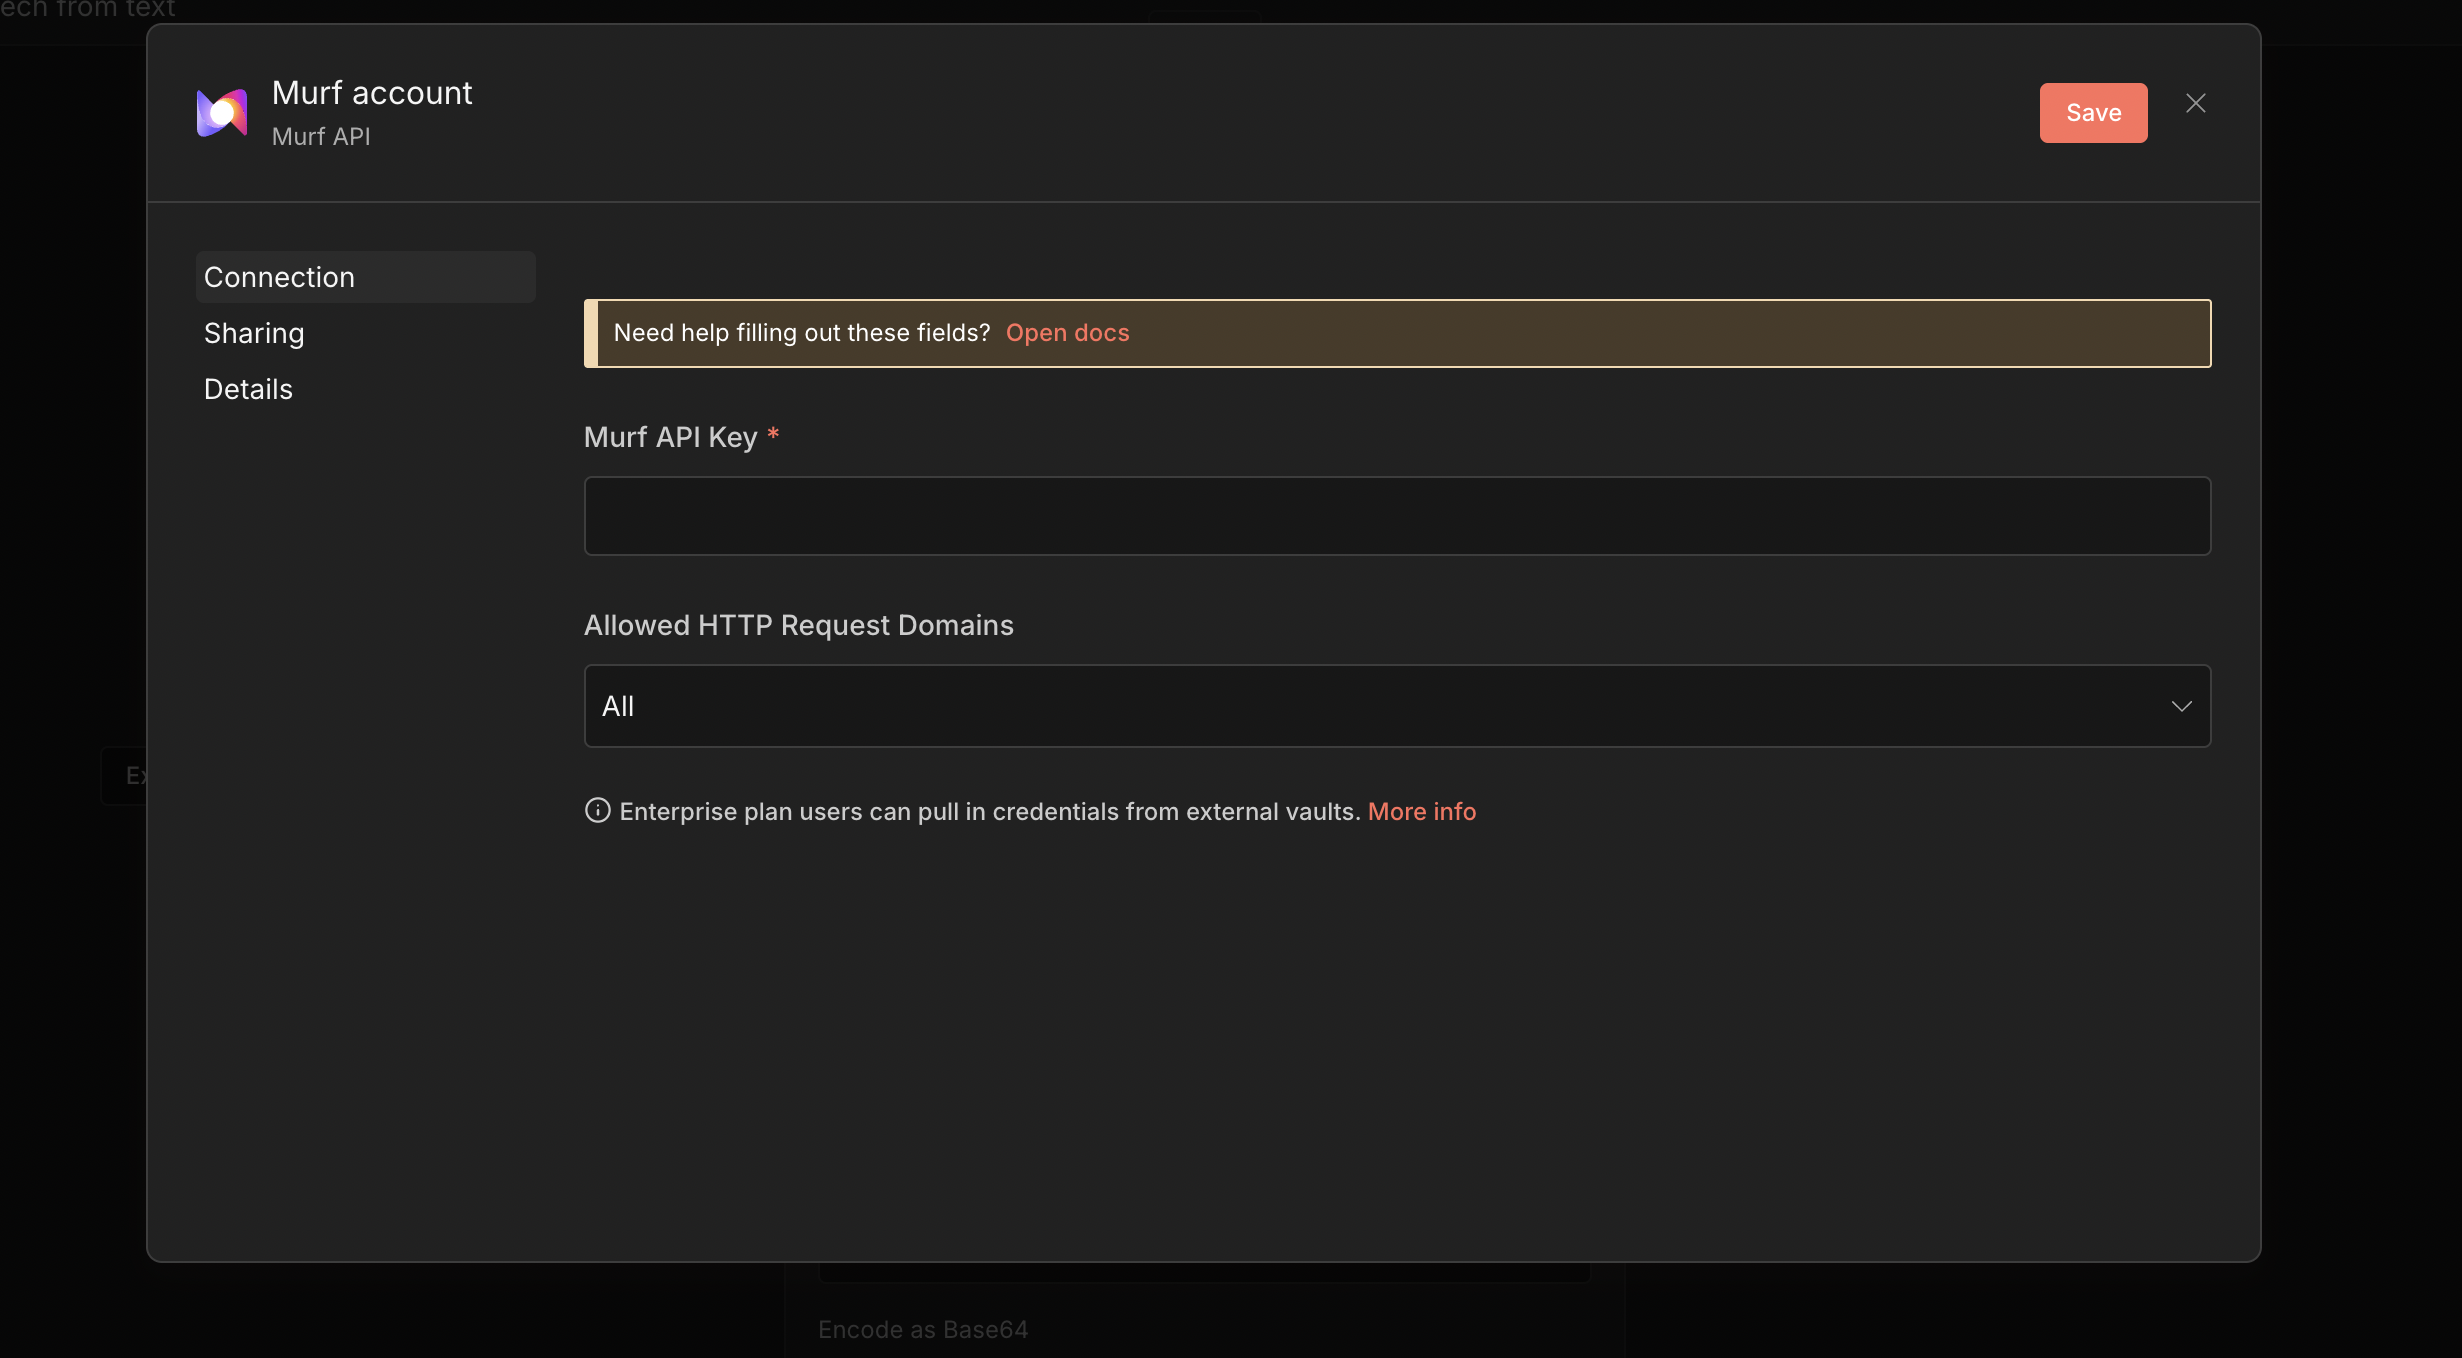
Credentials
The Murf n8n node requires API credentials from Murf AI to authenticate your requests. Important: Different operations require API keys from different dashboards:
For Text to Speech, Voice Changer, and Translation Operations
Murf API Credential - Get your API key from Murf API Dashboard
For Dubbing Operations
Murf Dubbing API Credential - Get your dedicated API key from Murf Dubbing Dashboard
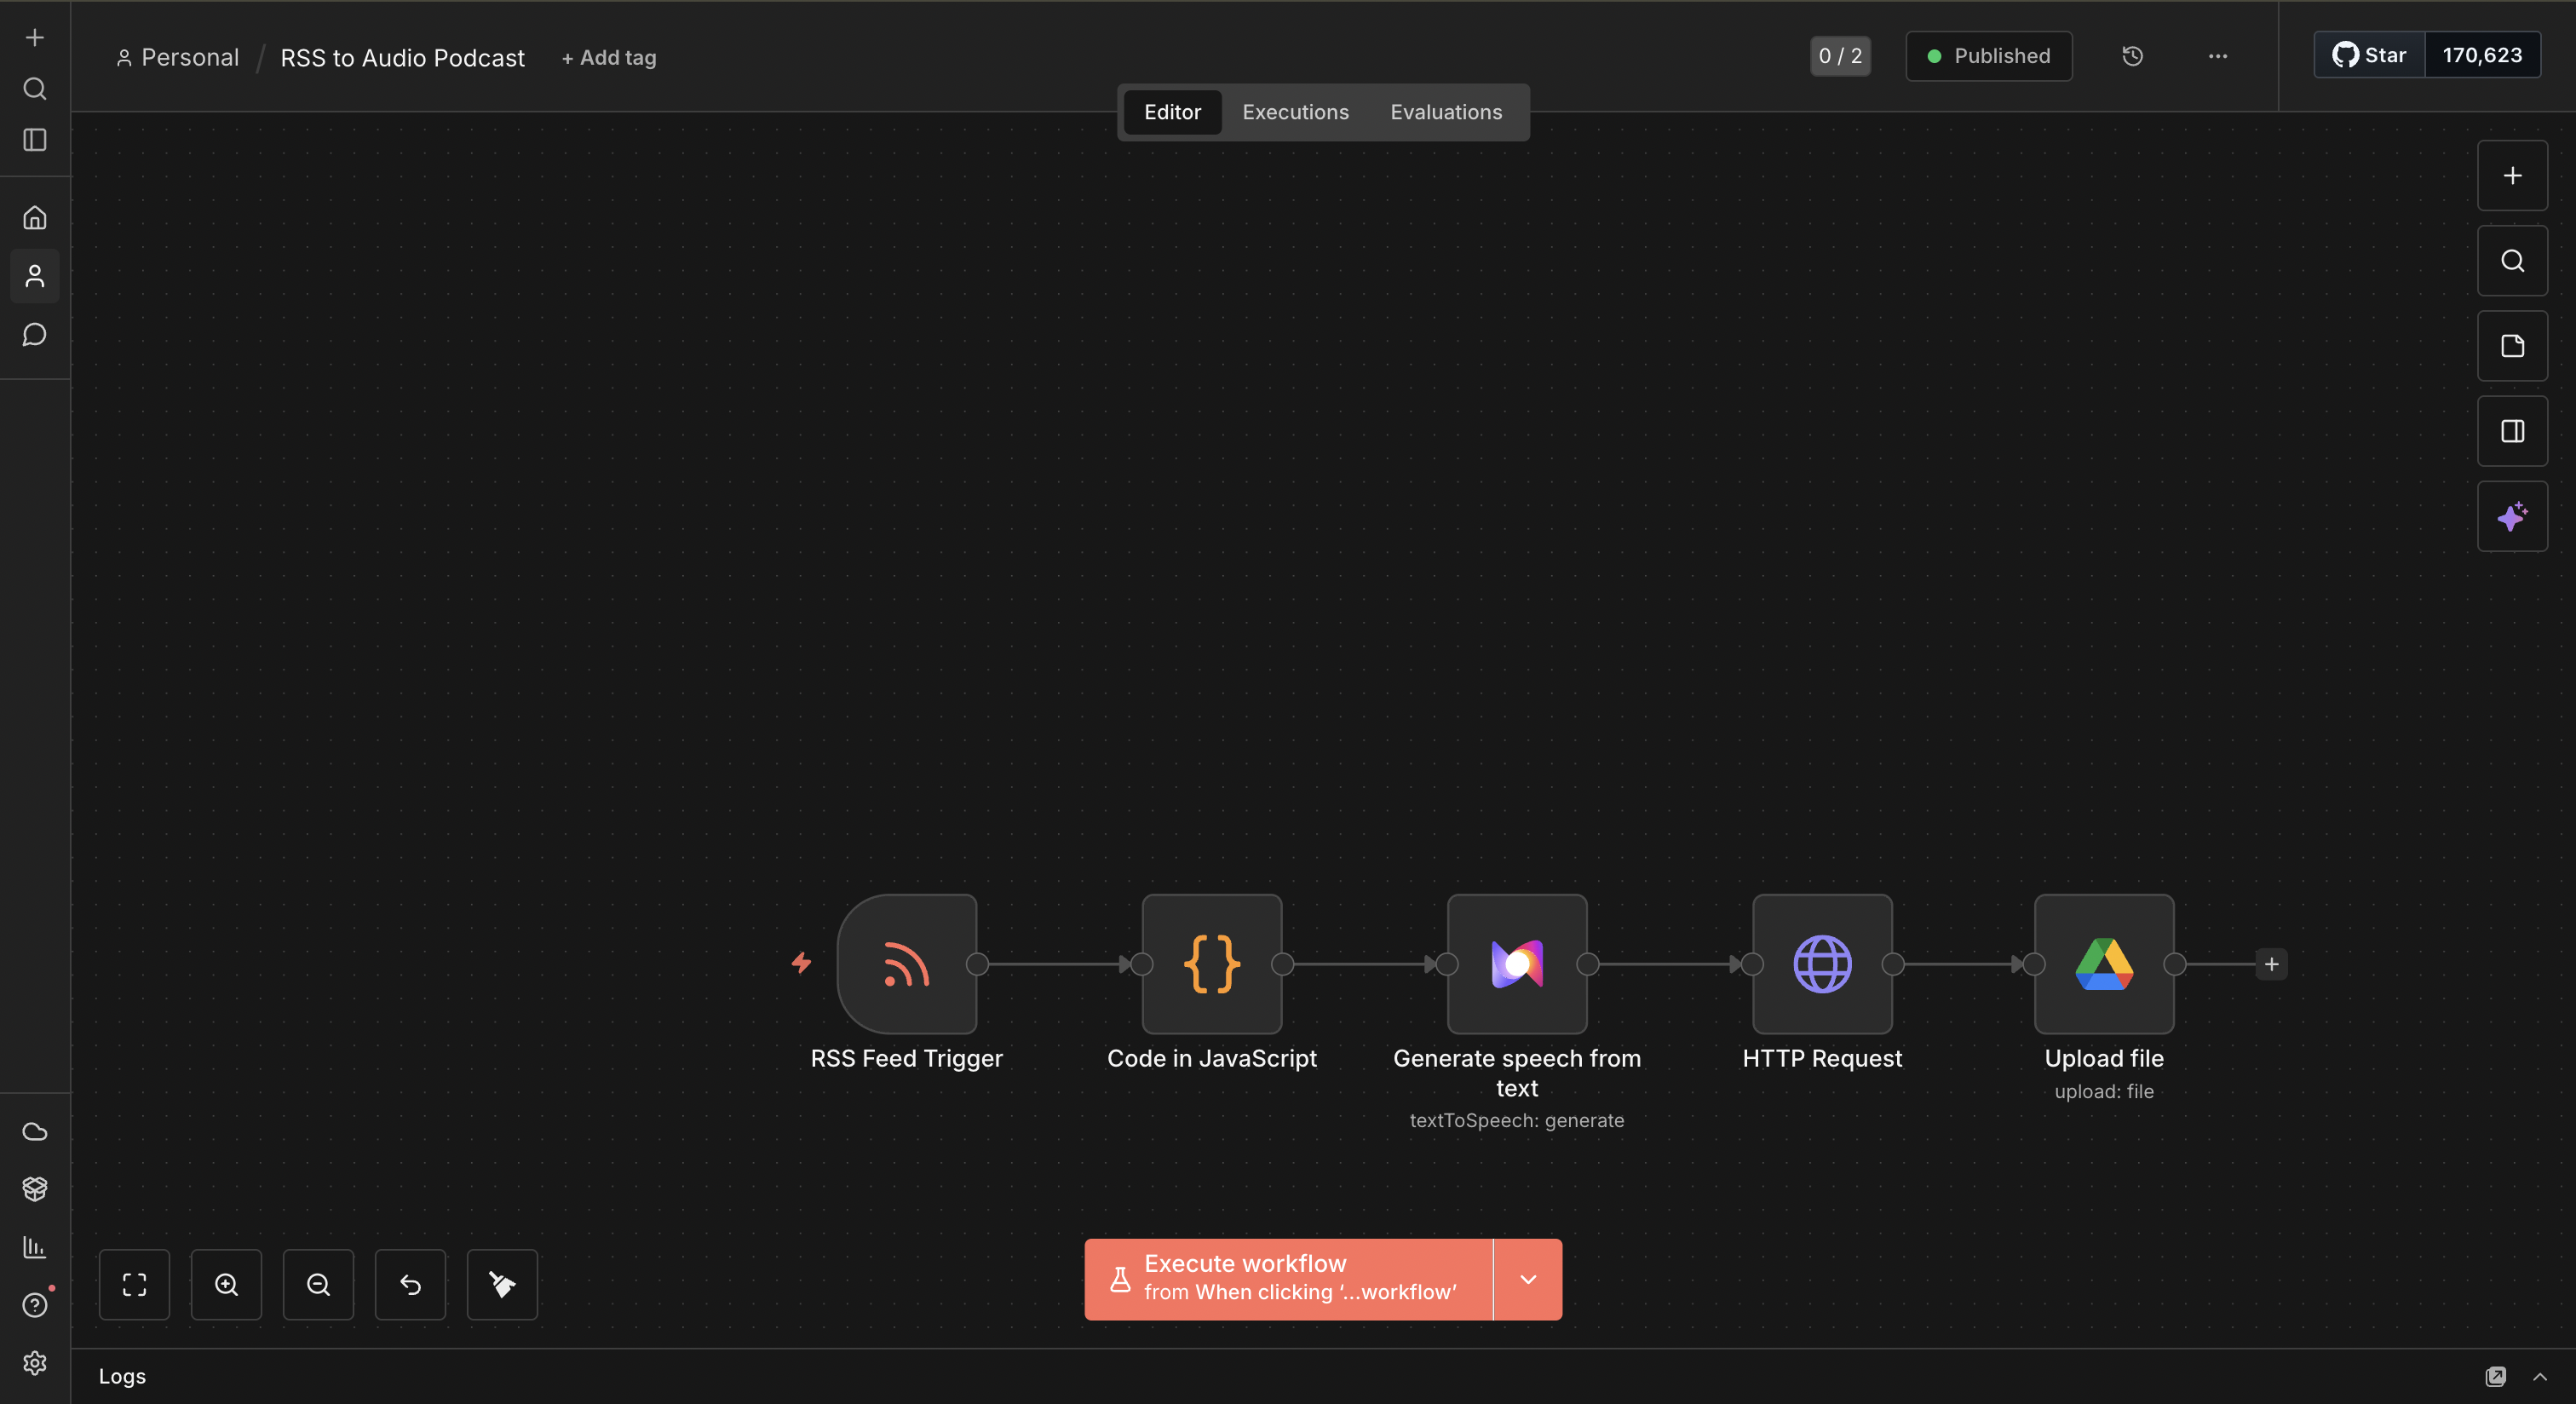
Example: Turn RSS Feeds into Audio Content Automatically
RSS (Really Simple Syndication) feeds are web formats used to publish frequently updated content like blog posts, news articles, podcasts, and videos. They allow you to subscribe to content from websites without visiting them directly - perfect for automating workflows when new content is published.
This workflow automatically converts RSS articles into high-quality audio files using AI voice narration, perfect for content creators, news aggregators, accessibility tools, or anyone wanting audio versions of written content.
Workflow Overview
What it does: Monitors RSS feeds → Extracts article content → Generates audio narration → Saves audio files
Trigger: RSS Feed updates (runs automatically when new articles are published)
Output: Audio files saved to cloud storage
Step-by-Step Workflow Setup
Step 1: Create New Workflow
- Open your n8n instance
- Click “Add Workflow” and name it “RSS to Audio Podcast”
- You’ll start with an empty canvas
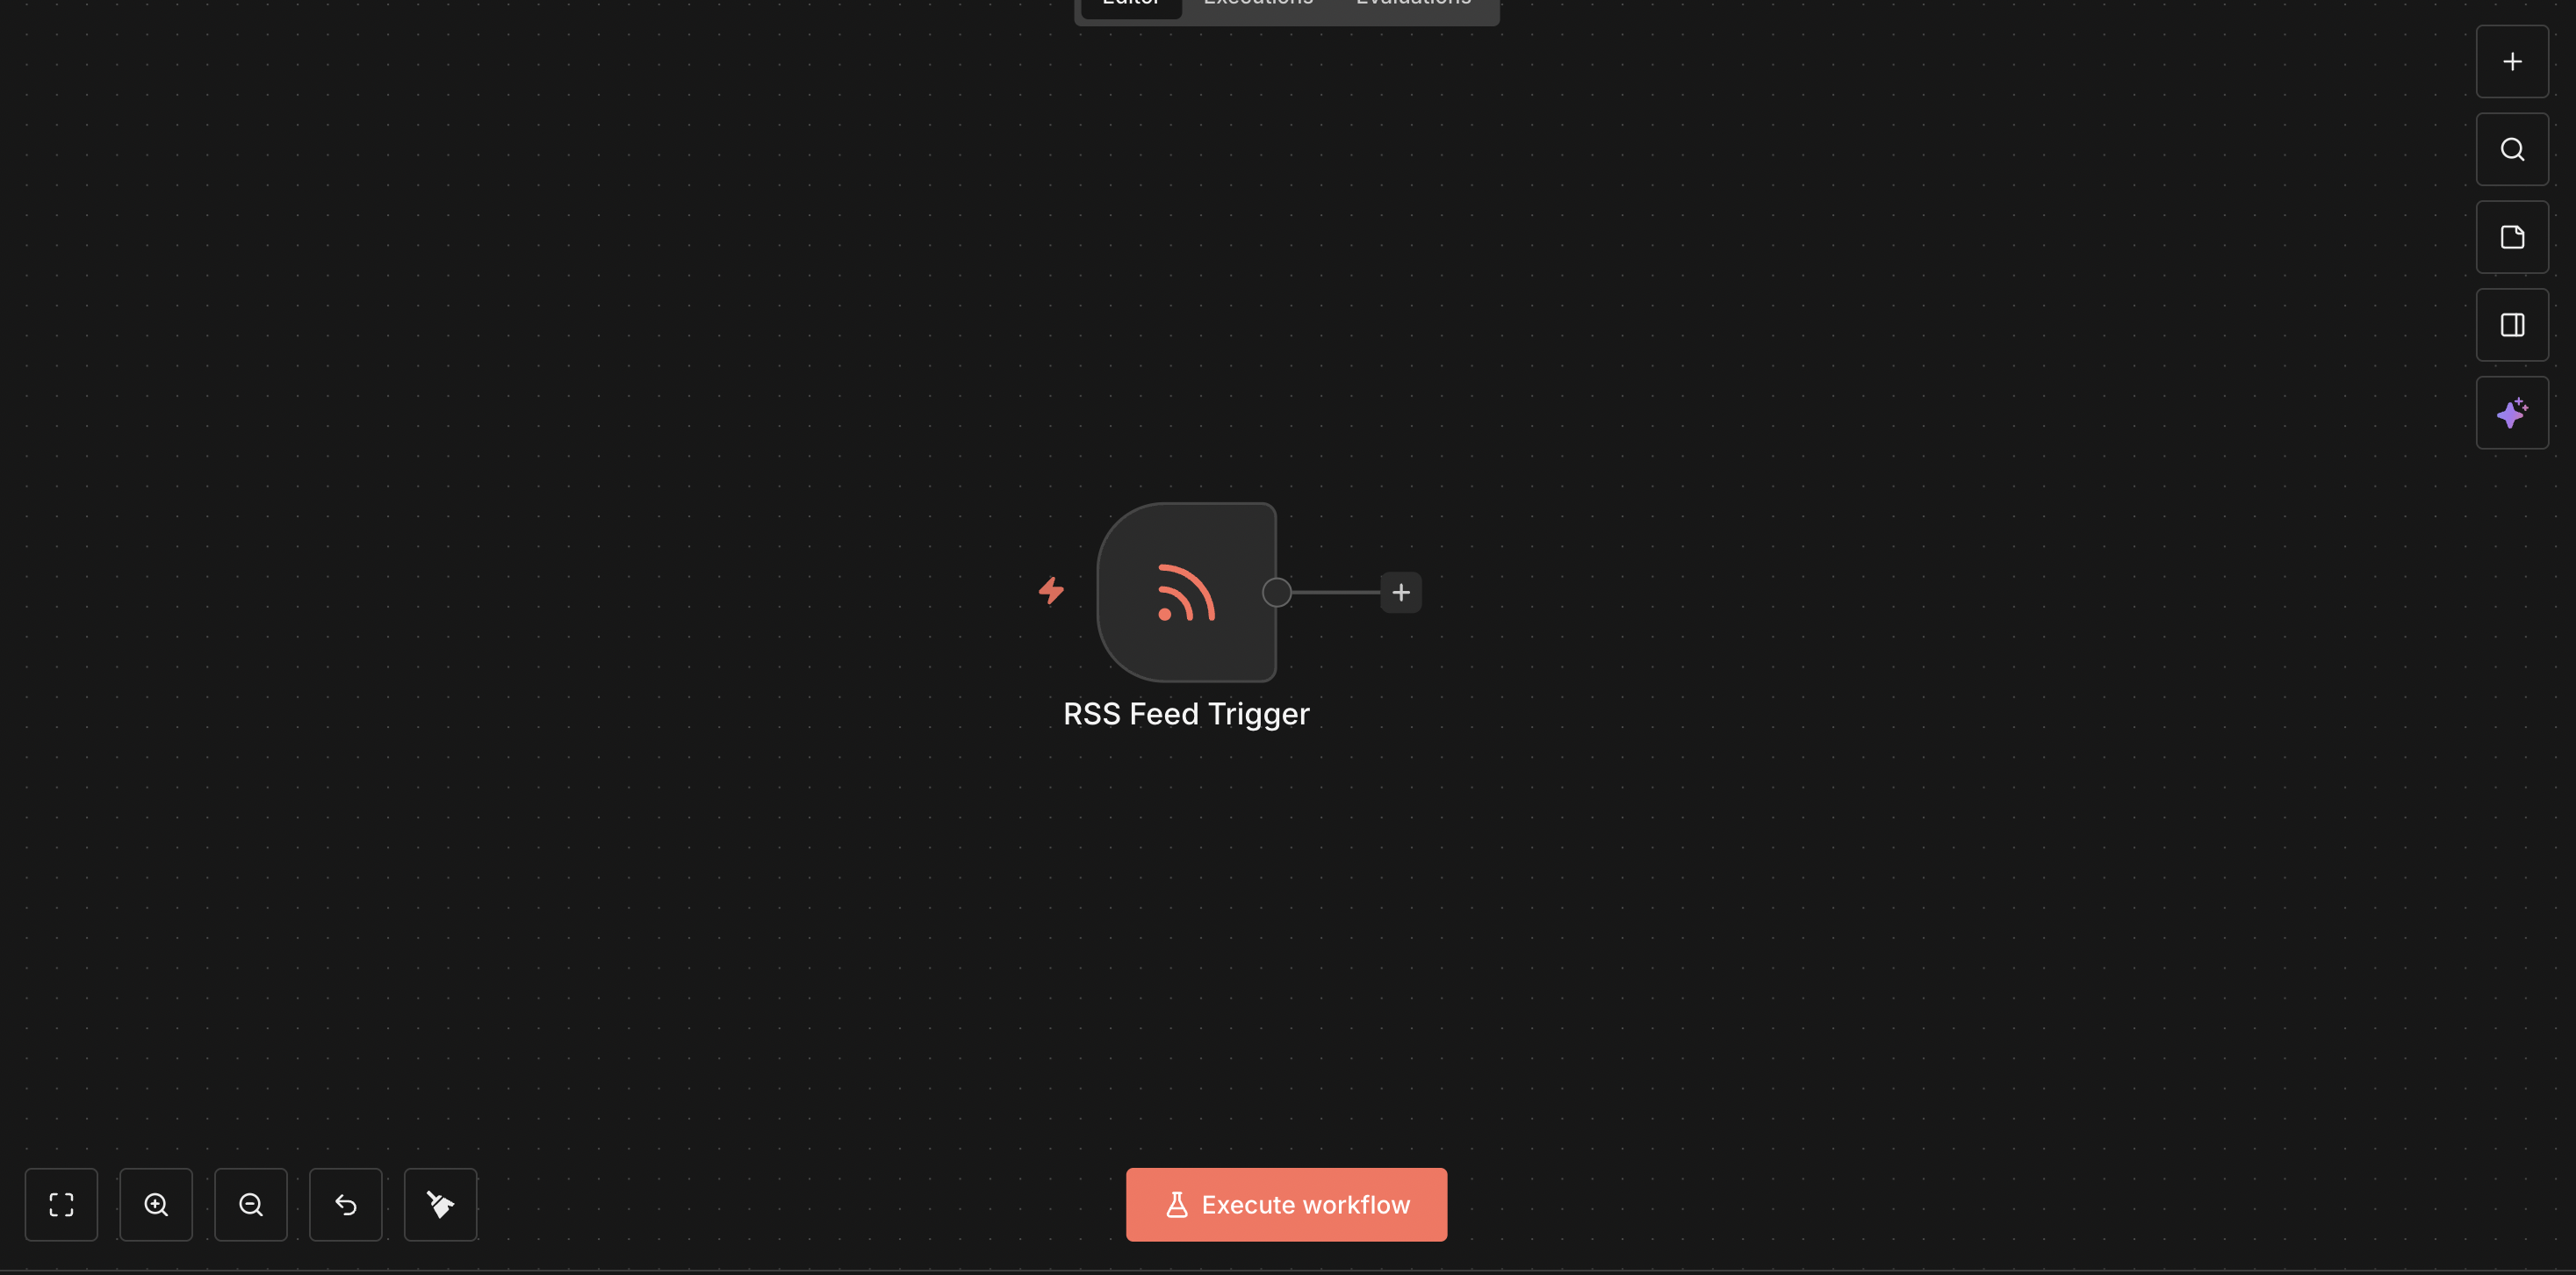
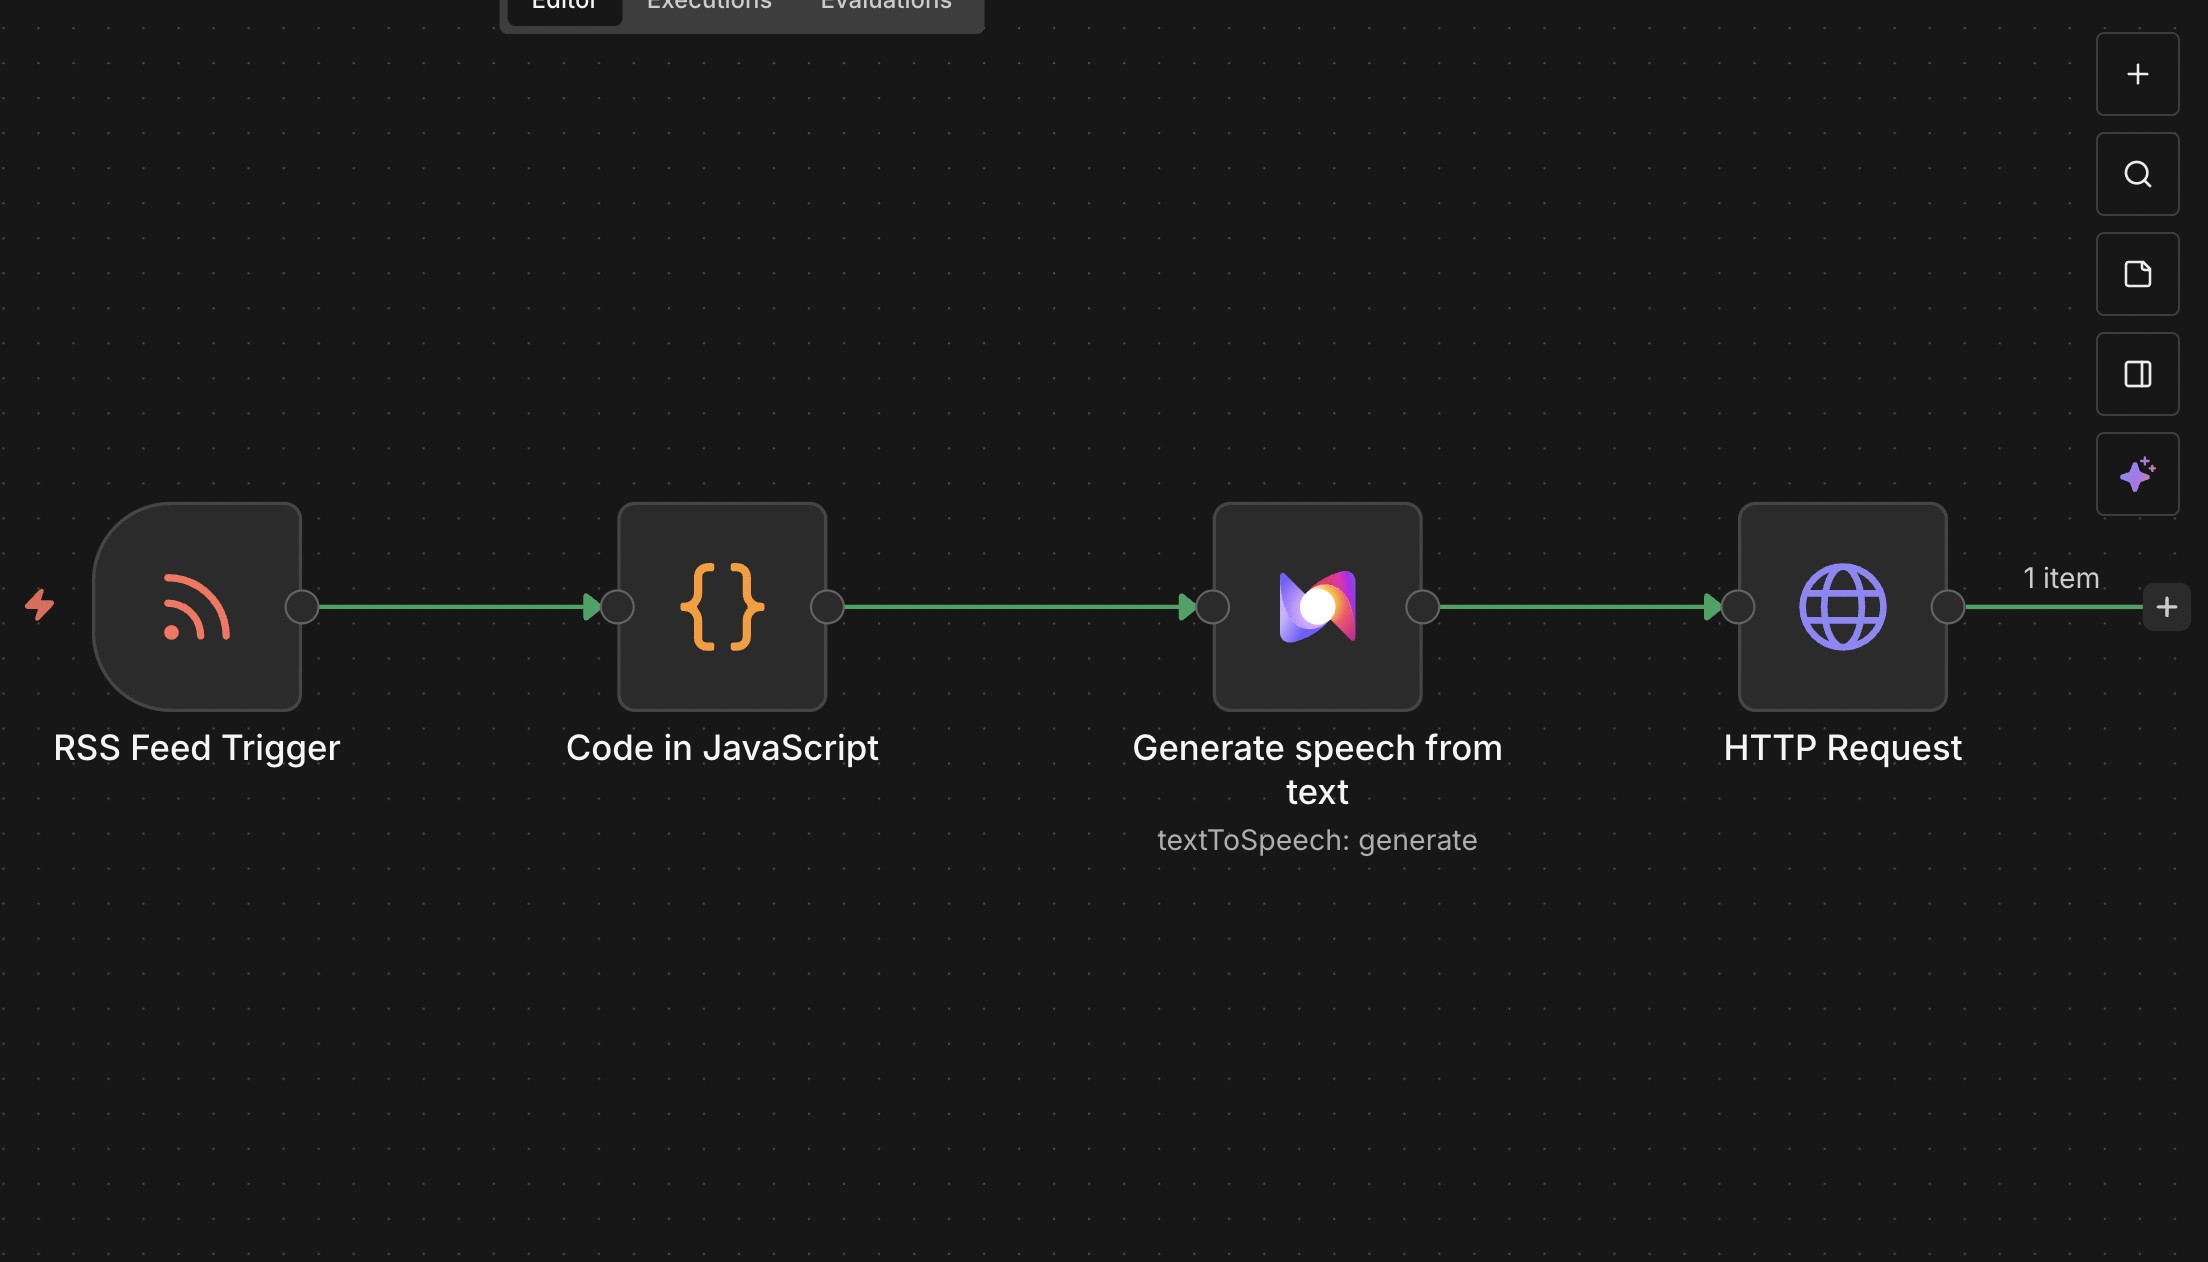
Step 2: Add RSS Feed Trigger
- Click the ”+” button to open the nodes panel
- Search for “RSS Feed” and add the RSS Feed Trigger node
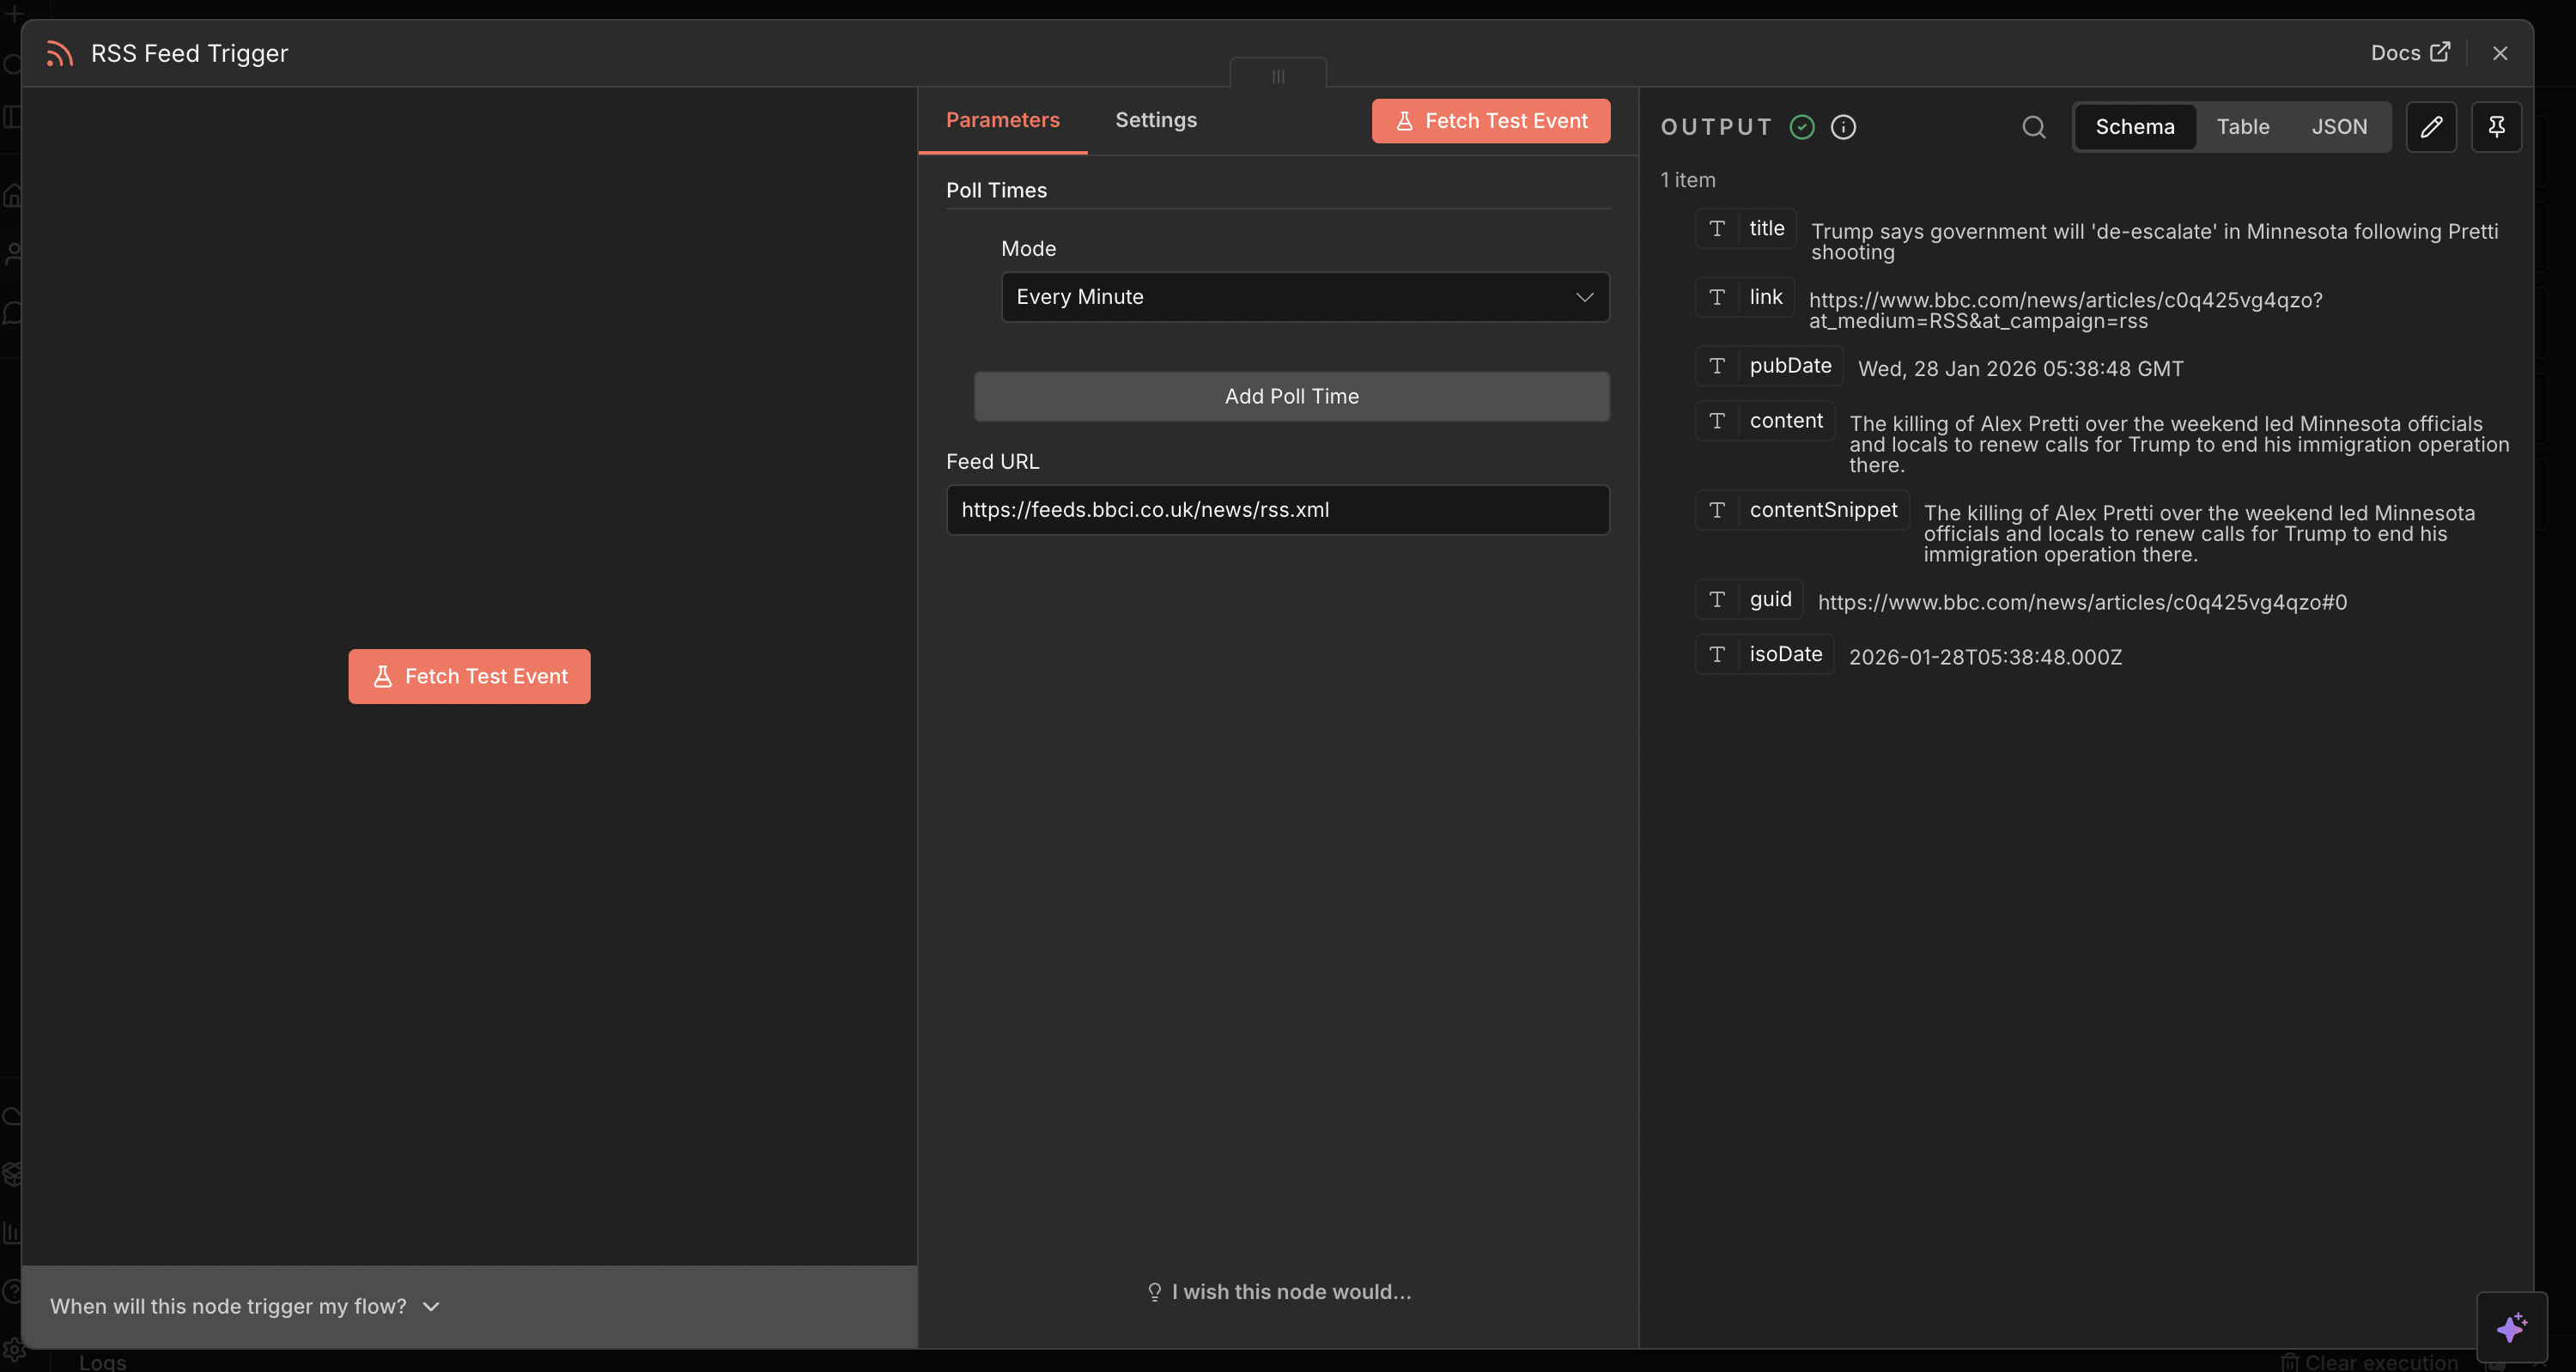
- Configure the RSS Feed node:
Note: To configure any node in n8n, simply click on the node to open its configuration panel.
- Feed URL: Enter your RSS feed URL (e.g.,
https://feeds.bbci.co.uk/news/rss.xml) - Poll Times: How often to check for new articles
- Feed URL: Enter your RSS feed URL (e.g.,
- Test the trigger: Click the “Execute Node” button to verify it can read your RSS feed
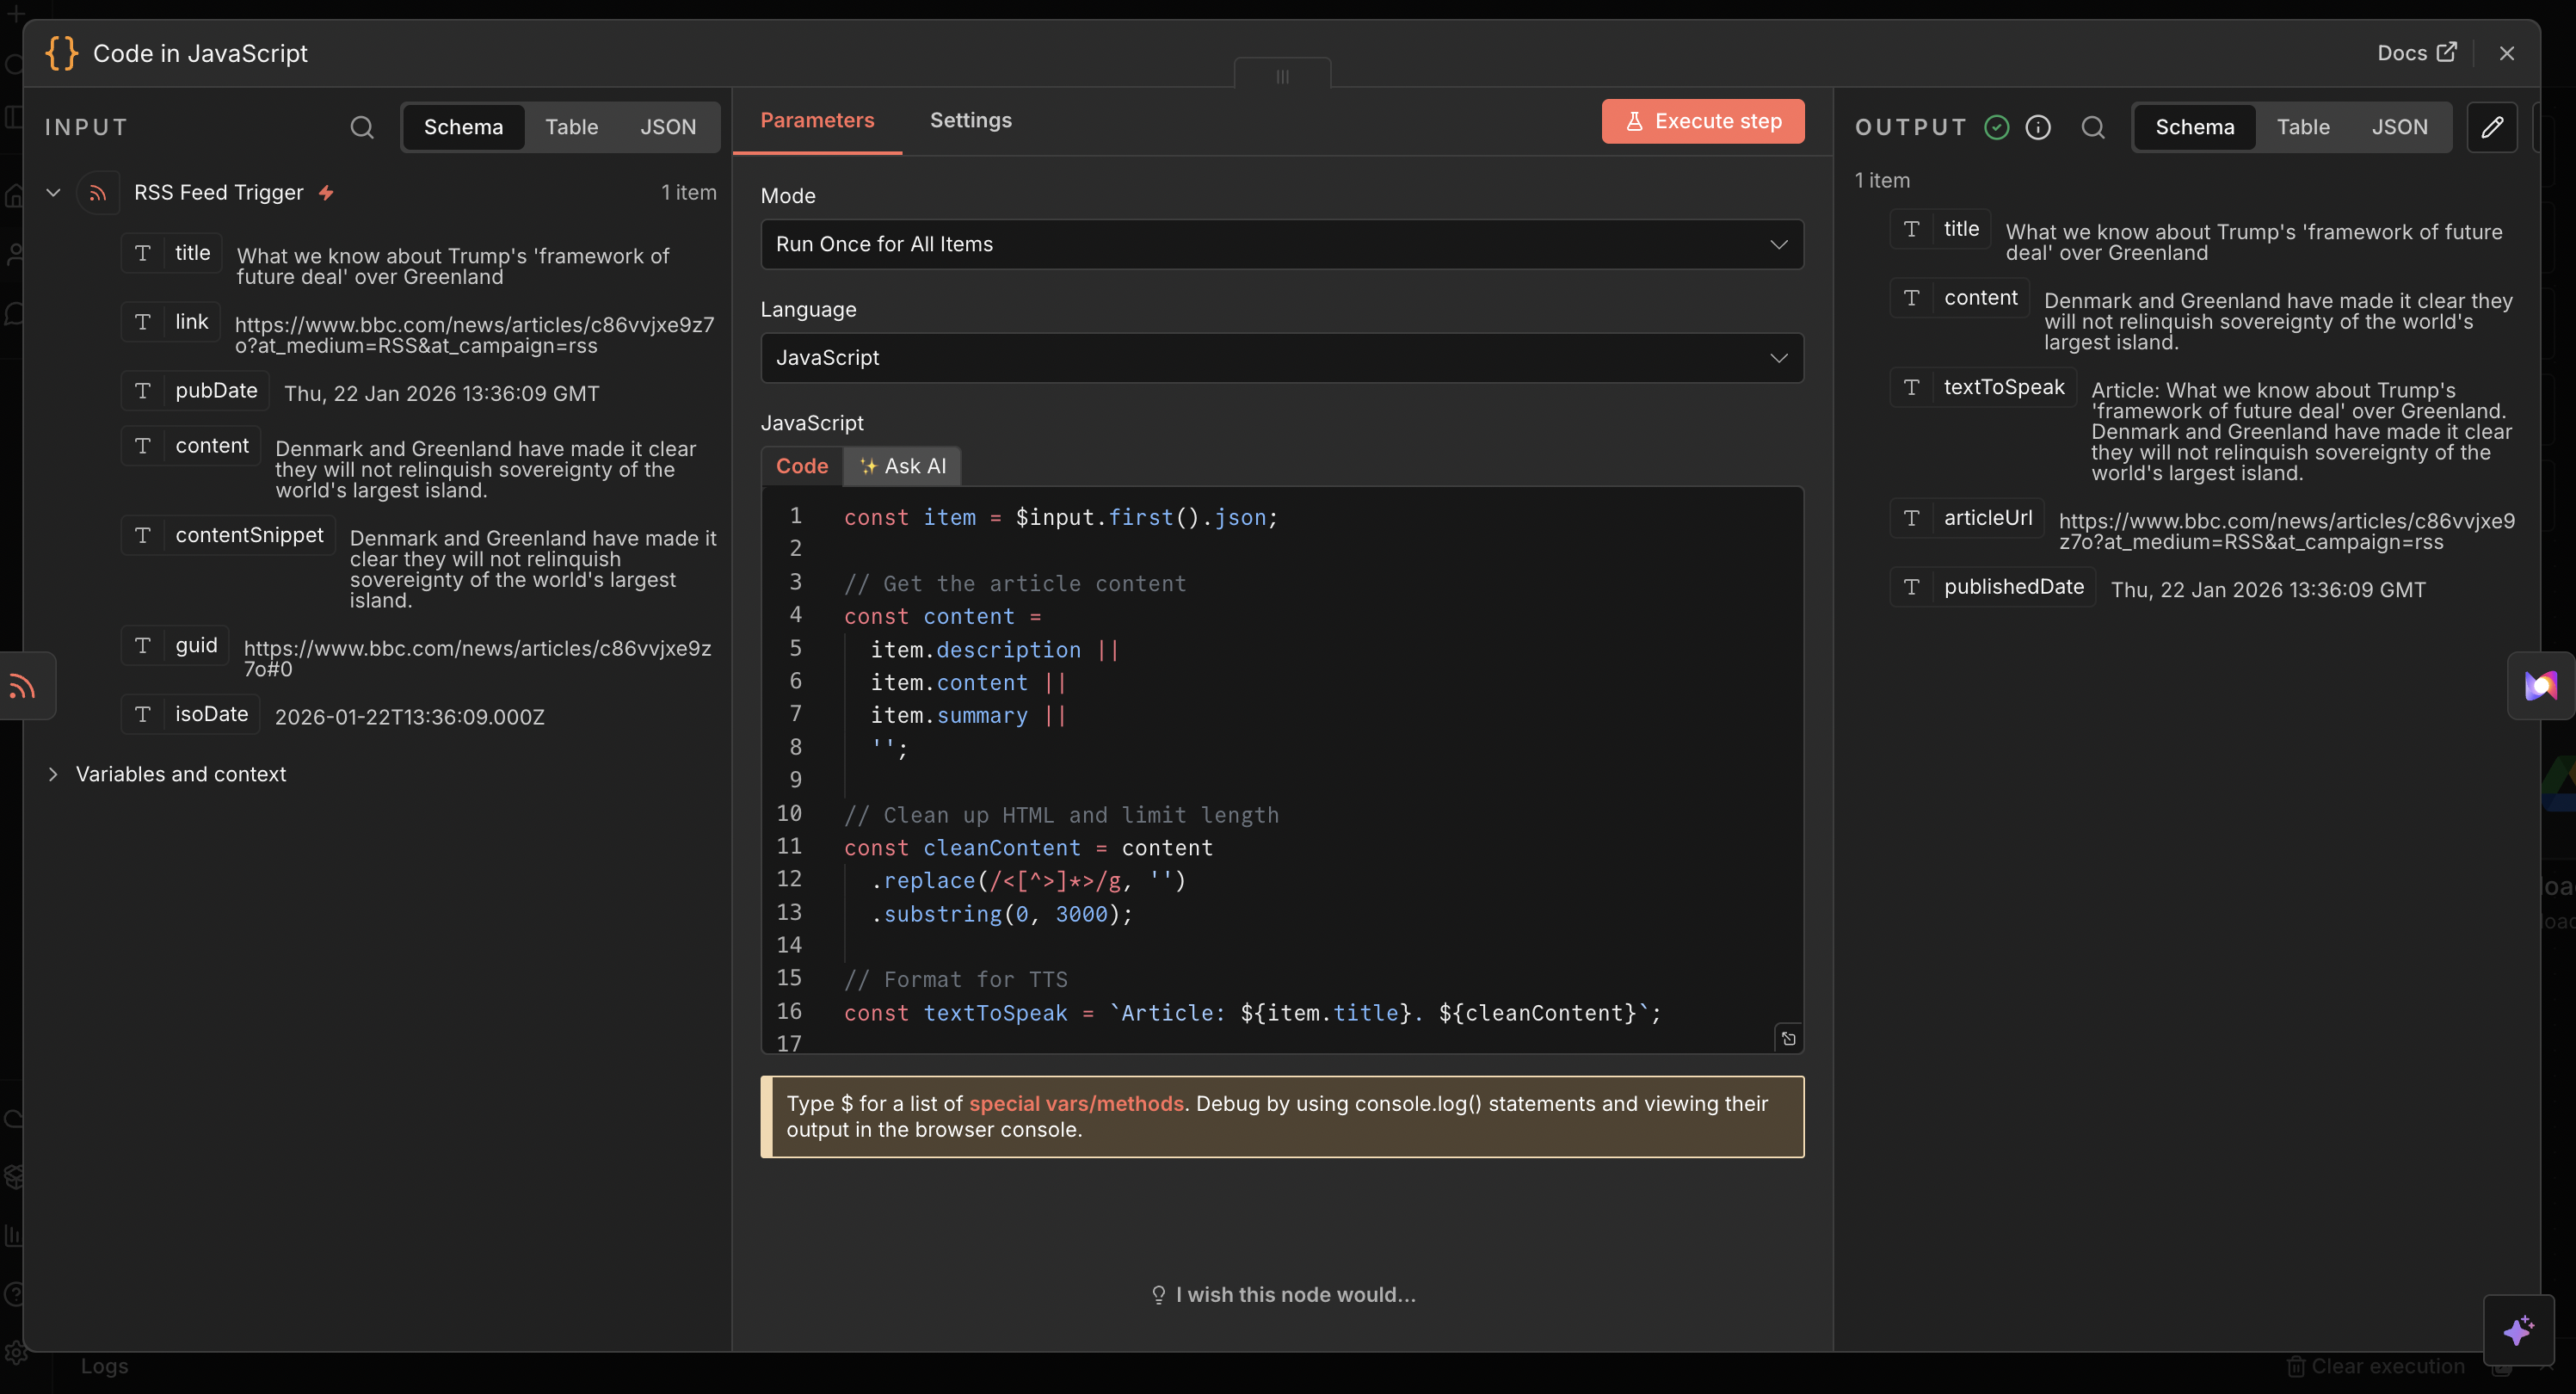
Step 3: Add Content Processing
- Add a “Code” node after the RSS Feed node
- Configure the Function node:
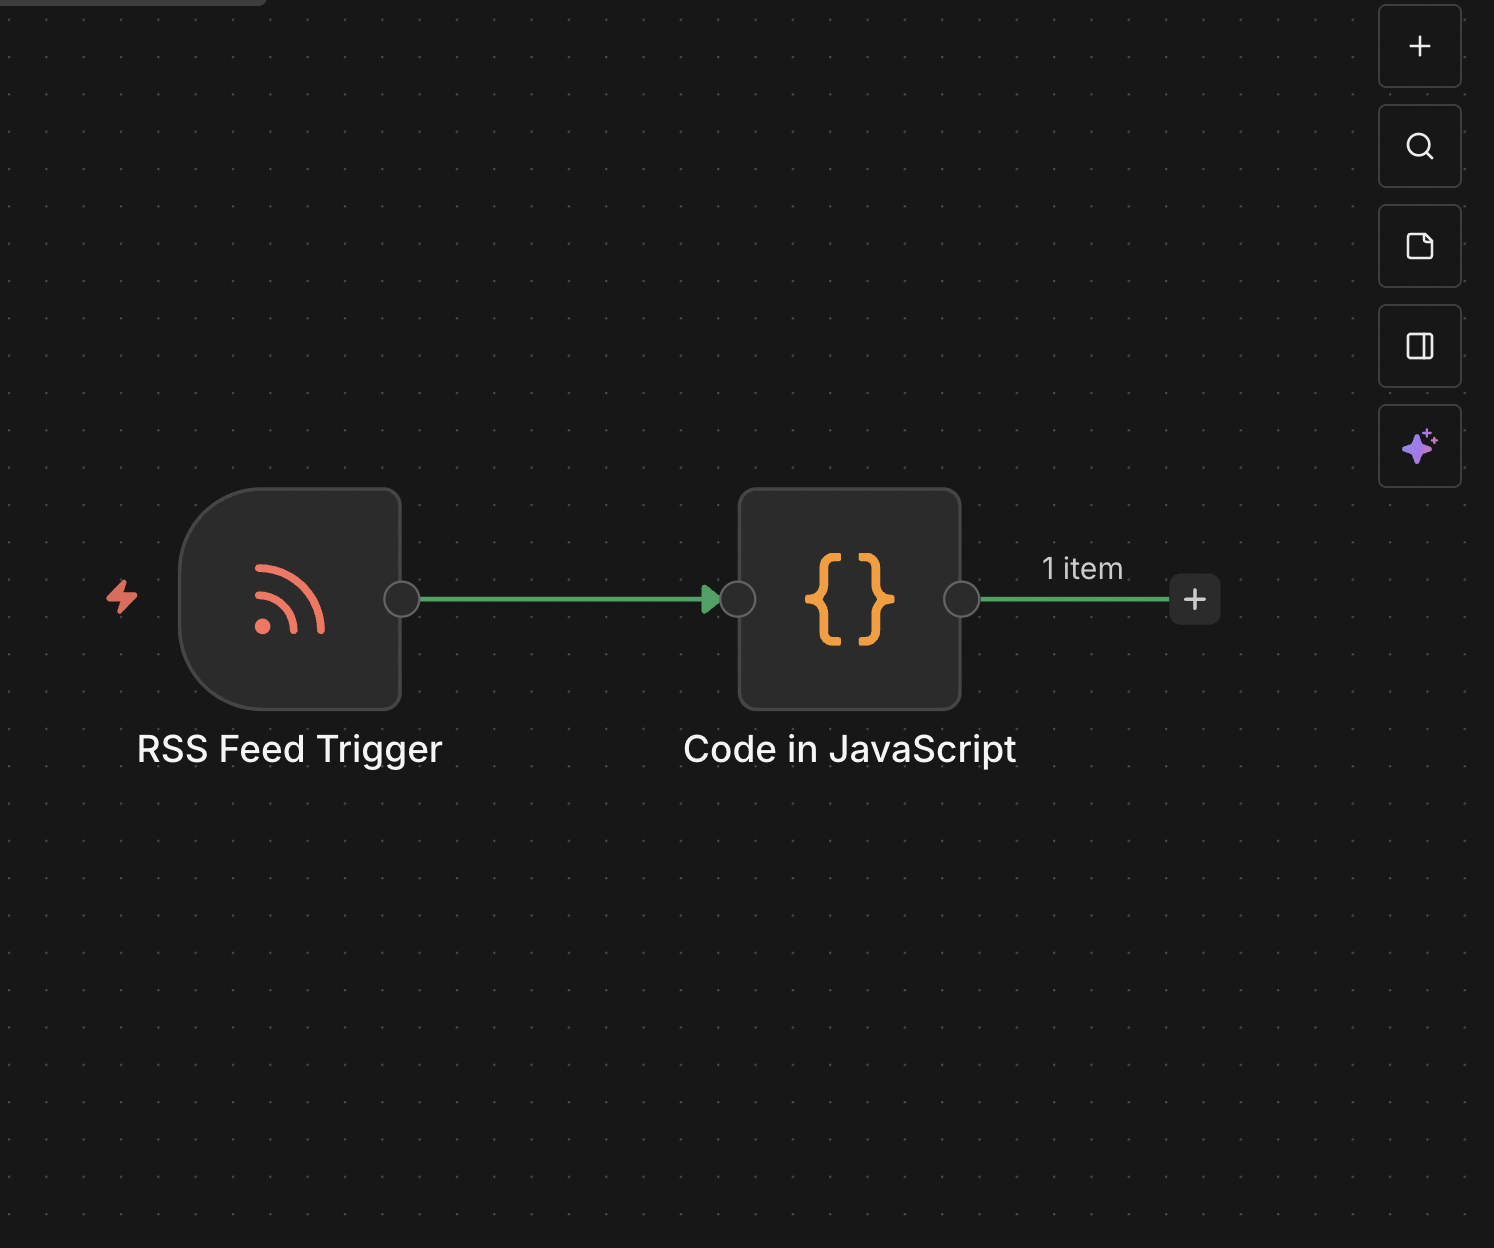
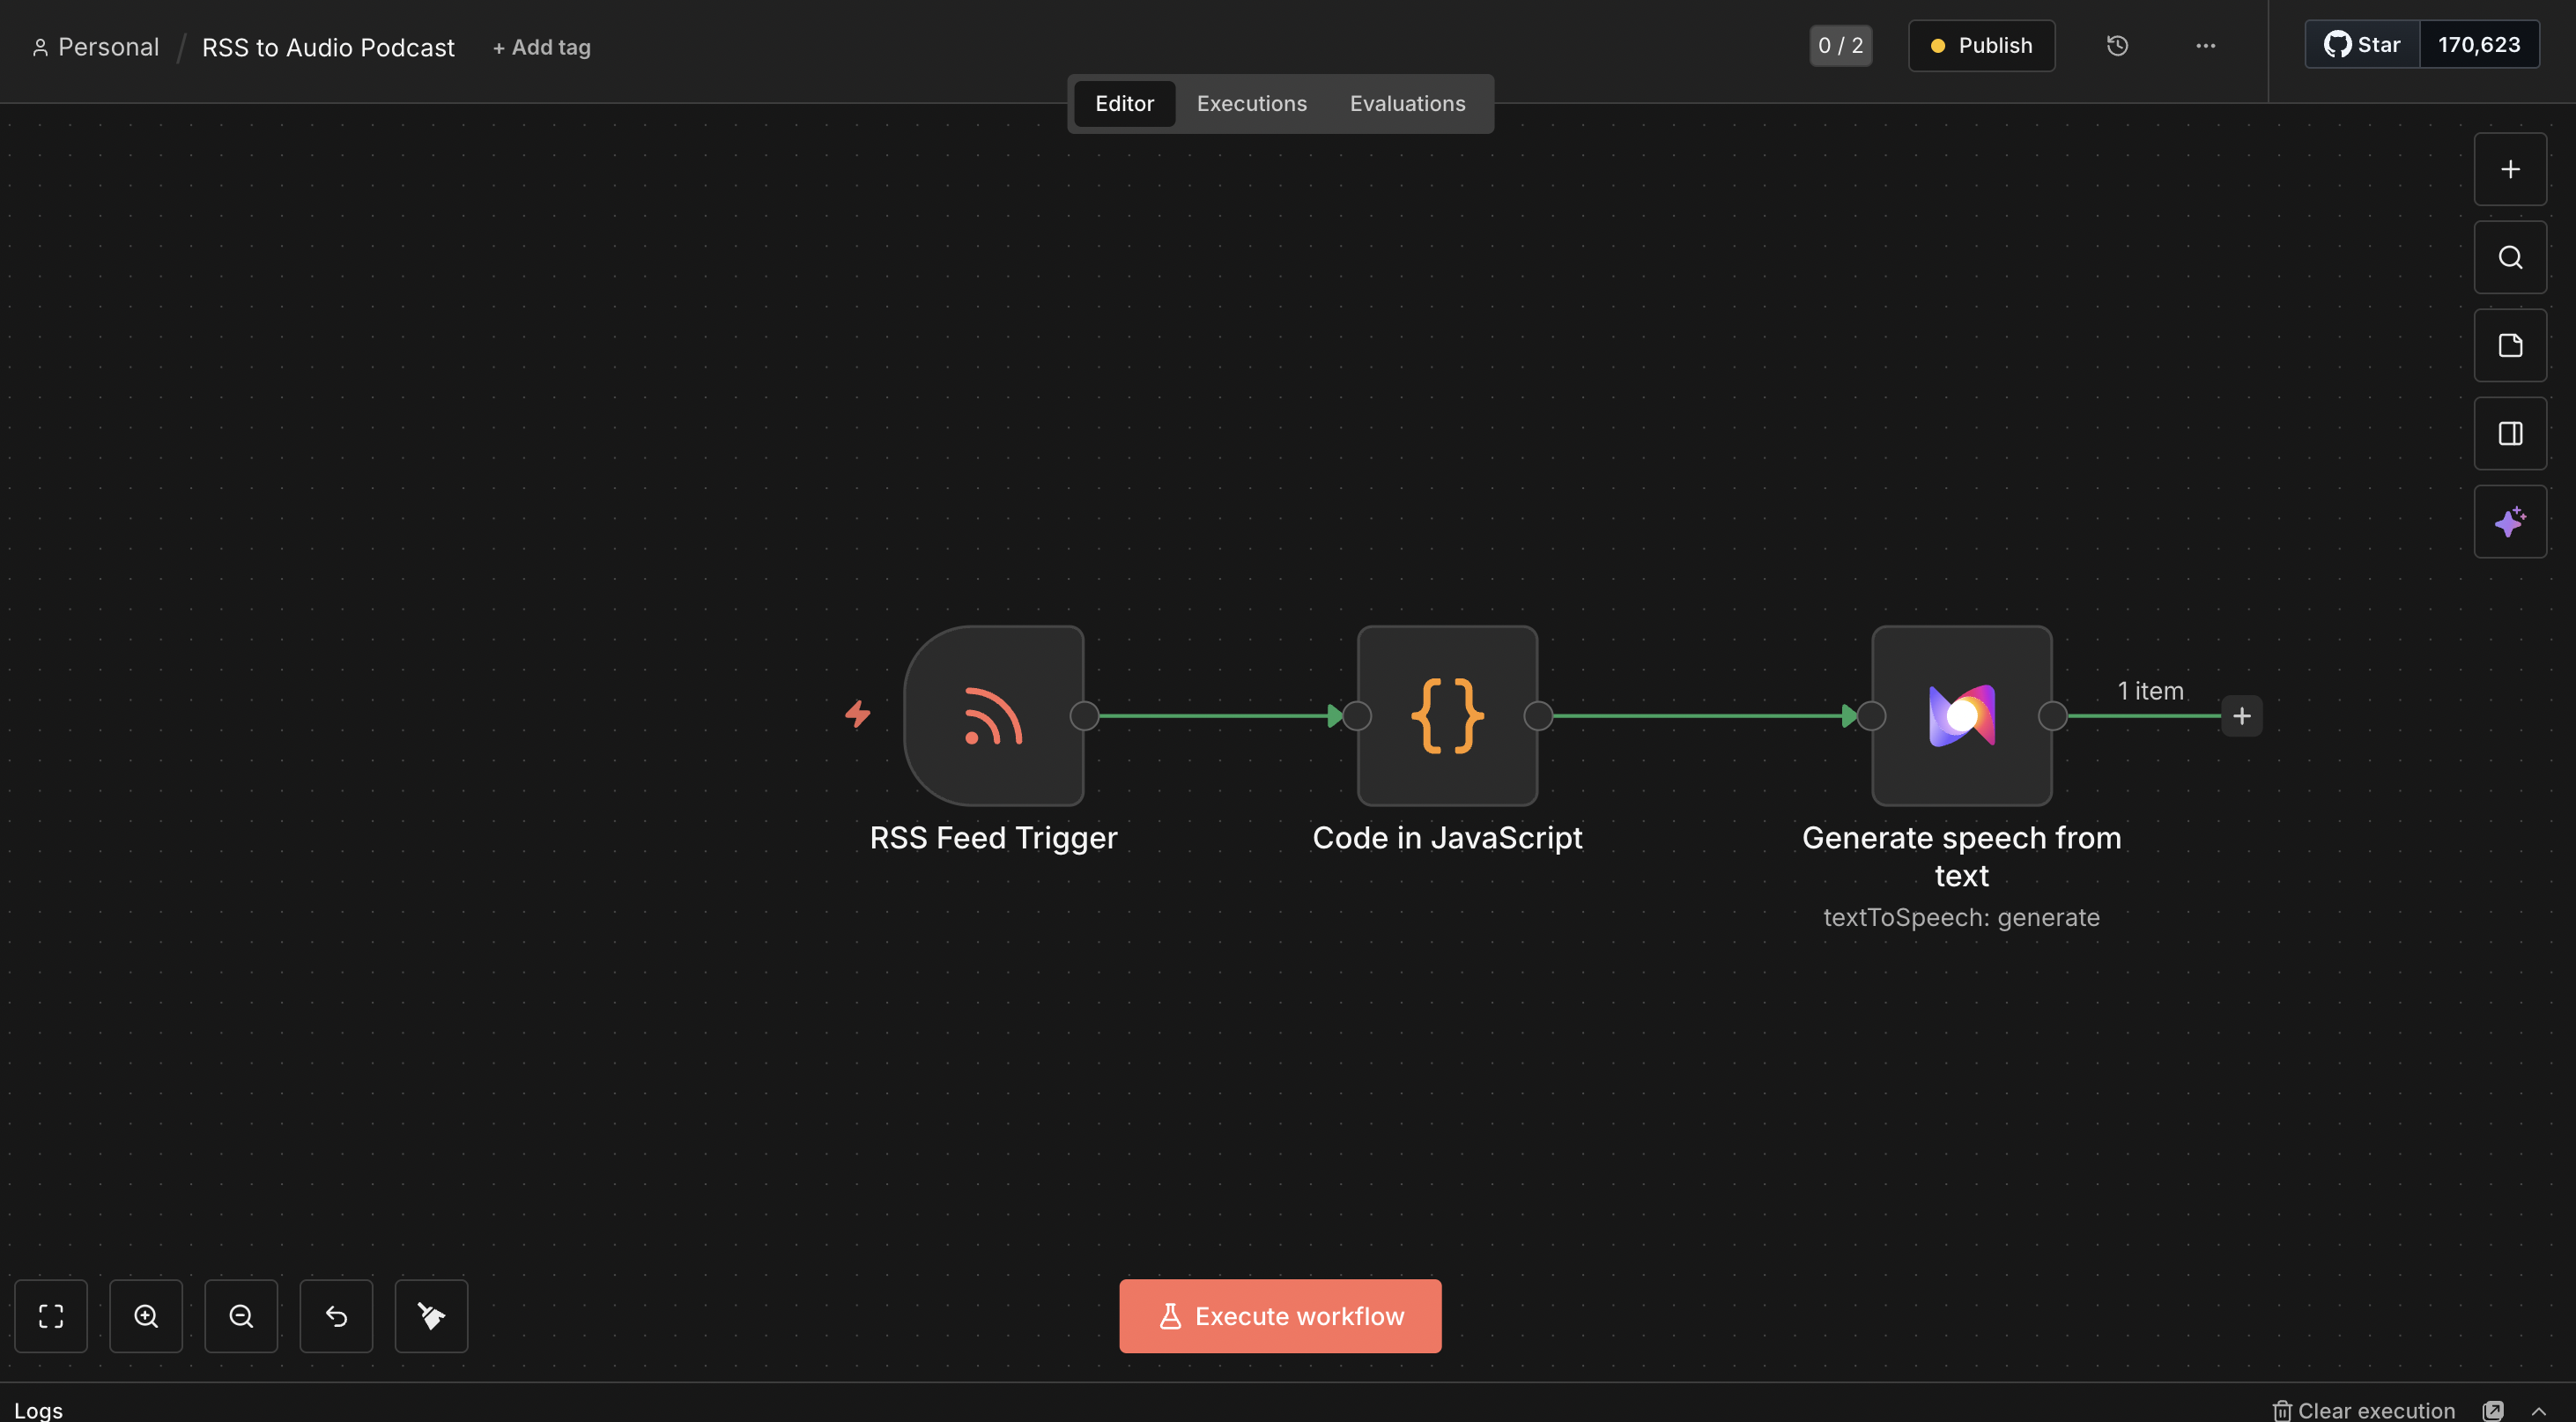
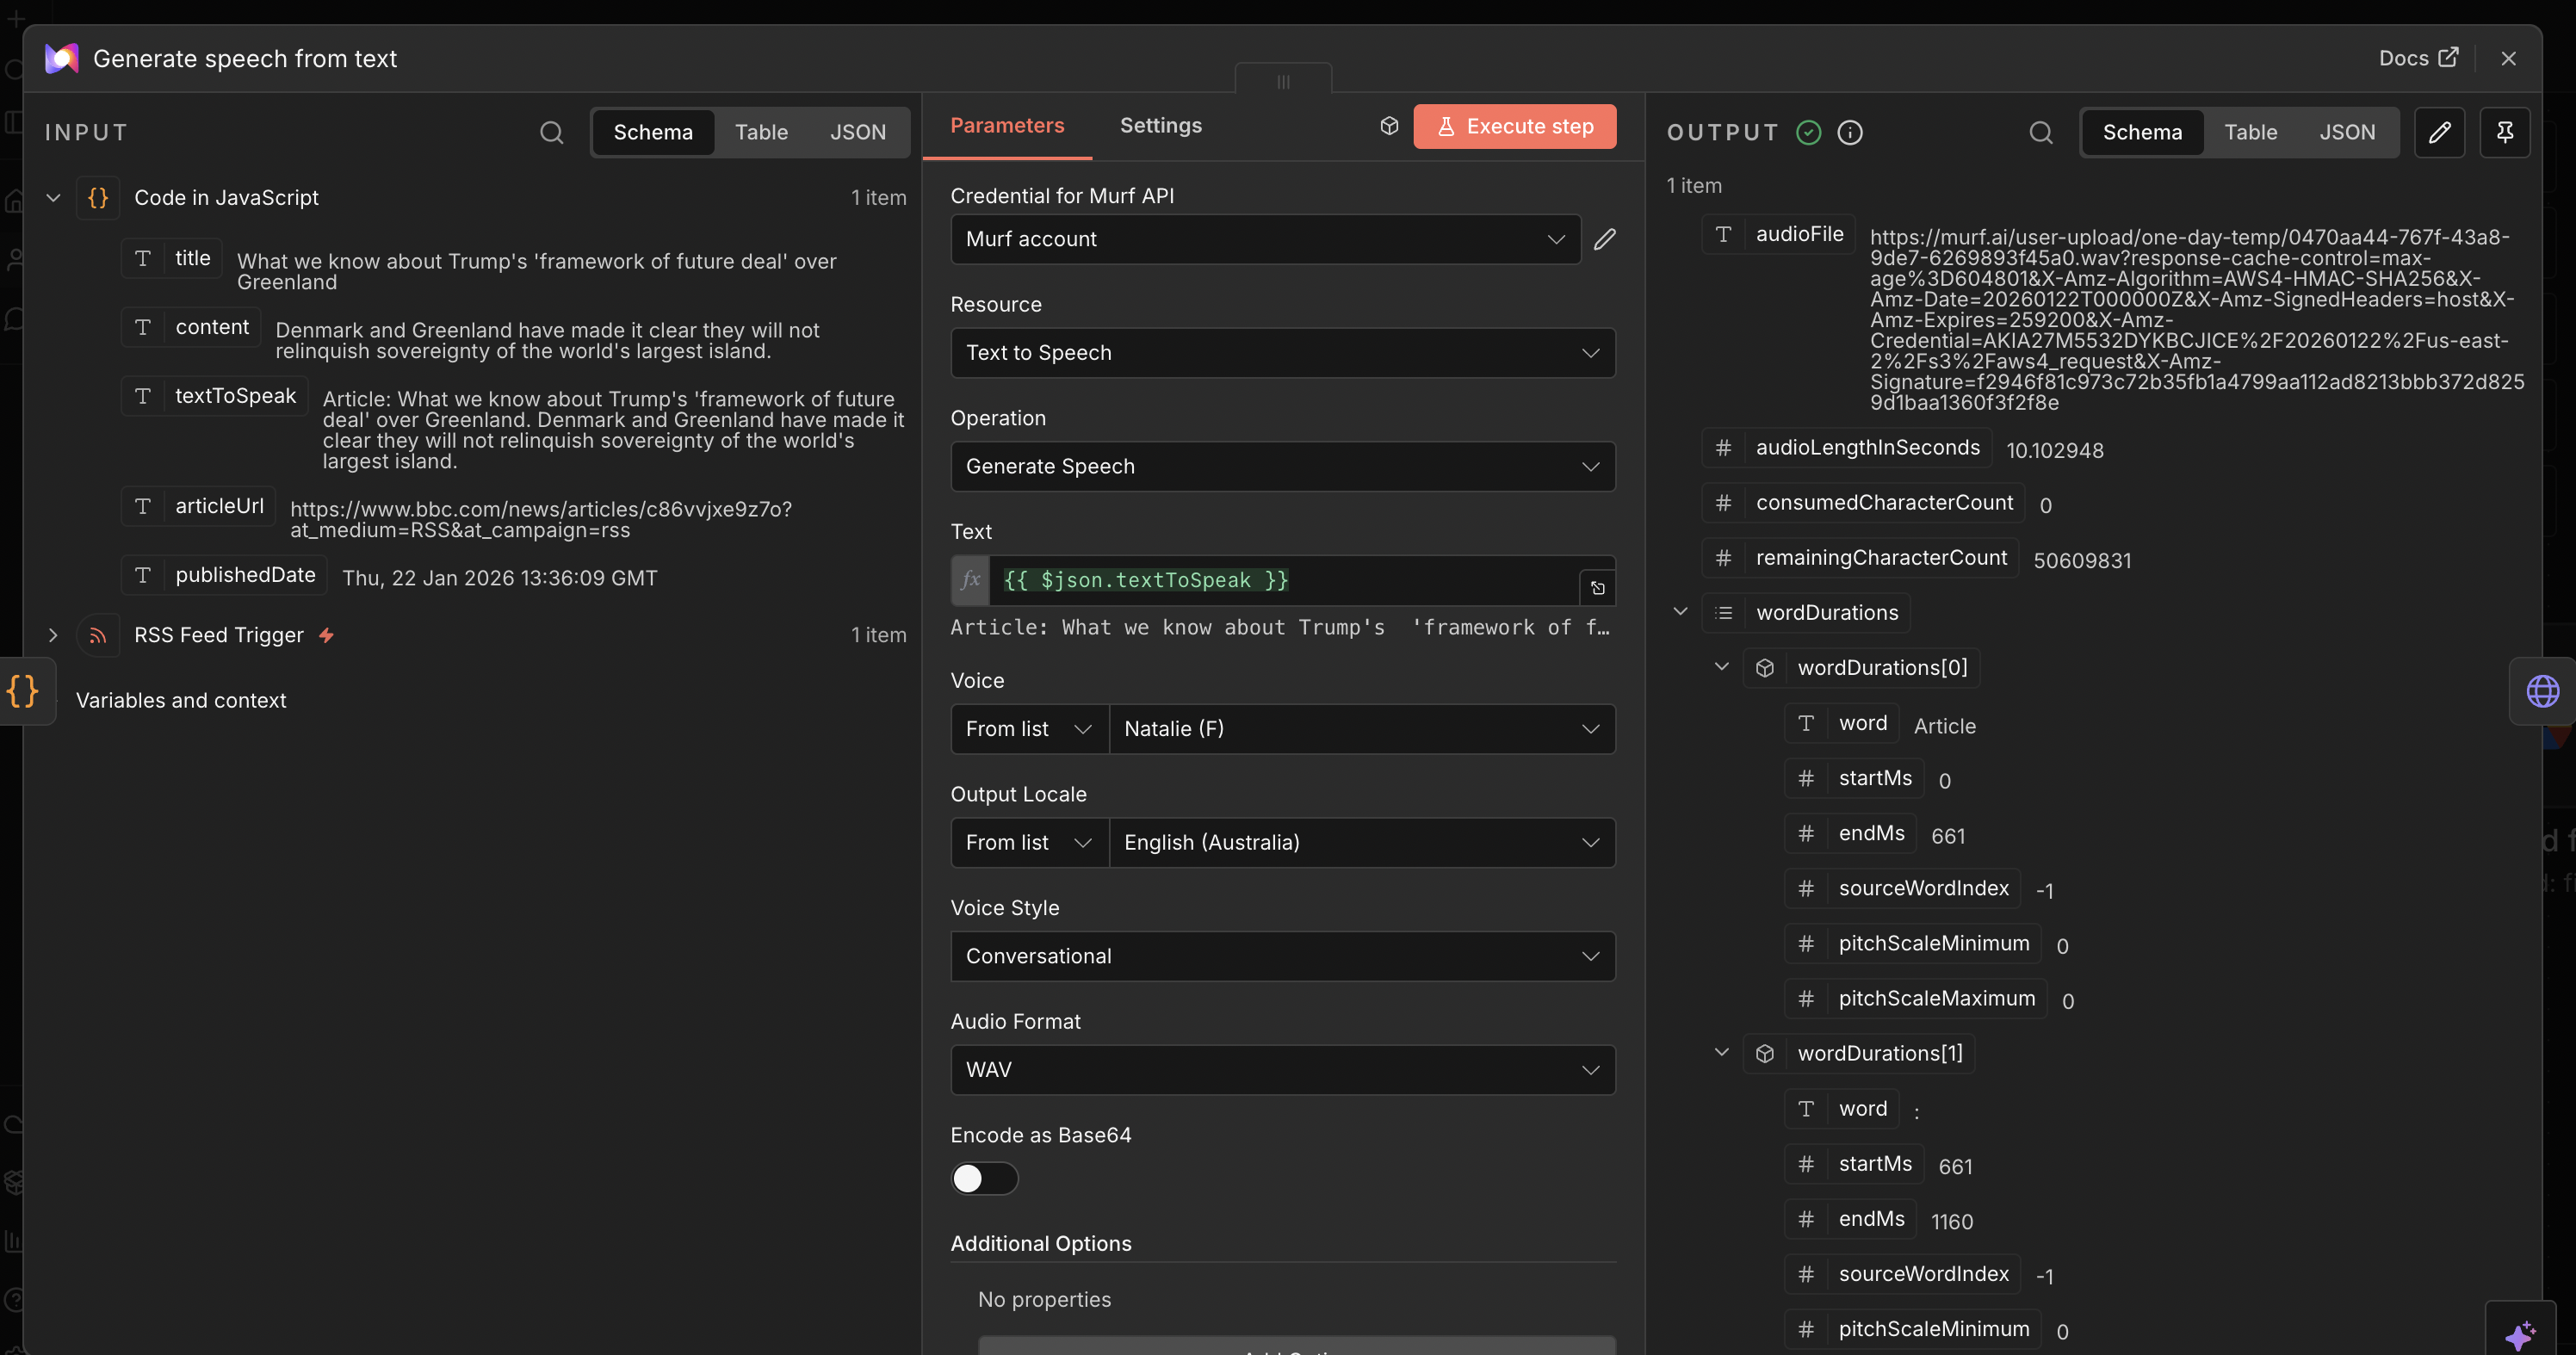
Step 4: Configure Murf Text-to-Speech
- Add the “Murf AI” node after the Function node
- Configure Murf AI node:
- Operation: Select “Text to Speech”
- Credentials: Get your Murf API key from Murf Dashboard and set up credentials
- Map the input fields:
- Text: Connect to
textToSpeakfrom the previous node - Voice: Select voice from Murf’s voice library (e.g., “Ruby” for English)
- Format: Choose audio format (Defaults to WAV)
- Style: Select voice style
- Text: Connect to
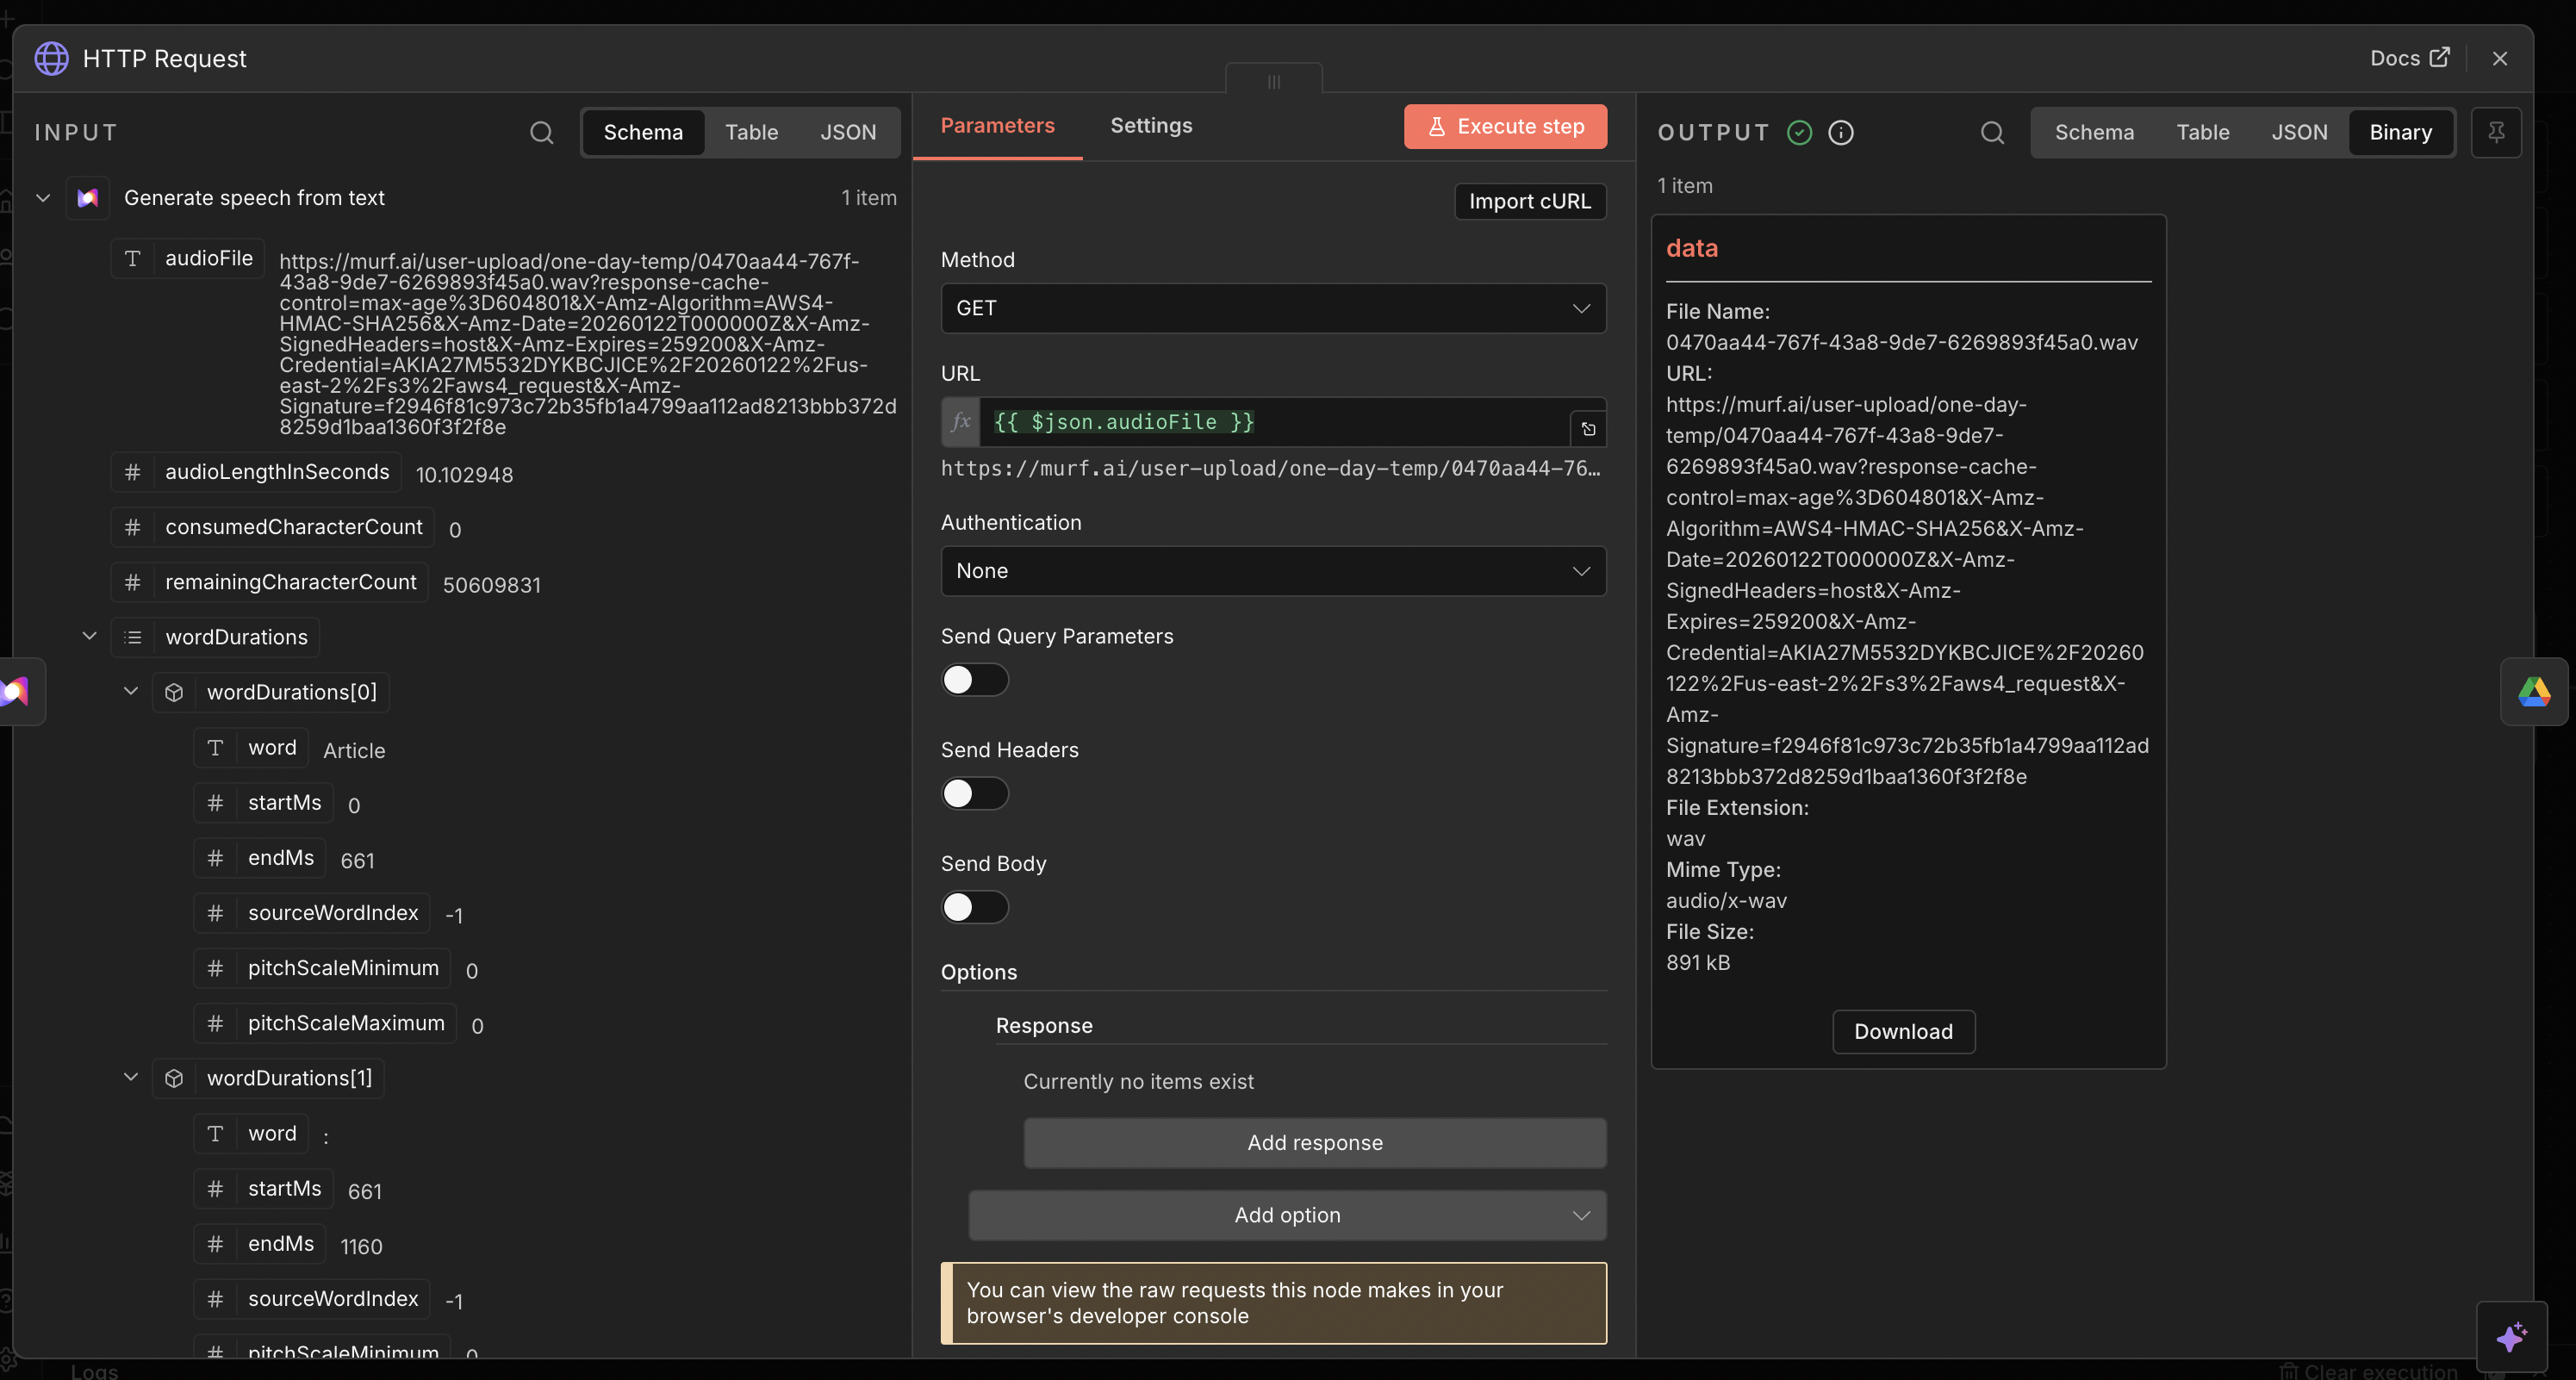
Step 5: Download Audio File
- Add an “HTTP Request” node after the Murf AI node
- Configure HTTP Request node:
- Method:
GET - URL: Map to the
audio_urlfield from Murf’s response
- Method:
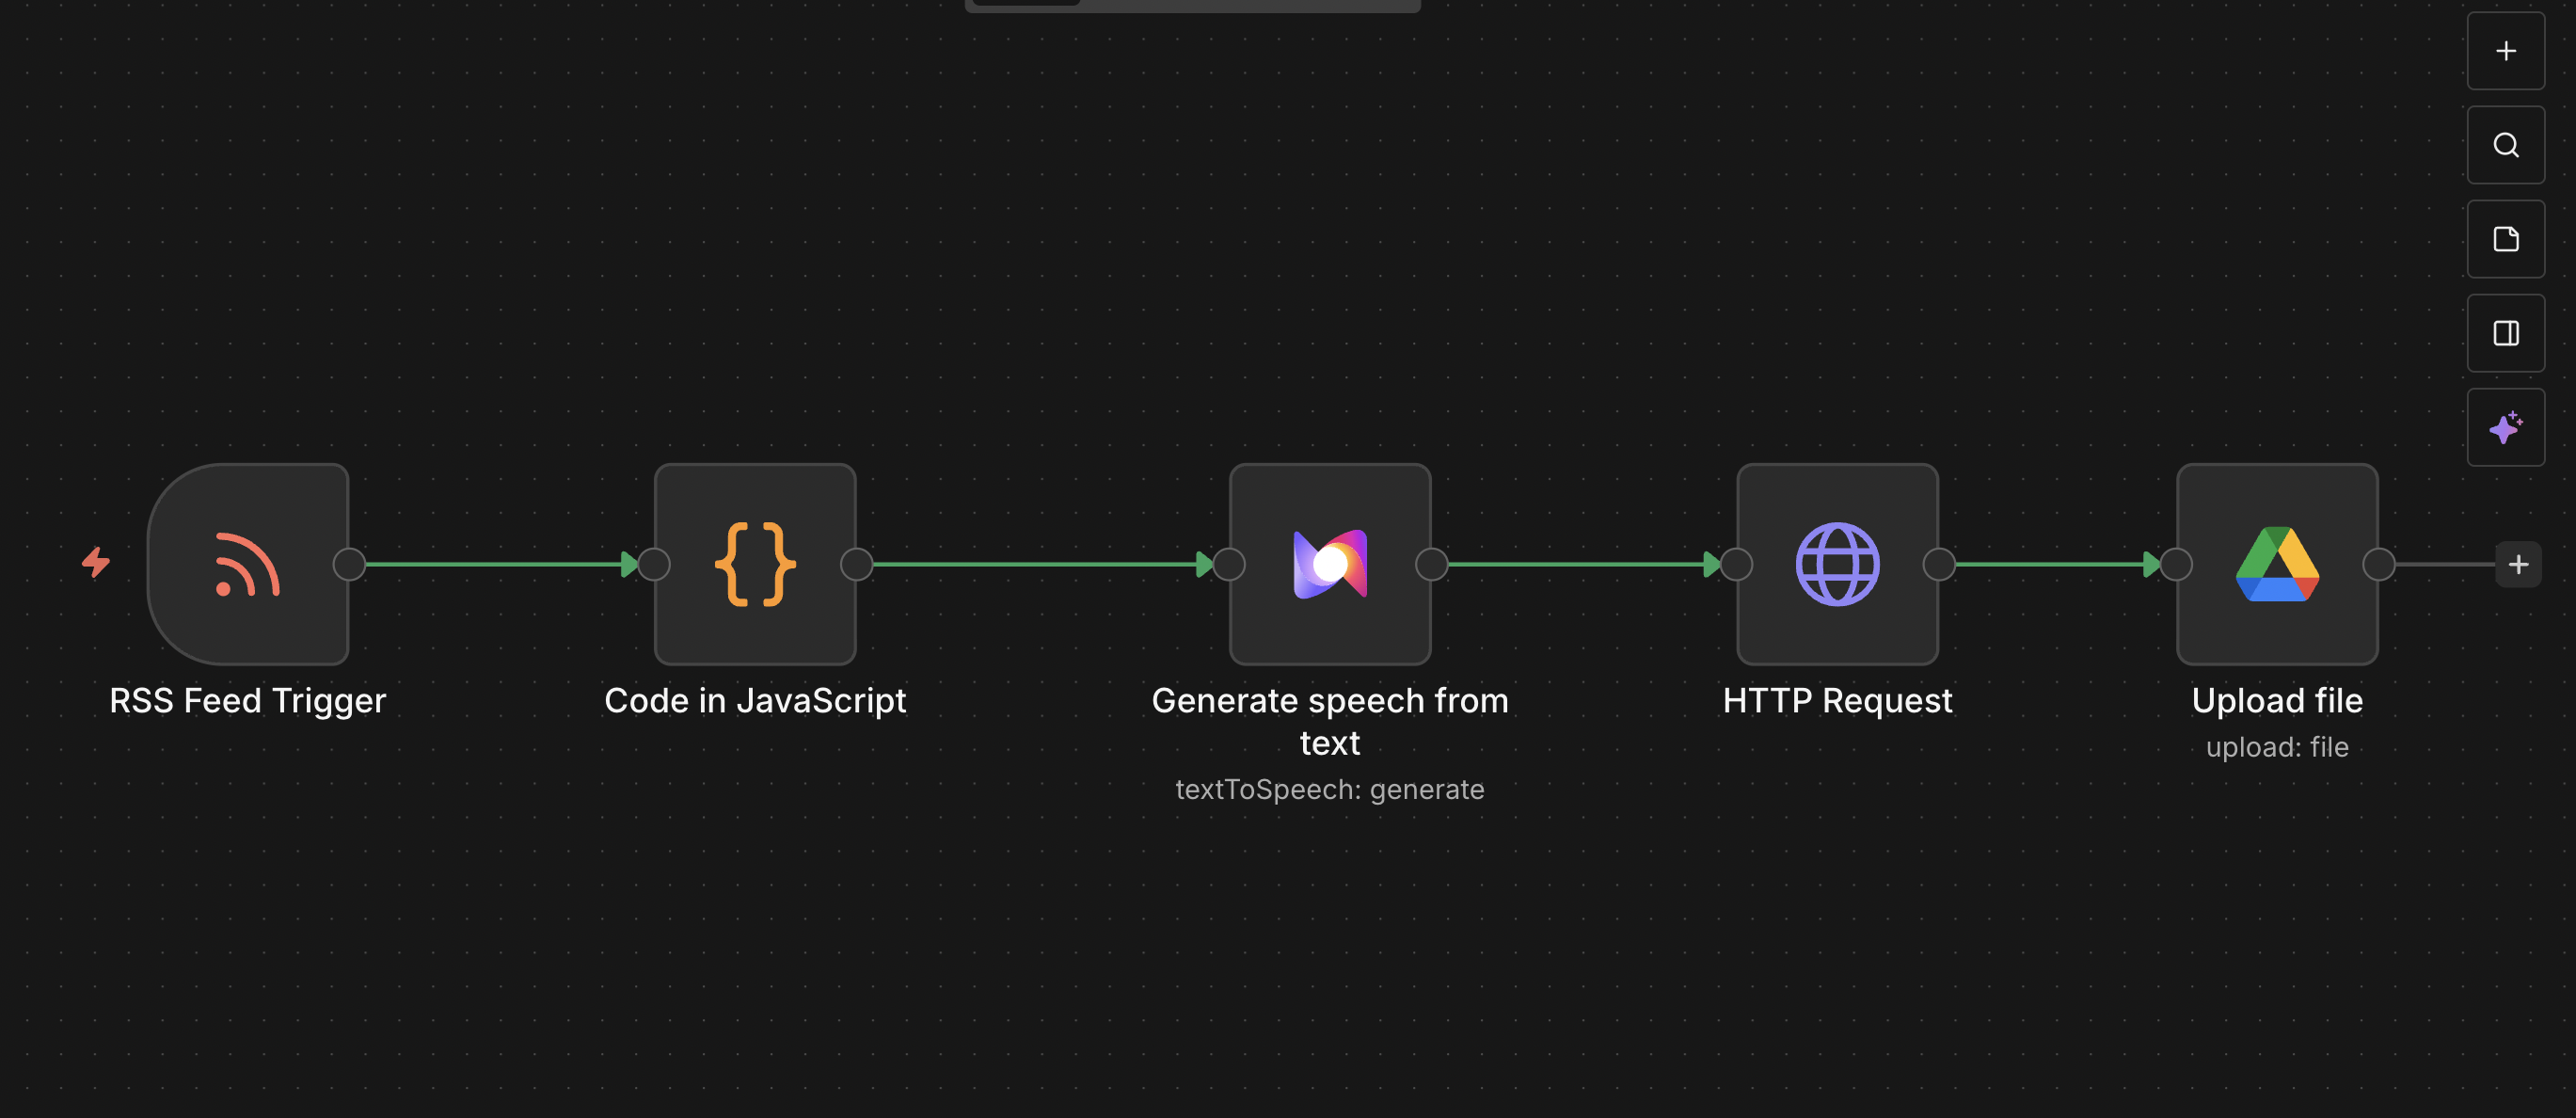
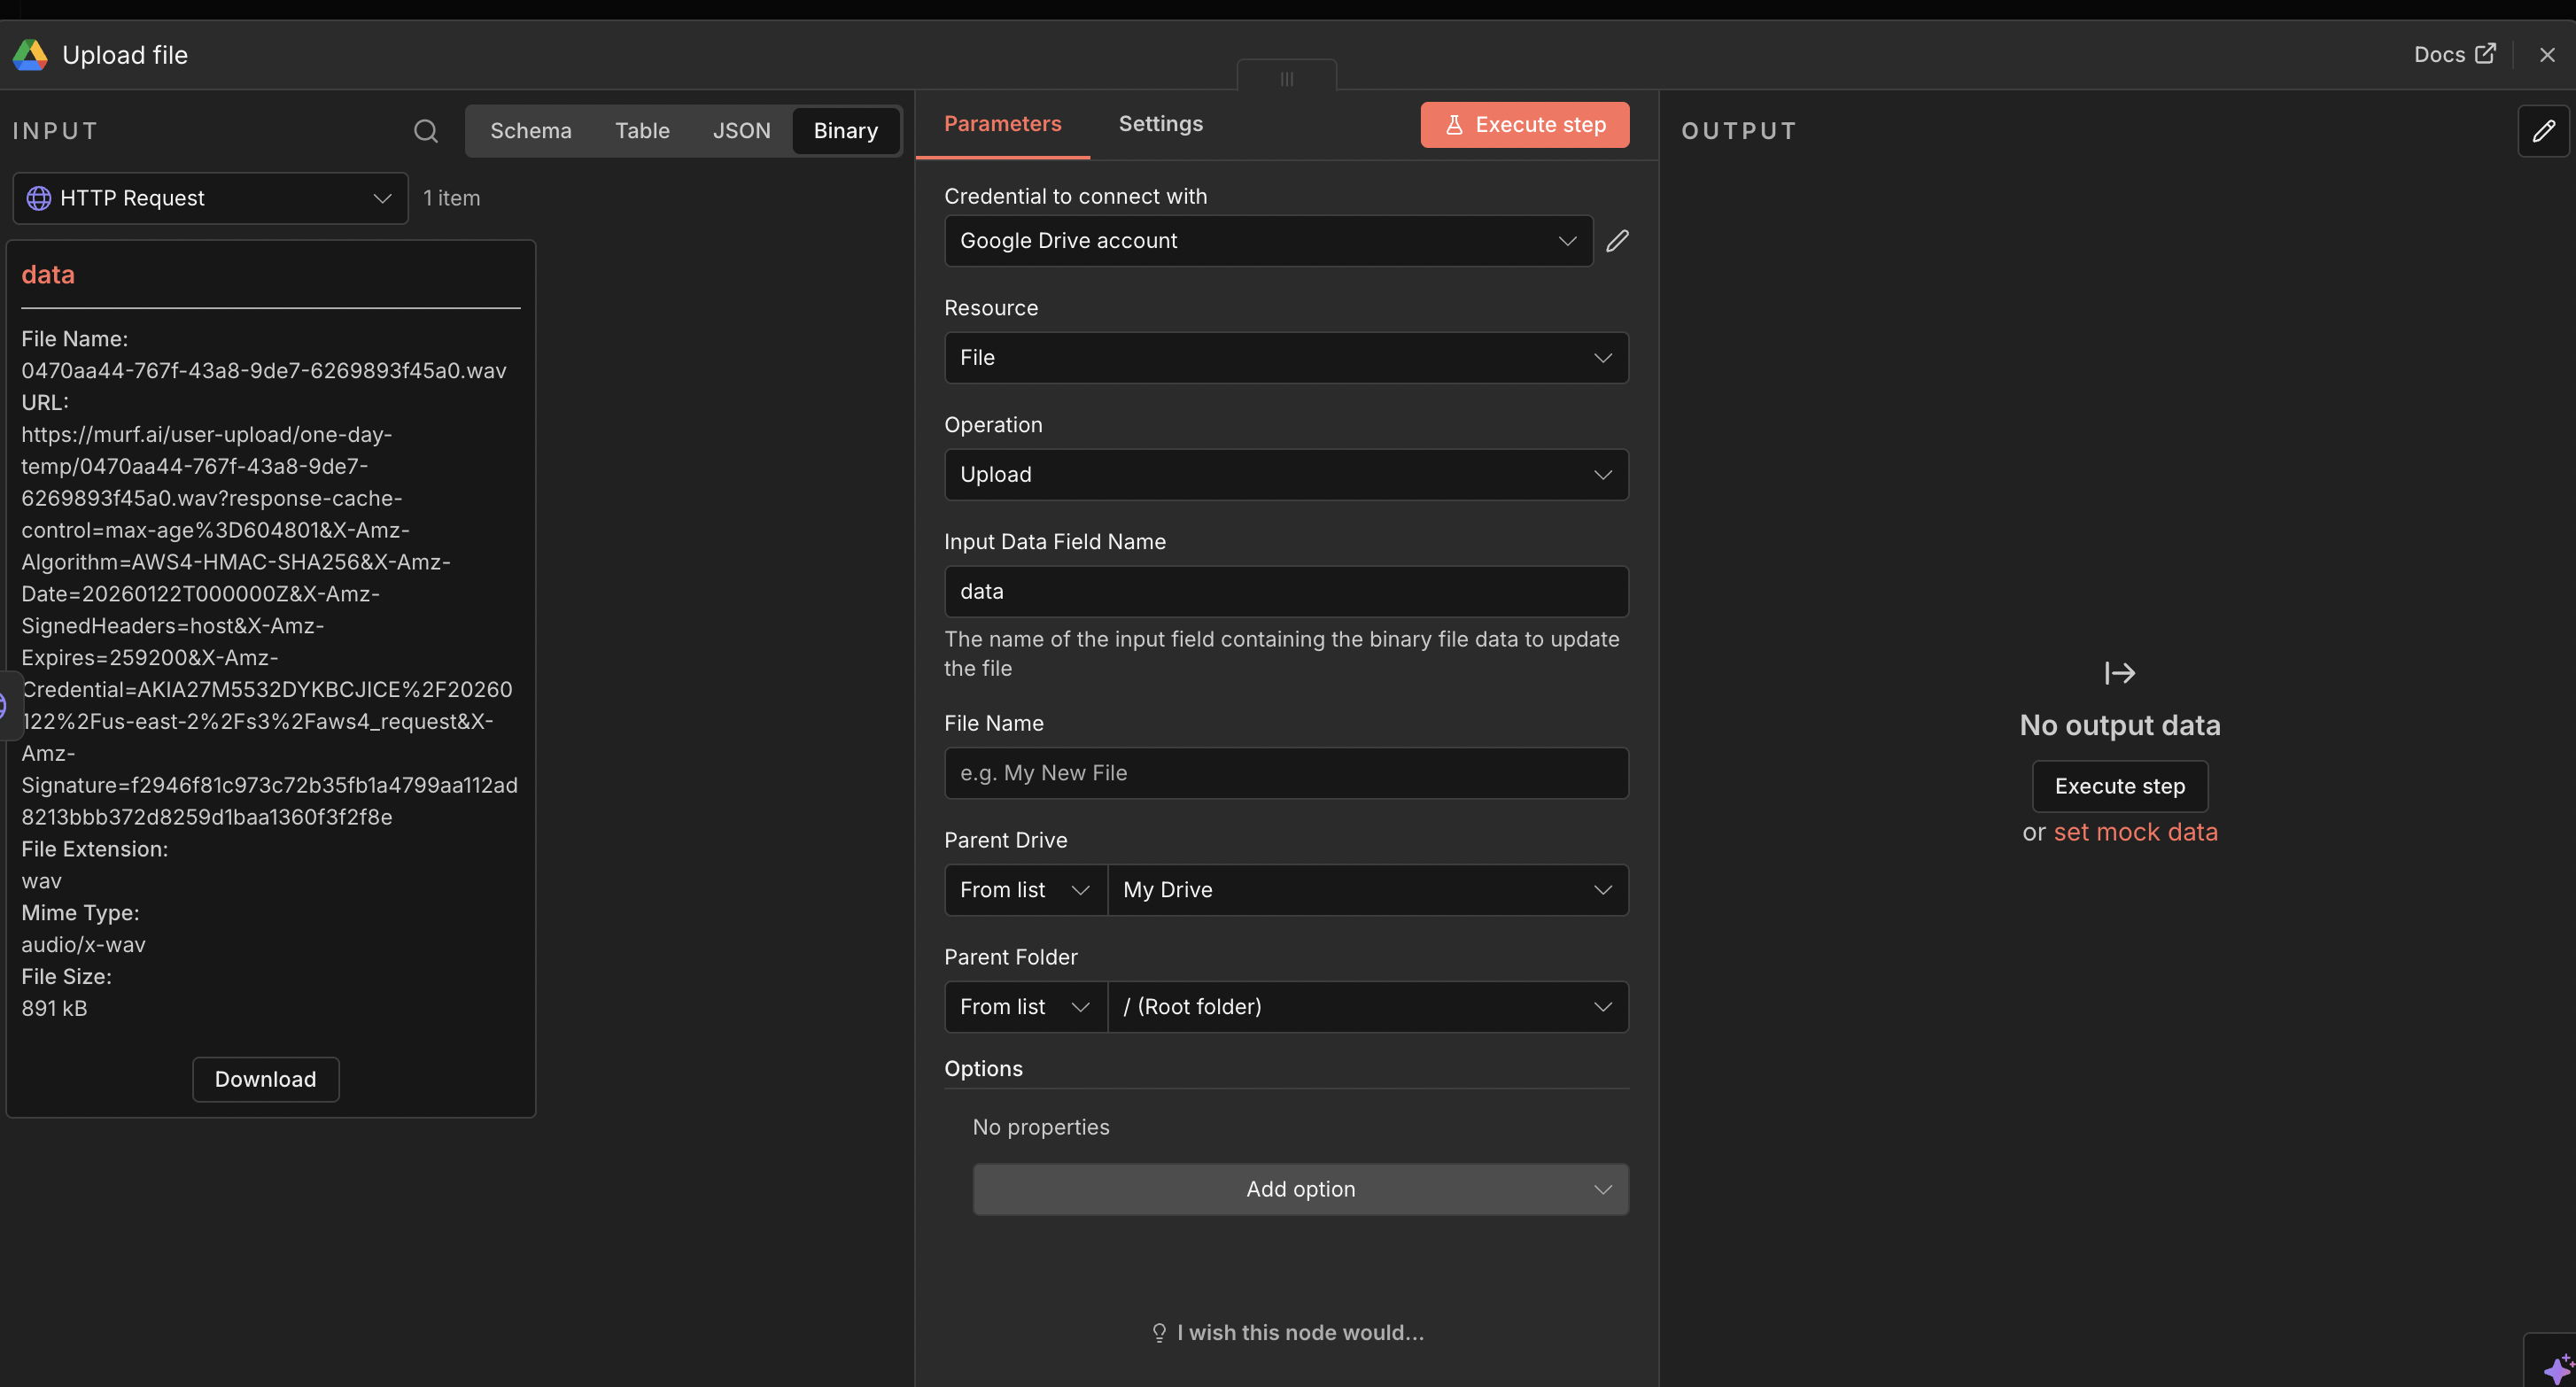
Step 6: Save to Google Drive
- Add the “Google Drive” node after the HTTP Request node
- Configure Google Drive node:
- Operation: Select “Upload a File”
- Drive: Choose your Google Drive account
- File: Map to the binary data from the HTTP Request node
Step 7: Test and Activate
- Test the workflow:
- Click “Execute Workflow” to run a test
- Check each node to ensure data flows correctly
- Verify audio files are generated and saved
- Activate the workflow:
- Click the “Publish” button in the top Navbar
- The workflow will now run automatically when new RSS items are detected

Available Voices and Languages
Support
If you encounter any issues or have questions about the n8n integration:
- Email: support@murf.ai
- Website: Murf API
- Documentation: Murf API Documentation
- n8n Community: n8n Forum
- Issues: GitHub Issues
Contributing
Contributions to the integration are welcome! If you’d like to contribute, please feel free to submit a Pull Request on the GitHub repository.
License
This integration is licensed under the MIT License. See the LICENSE file for details.