Zapier and Murf API
Murf API is now integrated with Zapier, enabling seamless automation for voice-based applications. With this integration, you can create powerful Zaps that convert speech to text, process text with AI, and generate natural-sounding speech using Murf’s TTS engine.
Introduction to Zapier
Zapier is an online automation tool that allows you to connect your favorite apps, such as Murf, Amazon S3, Zoom, Slack,and more. It enables you to automate tasks between them, without having to write any code.
What is a Zap?
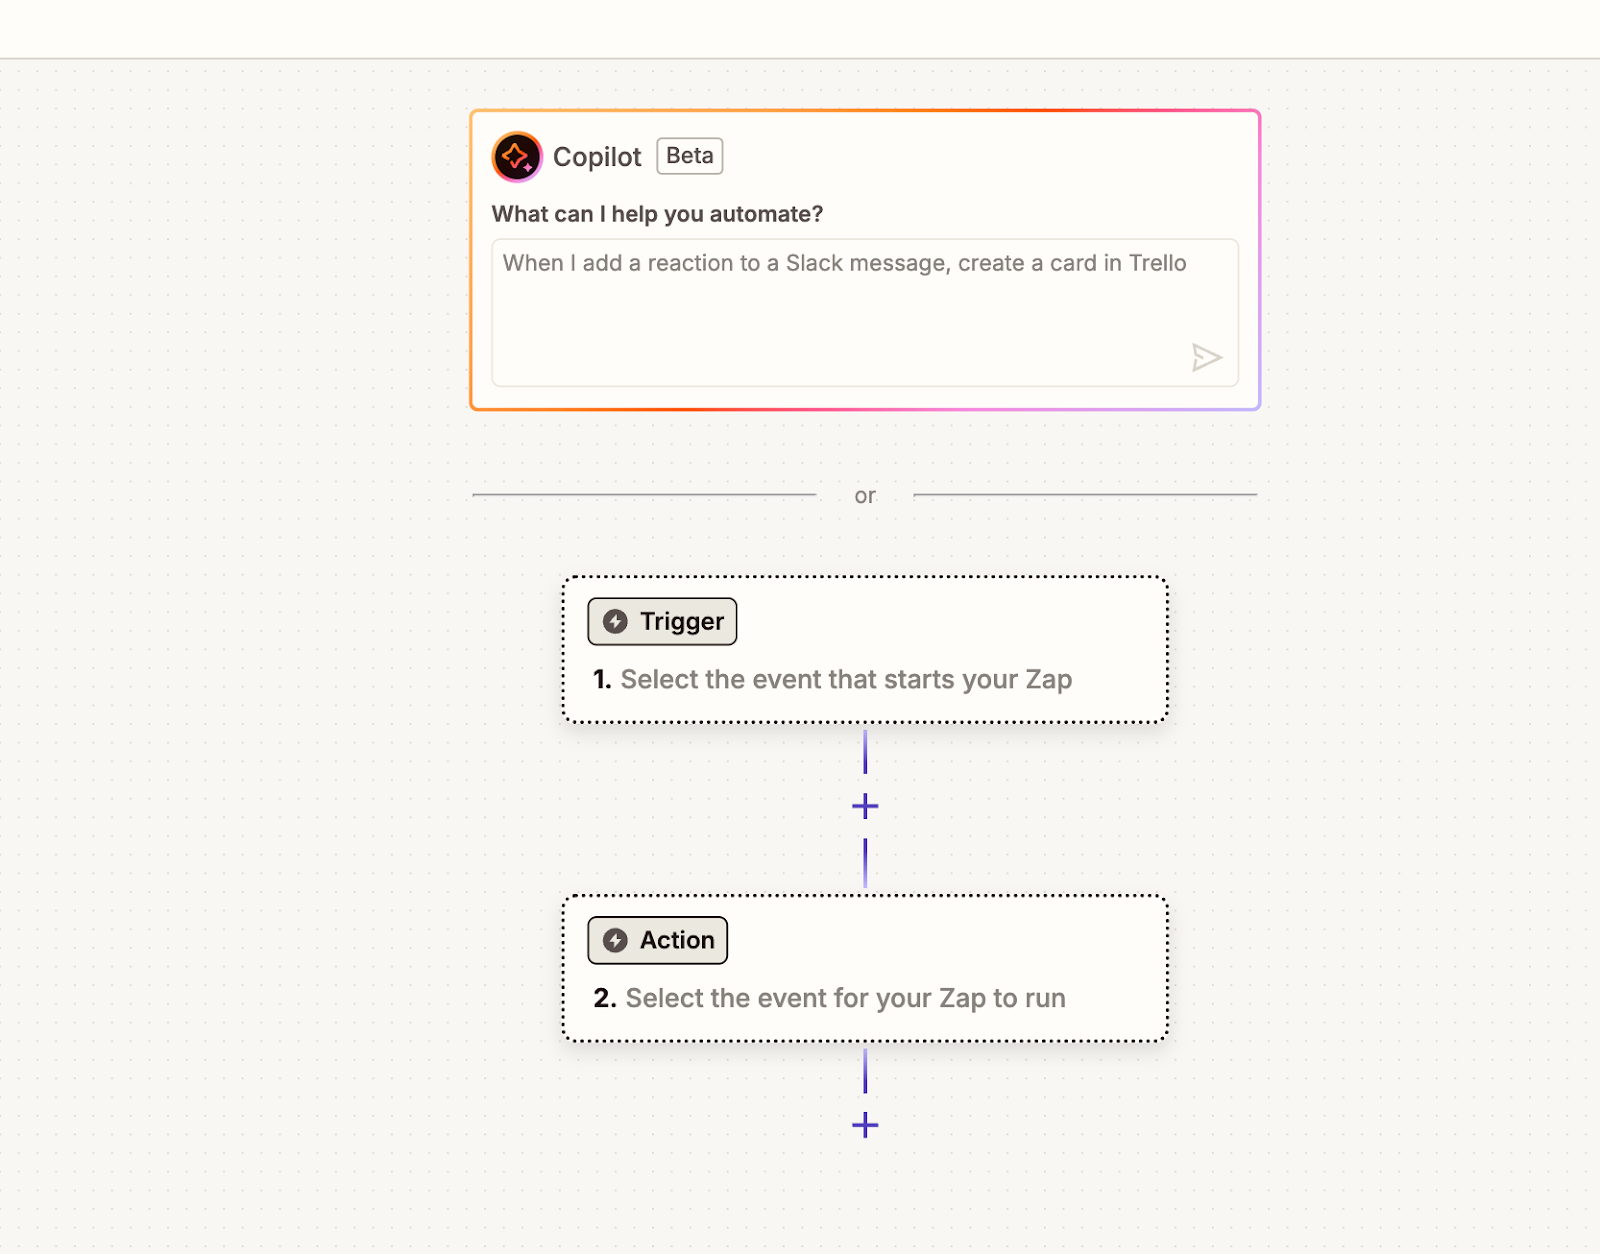
Zapier workflows are called “Zaps.” A Zap connects two or more apps and consists of a trigger followed by one or more actions.
Here’s how it works:
- Trigger: An event in one app that starts the Zap. For example, receiving a new voicemail, recording a new meeting in a video conference software program, or uploading a video of a lecture.
- Action: An event that completes the Zap. It’s the result or output you want to achieve, such as transcribing a new voicemail to text, converting a recorded meeting to written notes, or generating a summary text document from a spoken lecture.
Example: Voice-Powered Feedback Alerts in Slack
This integration transforms how teams engage with feedback by turning written form responses into realistic voice messages. Instead of sifting through text, teams can listen to feedback as if it’s being spoken aloud—making it more human, immediate, and attention-grabbing when delivered directly in Slack channels. The workflow follows these steps:
- Trigger: New form response submitted via Google Forms
- Action: Convert text input into audio using Murf’s Text-to-Speech
- Action: Send the audio message to a Slack channel via Send Channel Message action.
How to build a workflow in Zapier
Creating a Zap
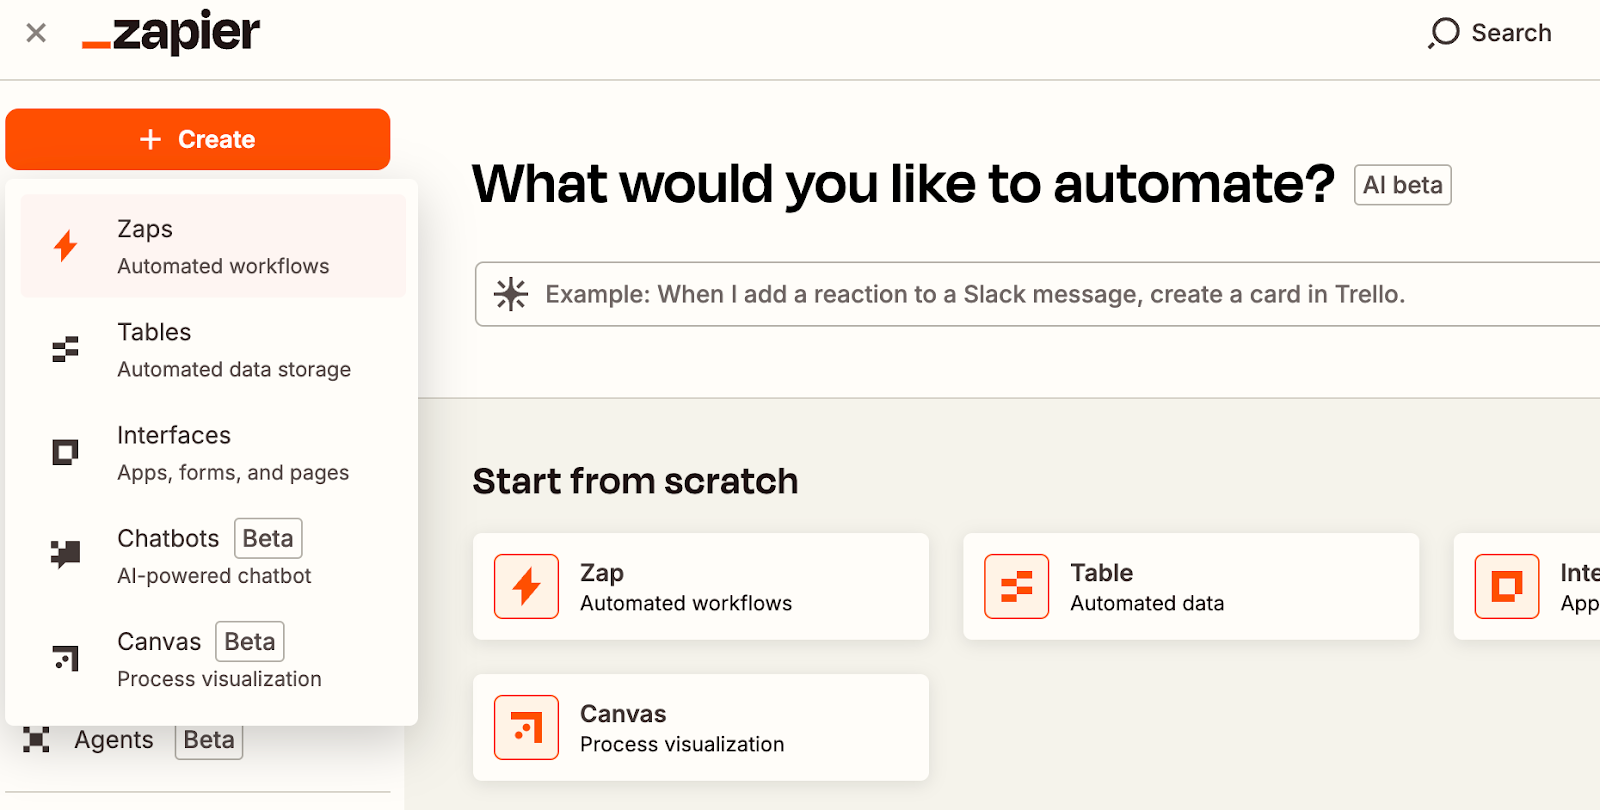
To create a Zap, click on the “Create Zap” button in the left-side navigation bar. This will create a starter Zap with a trigger and an action.
Set Up the Trigger
Click on the first box to select a trigger. The trigger is the starting point of the Zap and determines when the workflow begins.
- App Name: Google Form
- Trigger Name: New Form Response
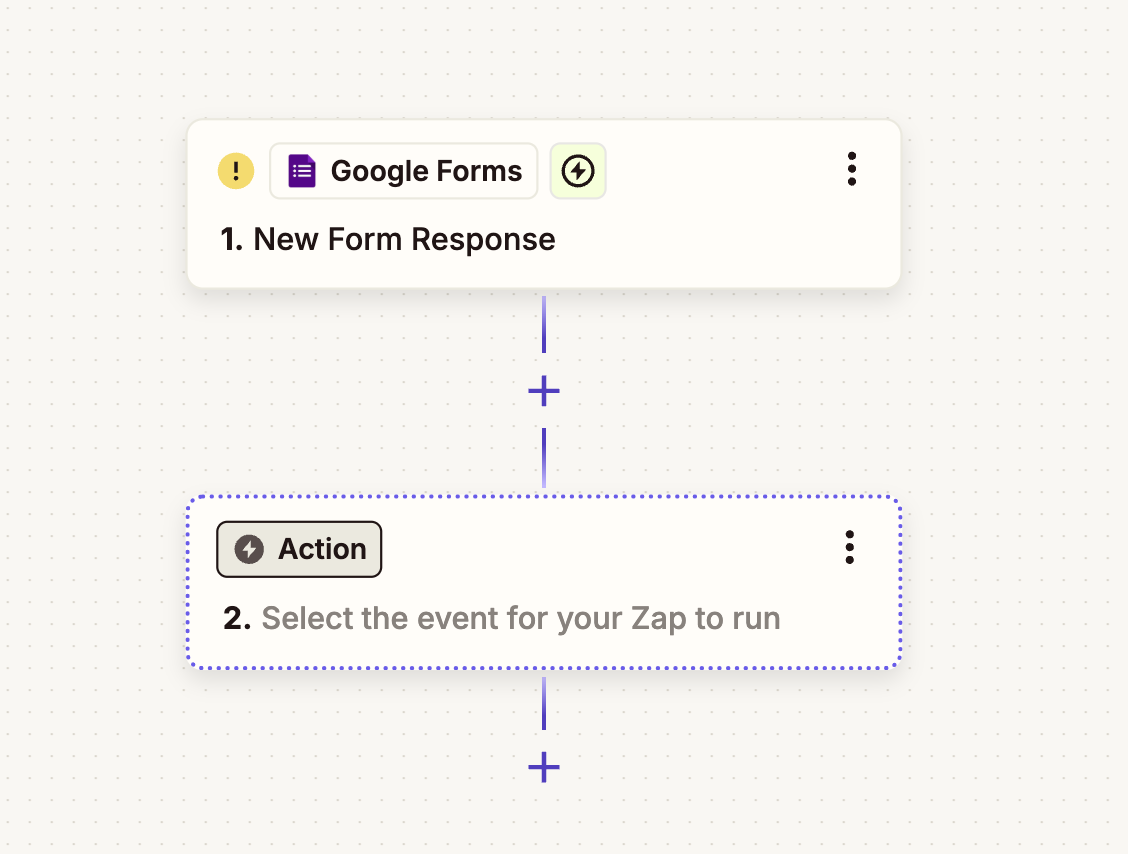
This trigger will fire when a new response is submitted via the form. You need to set using your google account. Once the trigger is set up, you can add actions.
Configure Murf Text-to-Speech Action
Search for “Murf” in the search bar and select “Text to Speech” as the action event.
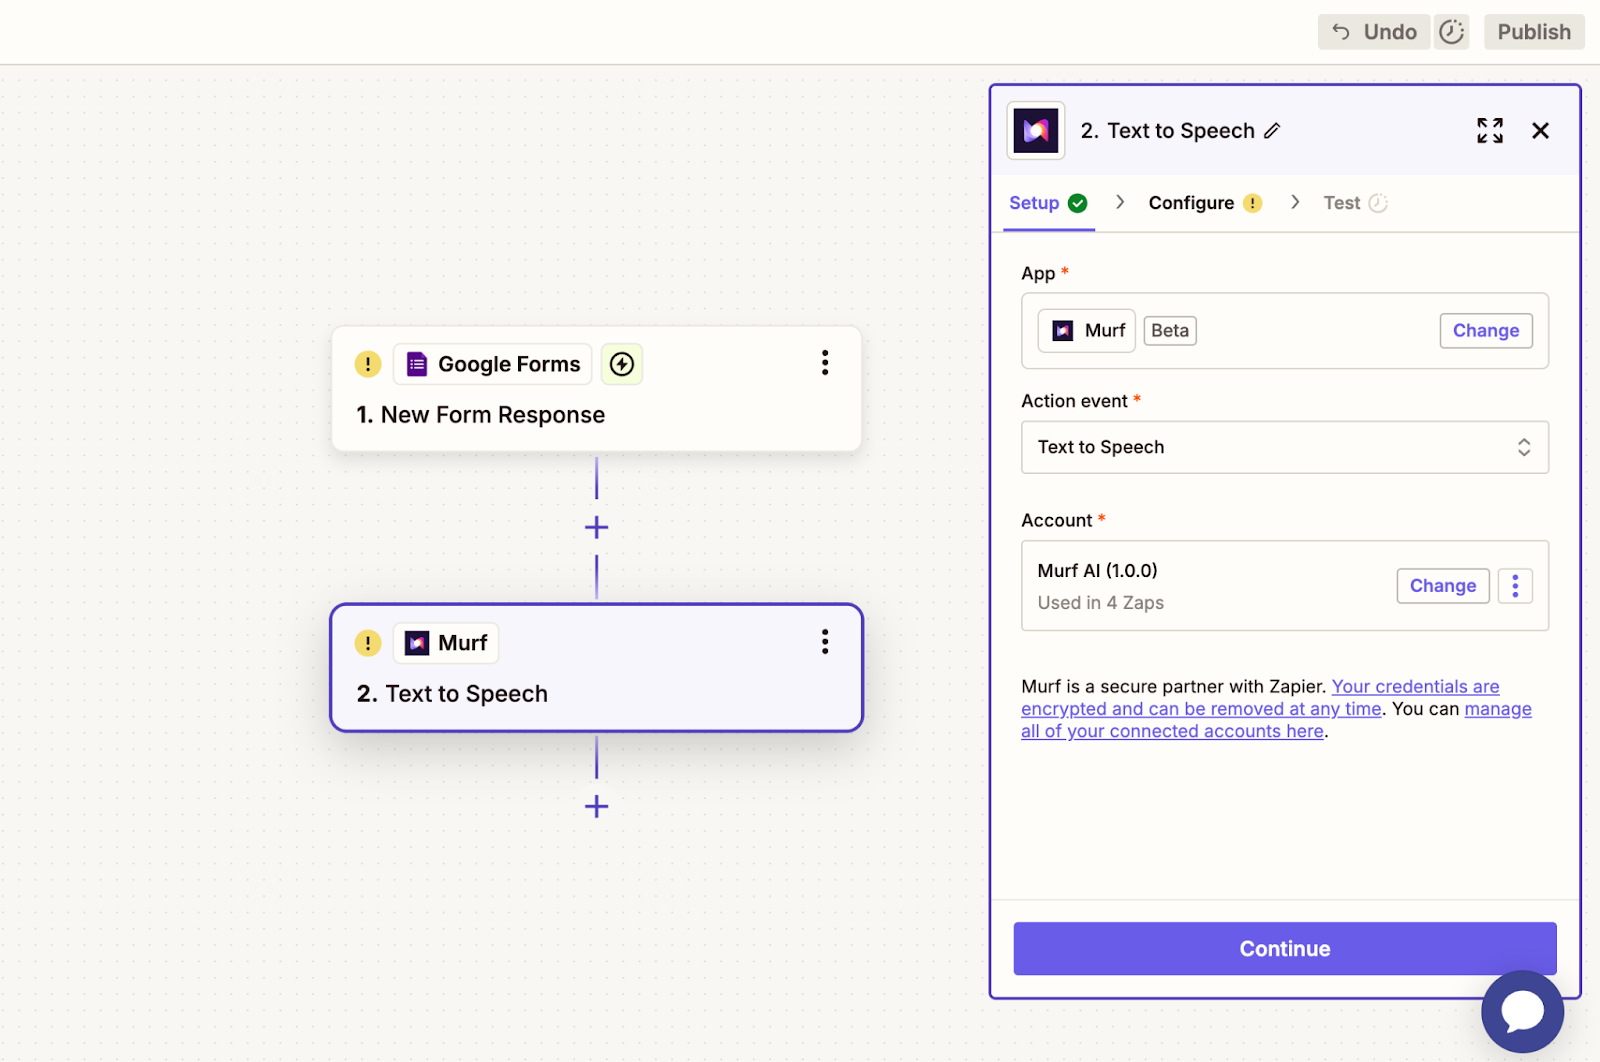
Connect your Murf API account by entering your API key. To generate an API key, sign up for a Murf API account and click on the “Generate Key” button in the API dashboard and paste here.
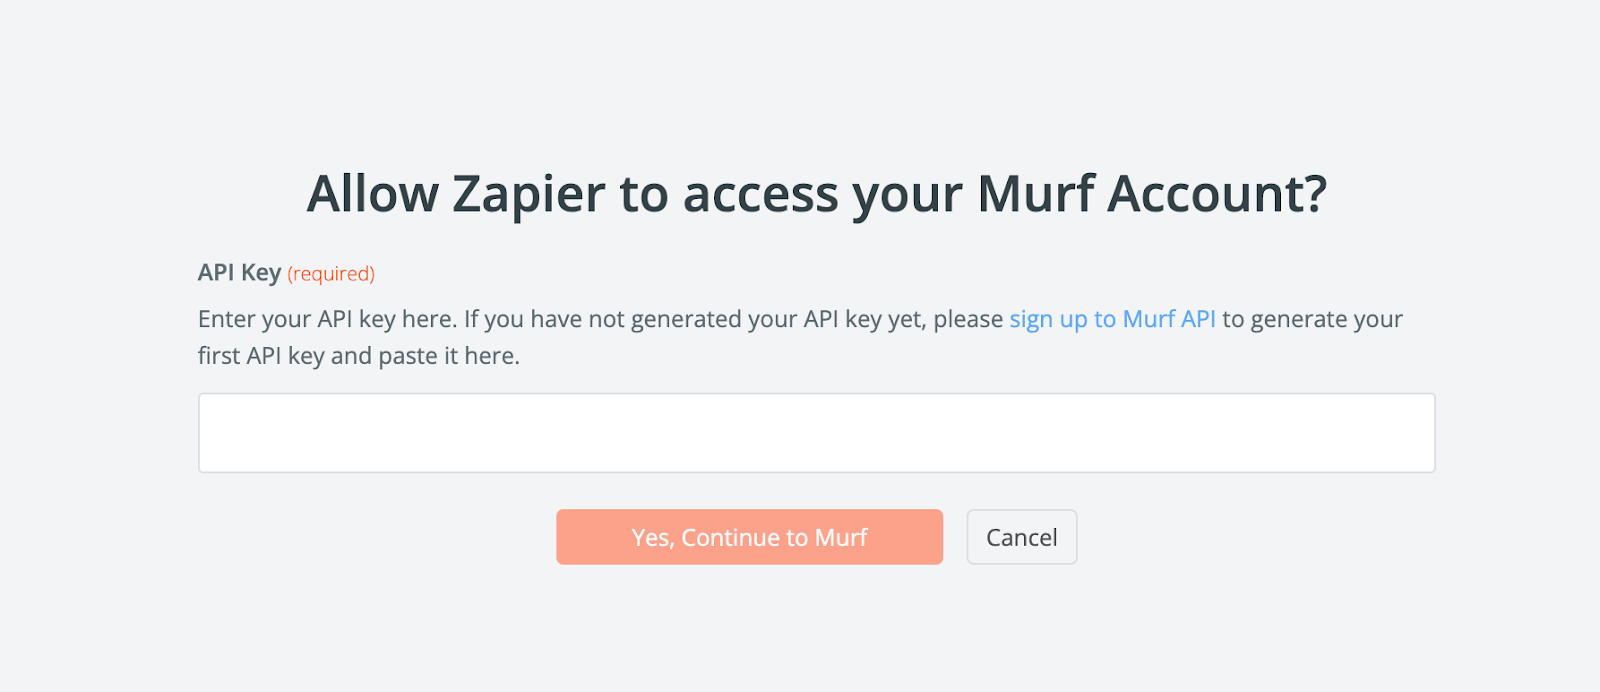
After successfully connecting your account, select “Text to Speech” as the action. Use the AI-generated response from the OpenAI LLM action as the input text.
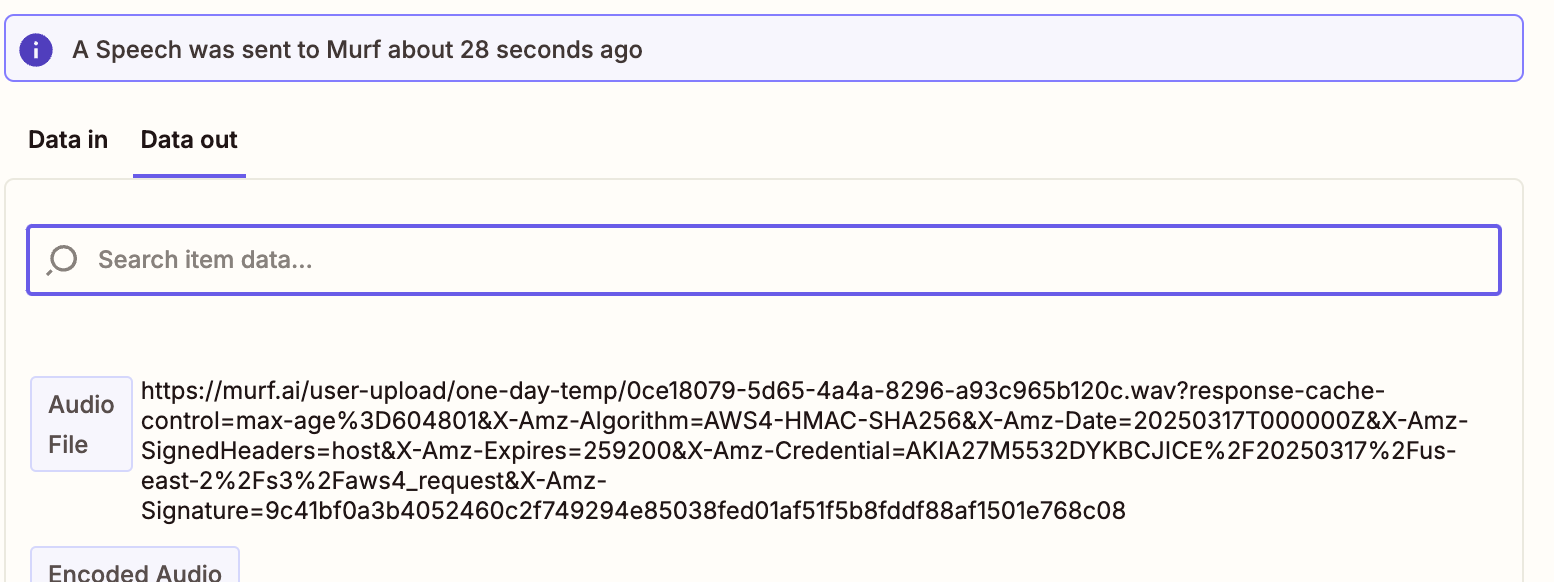
You can test your workflow by using the form response as the input text, then selecting the desired locale and voice for the voiceover. Click on “Test Step” to run the action. If successful, you will receive a response containing an audio URL, which you can preview or download.
Configure Slack Channel Message Action
Search for “Slack” in the search bar and select “Send Channel Message” as the action event.
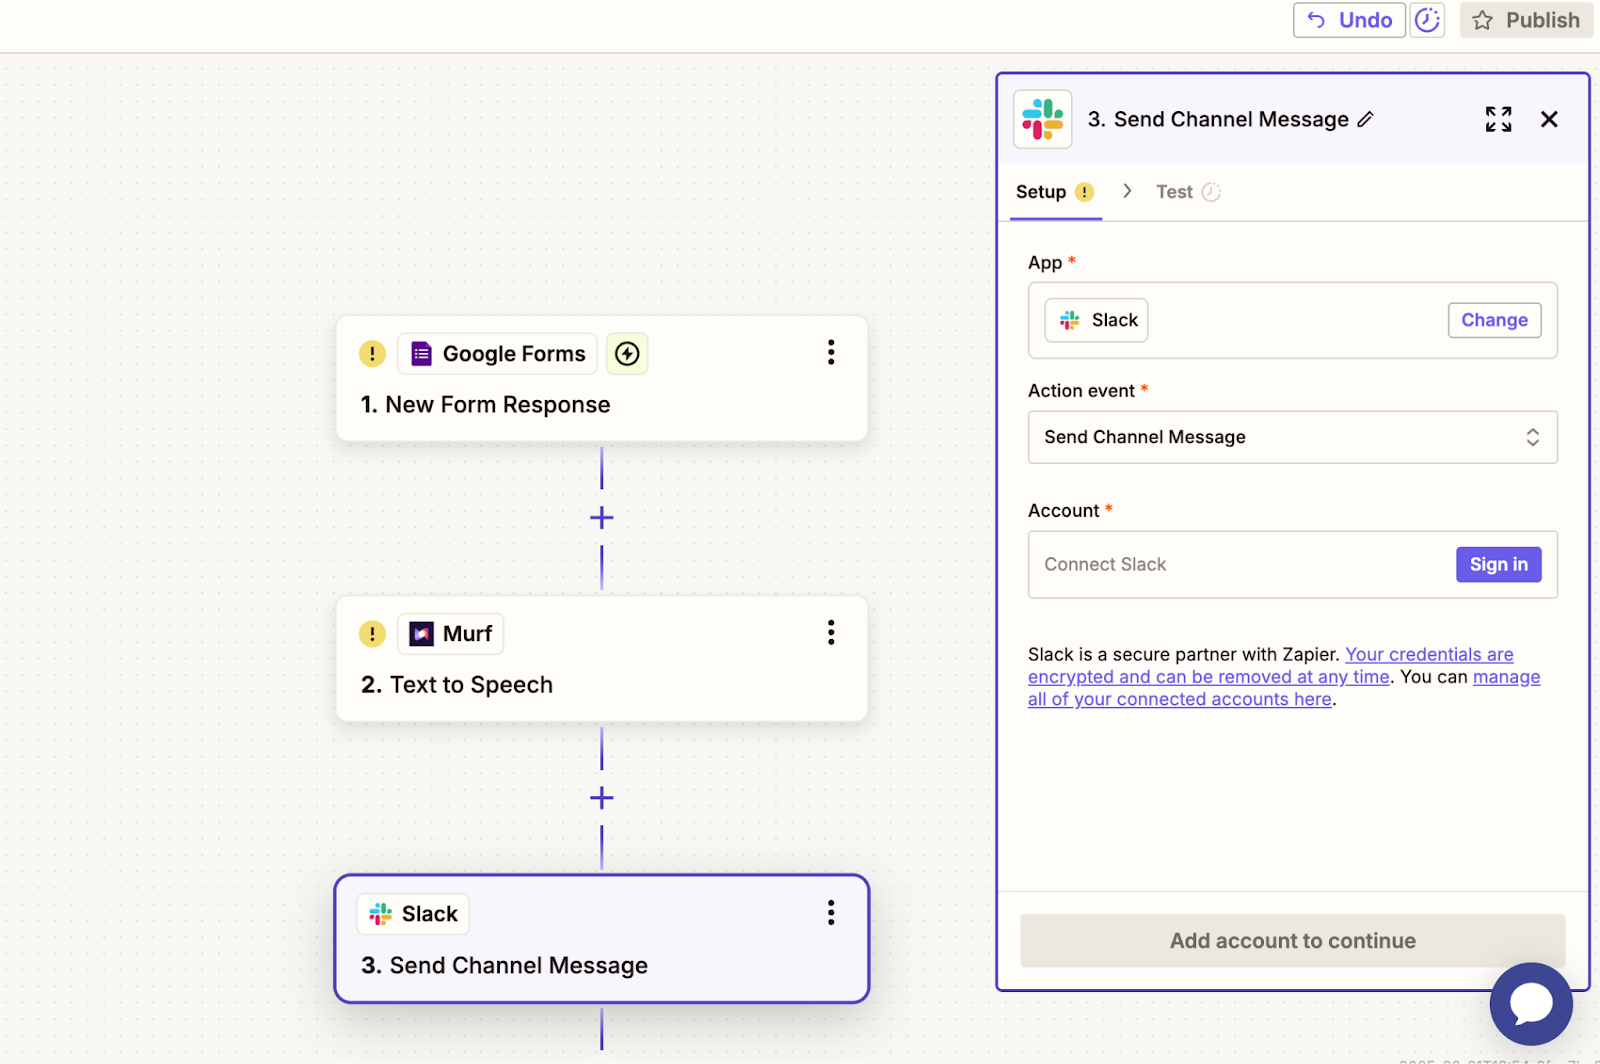
You need to set up your slack account and choose the target channel with input text and file as Murf WAV/MP3 response.
Test the Workflow
- Click “Test Step” for each part of the workflow.
- If everything is configured correctly, the test will:
- Generate audio from the form text
- Post it to your selected Slack channel
Activate the Zap
Once you’ve tested the zap, click “Publish” to activate your Zap.
Your voice feedback automation is now live!